9). Engine bay

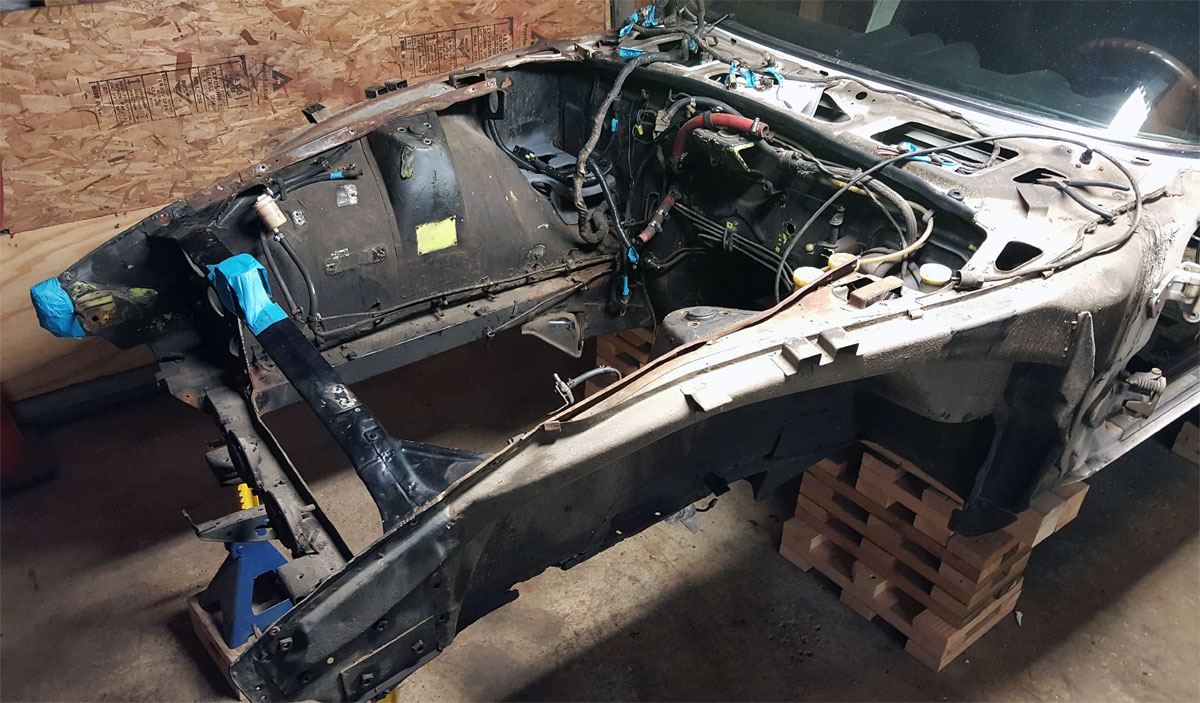
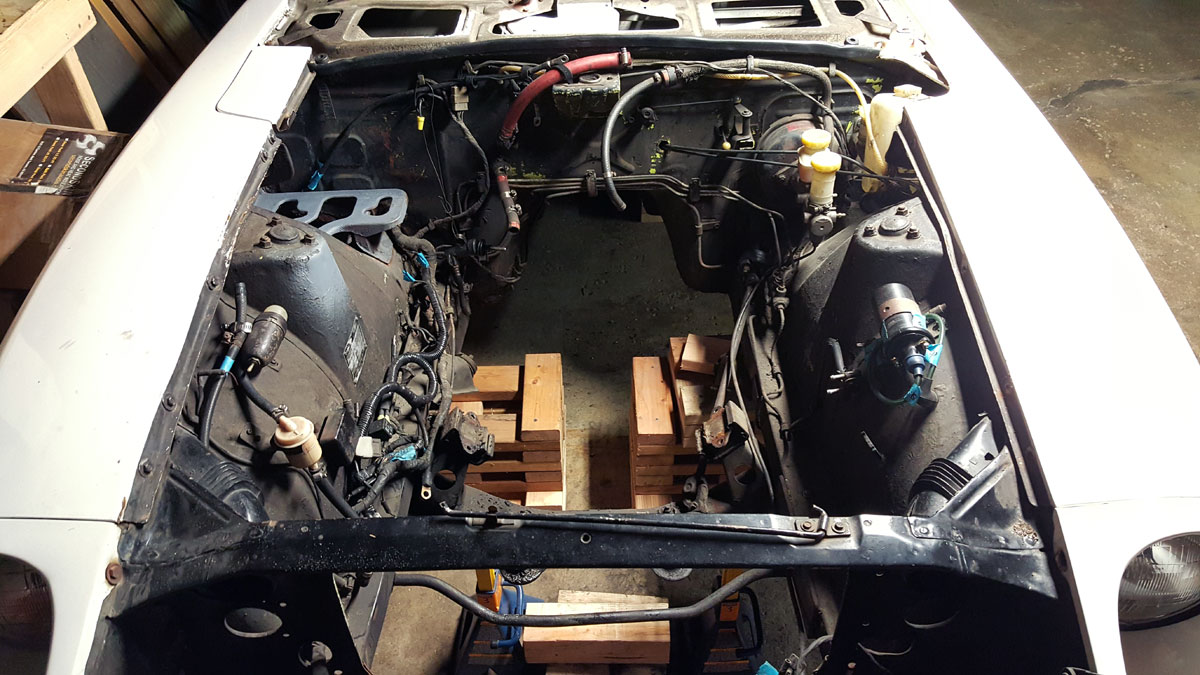
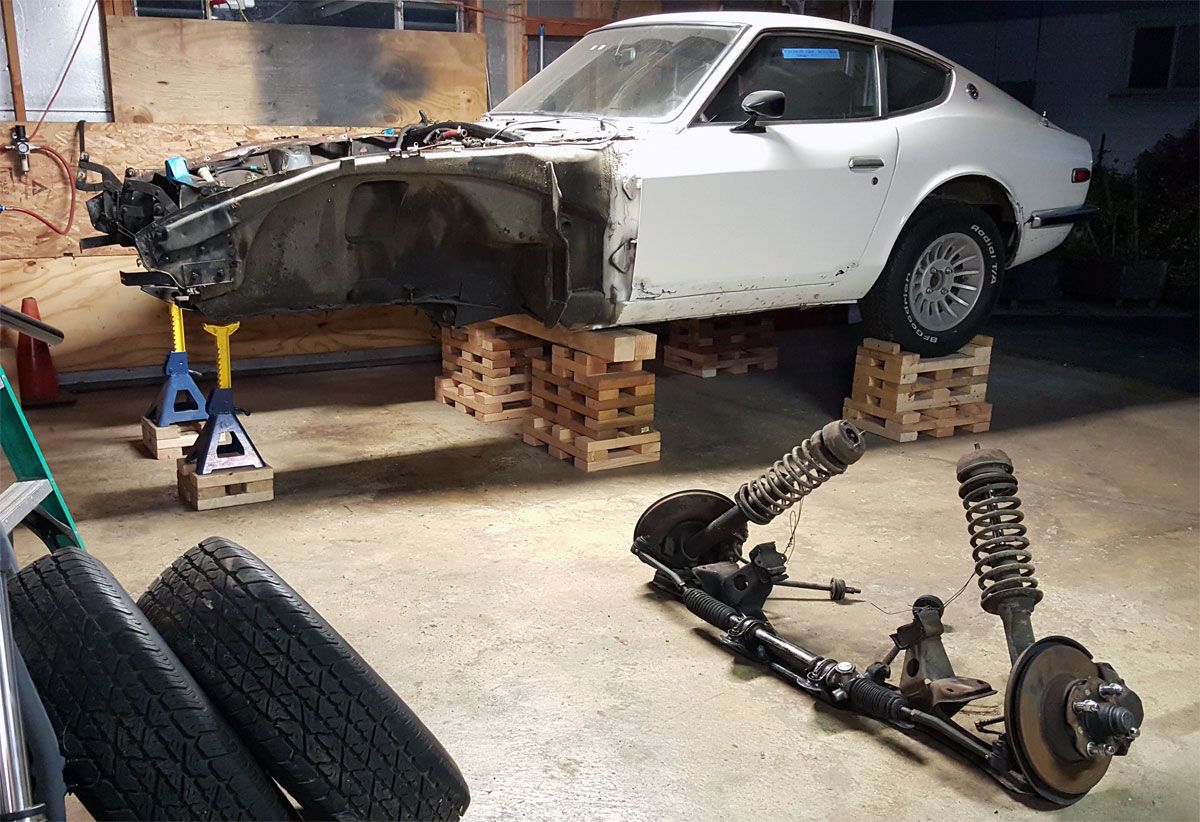
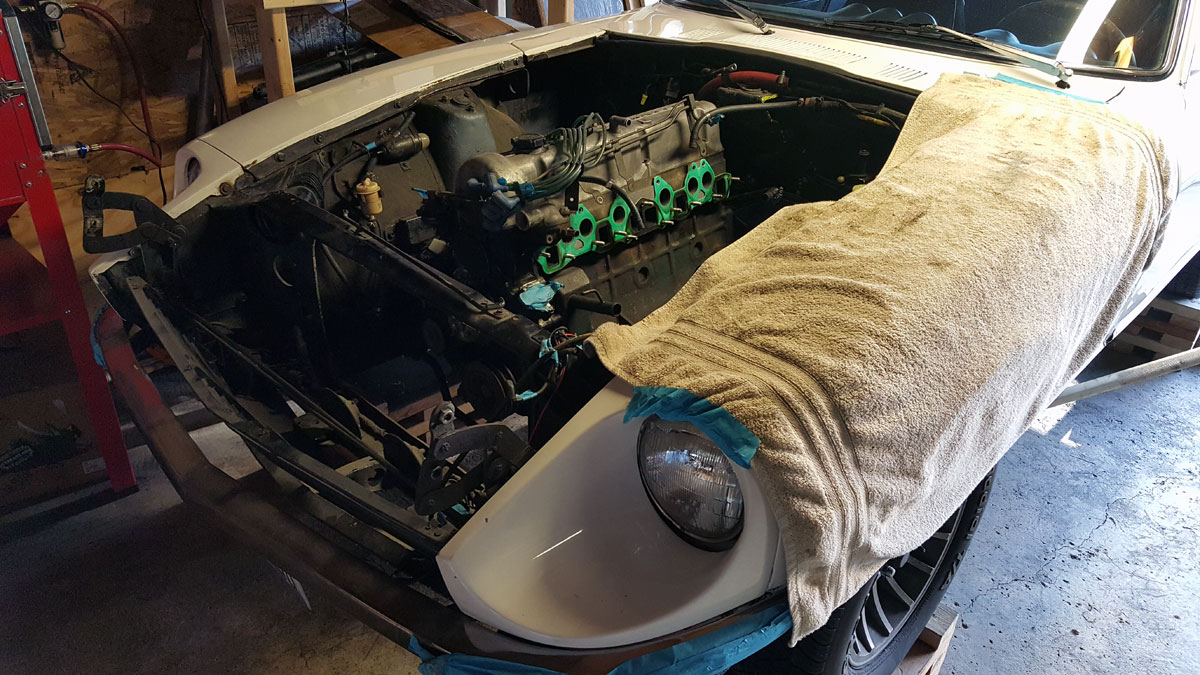
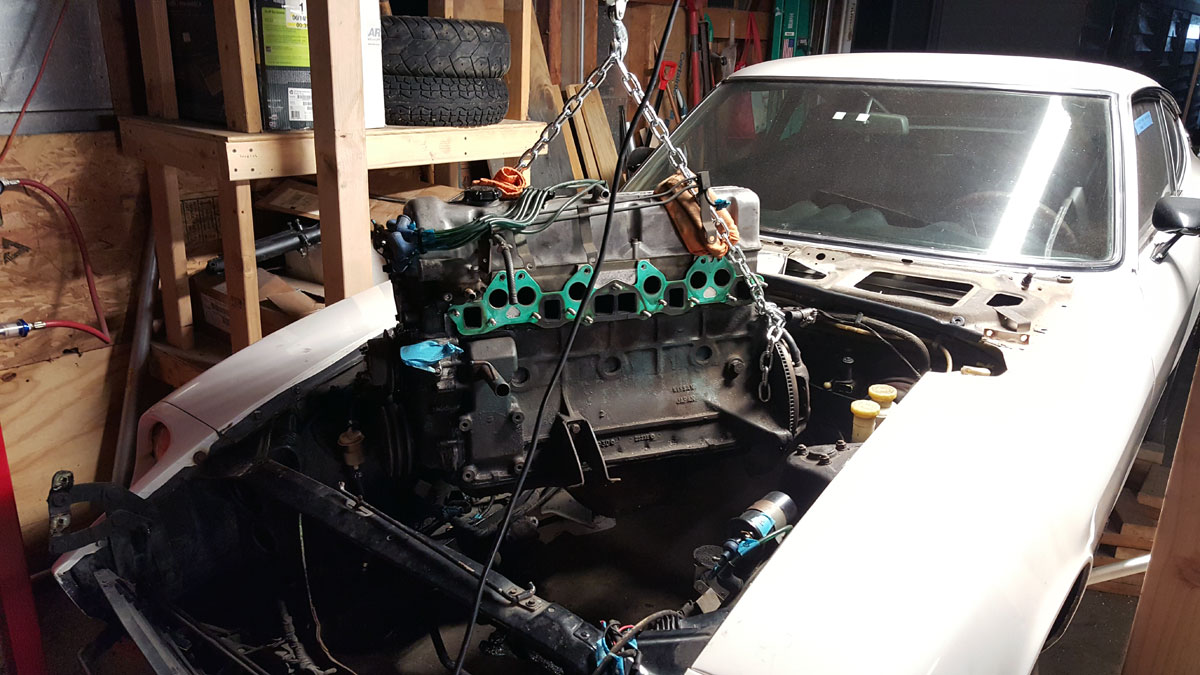
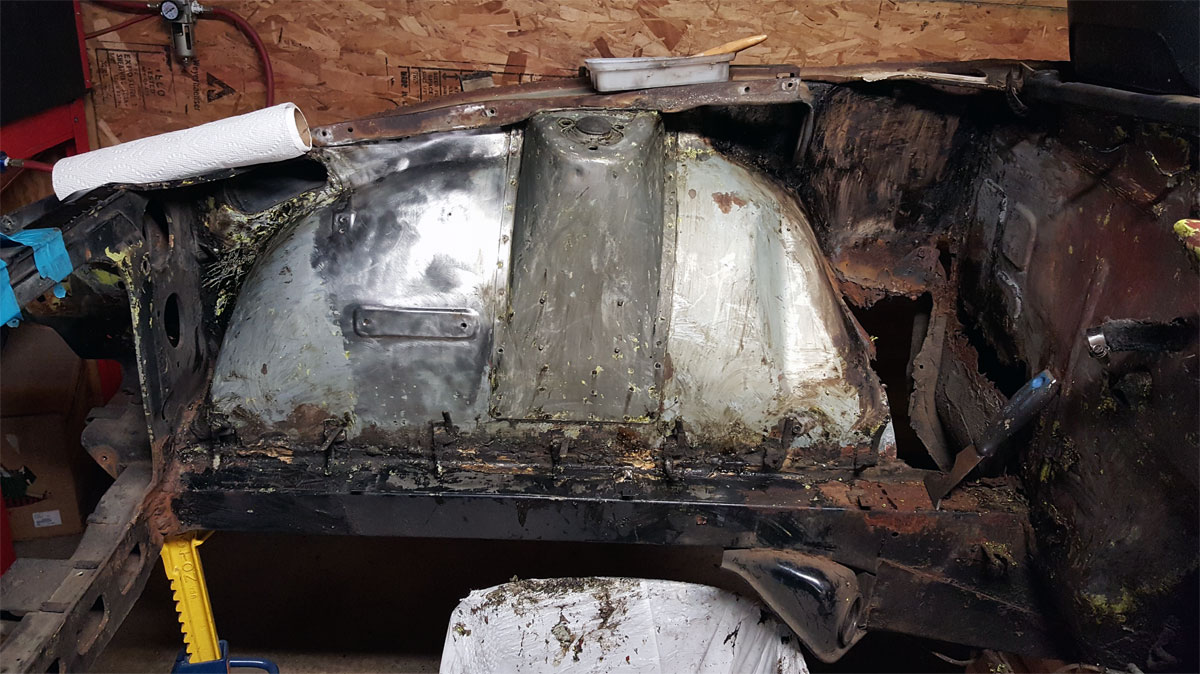
Now that I had most of the stuff out of my way in the engine bay, I began scraping off the coating used during the previous repair.

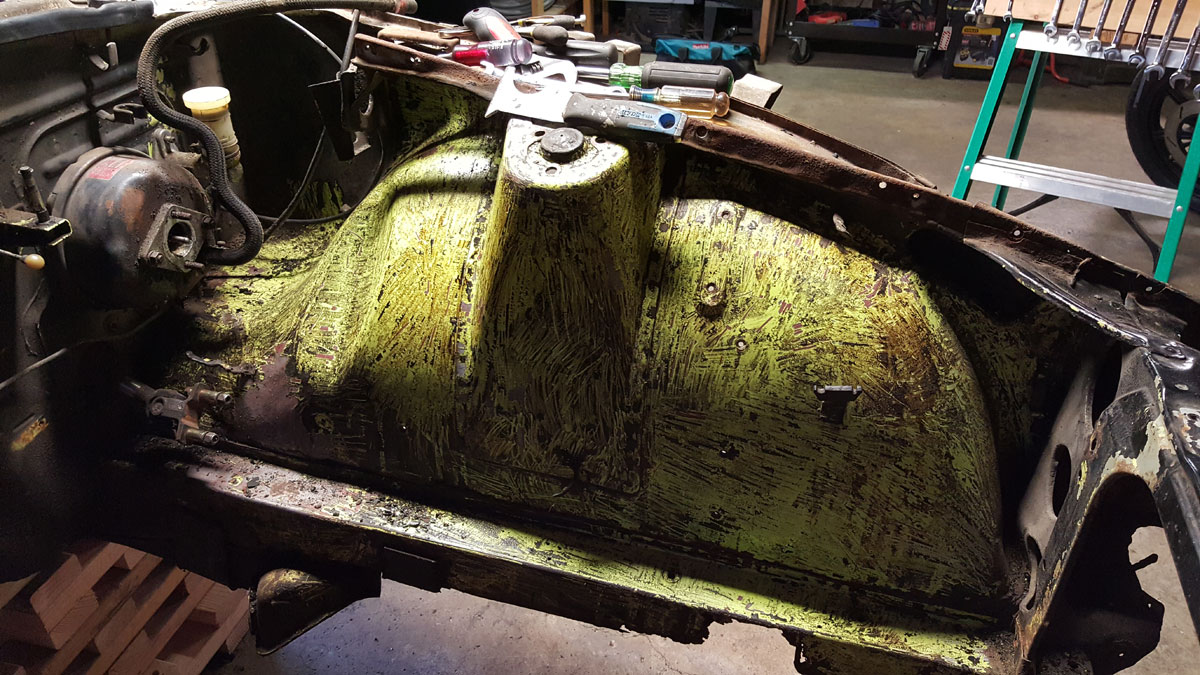
It was the similar to the undercoating, a tar like substance that I tried heating then scraping to remove, but that just created a big mess. So I stuck to using a sharp paint scraper and went at it.

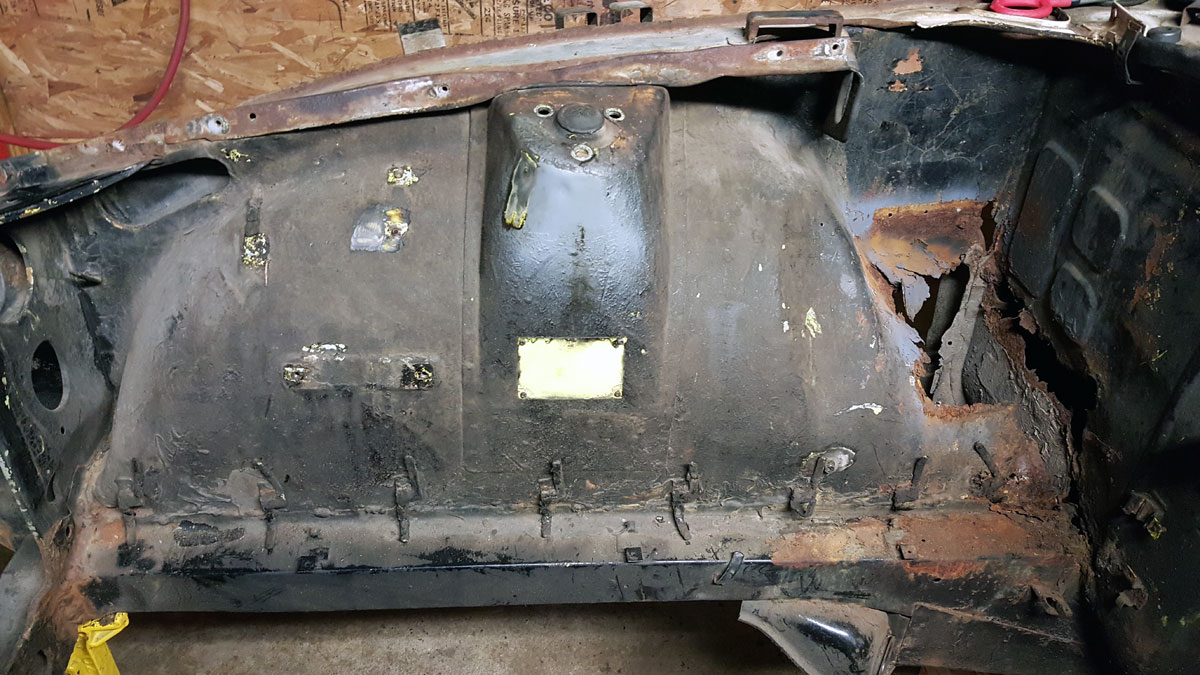
After I got down to the original paint, I decided to try using a paint remover then follow that up with a wire wheel. While the paint remover worked fairly well, I could have just skipped that step and went directly to the wire wheel. Which I later ended up doing.

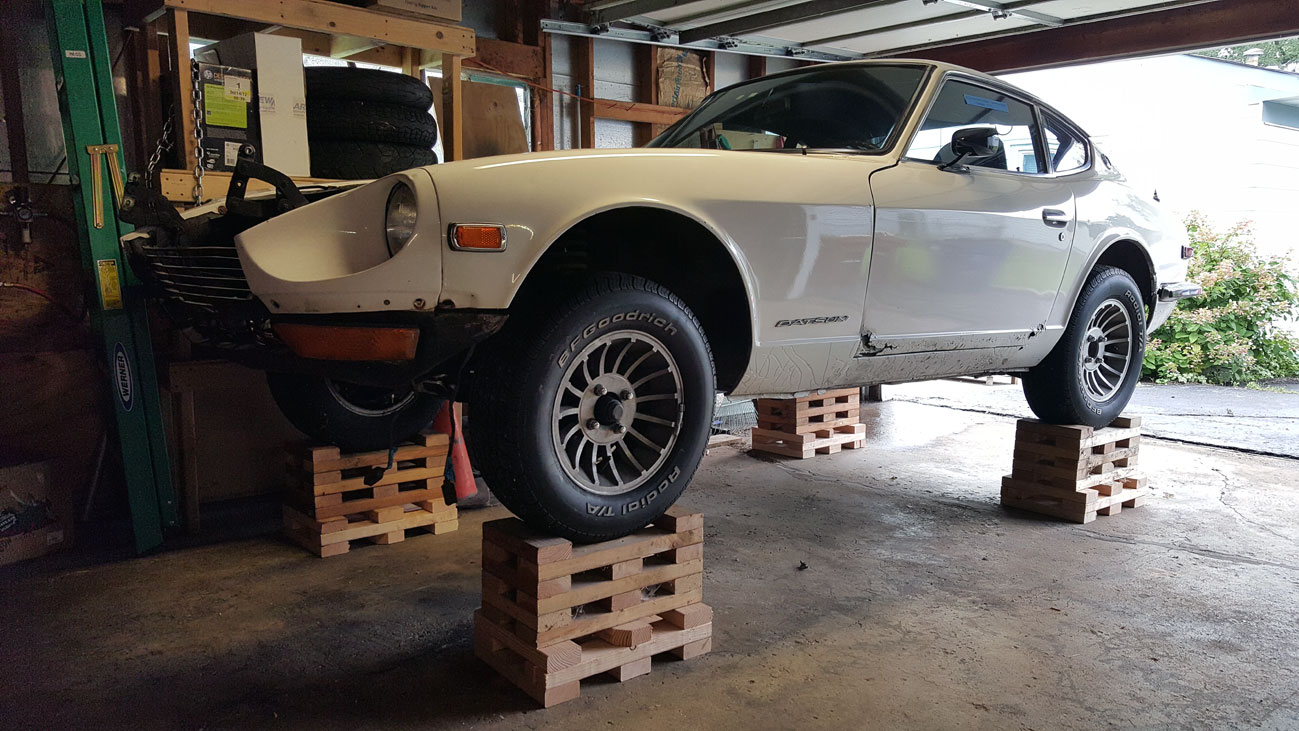
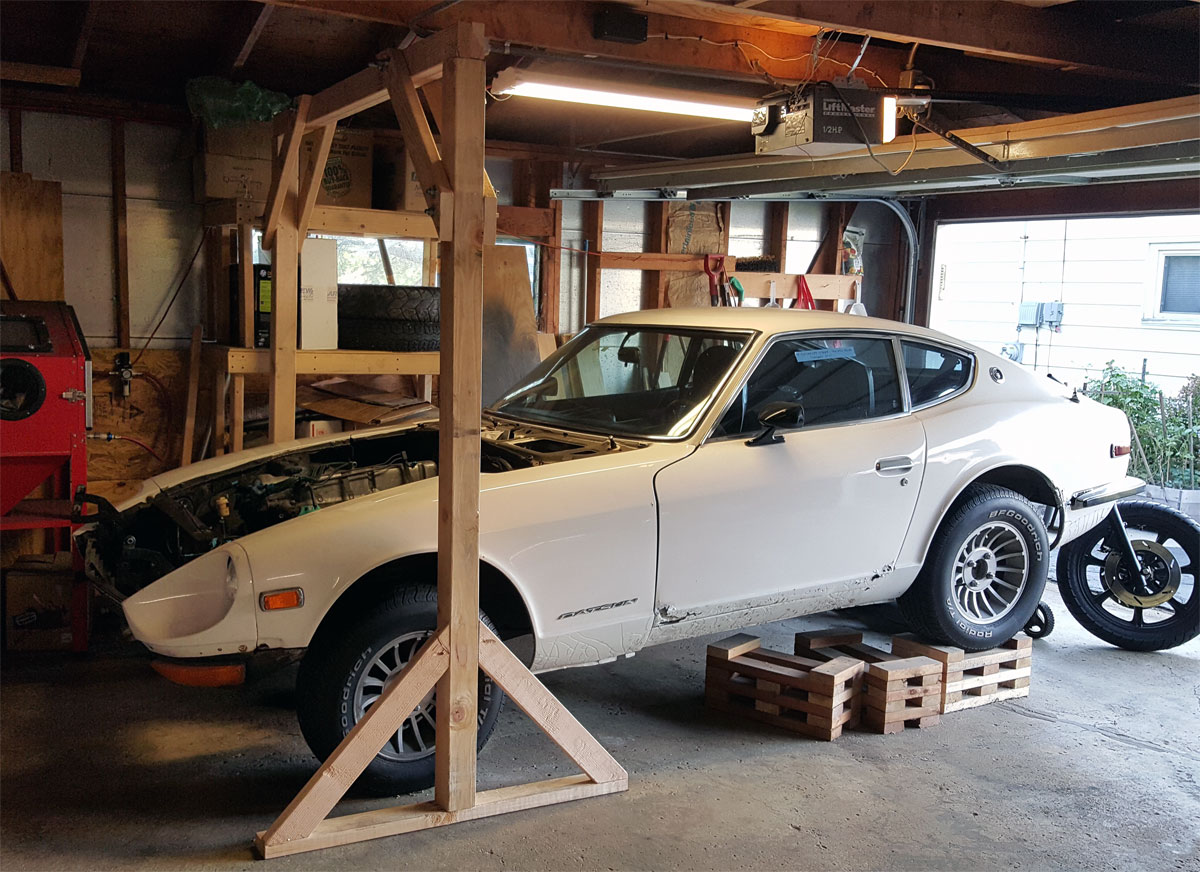
Speaking of the paint, I think the car looks good in white, but I really like the original lime green. I’ve went back and forth over the course of this project and still have a ways to go before that’s even a decision I have to make, but I’m seriously considering taking it back to its original color.

It may not look it, but this took an eternity, over two weeks if I remember correctly. Wire wheeling is not for the impatient.

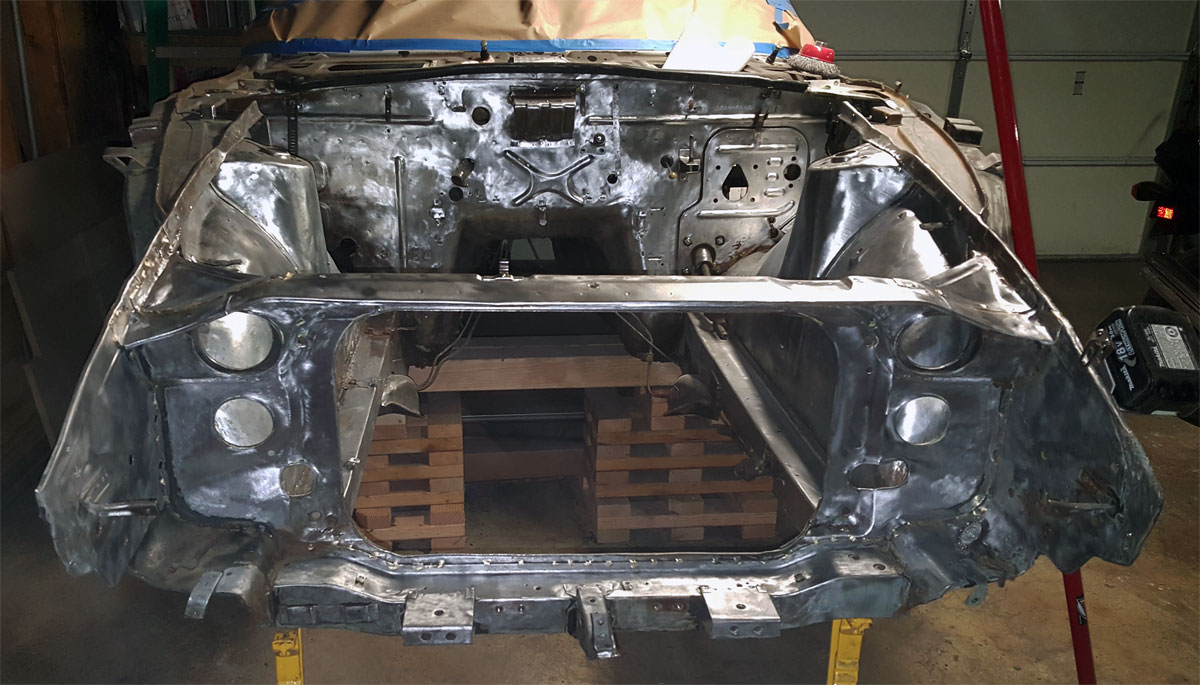
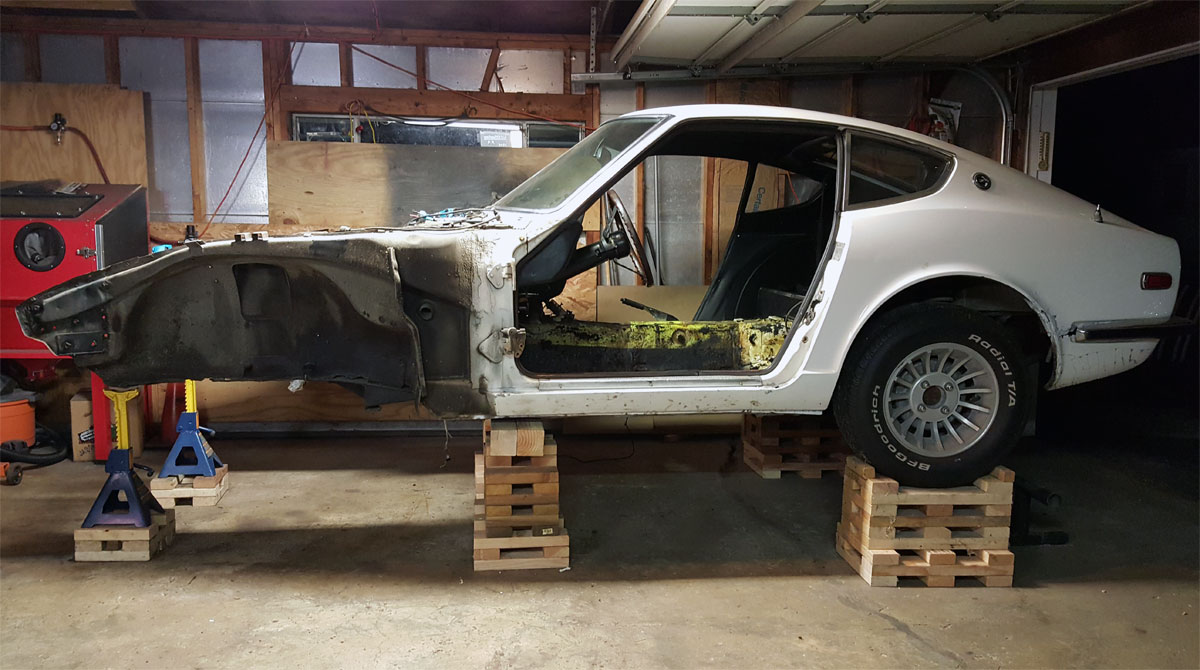
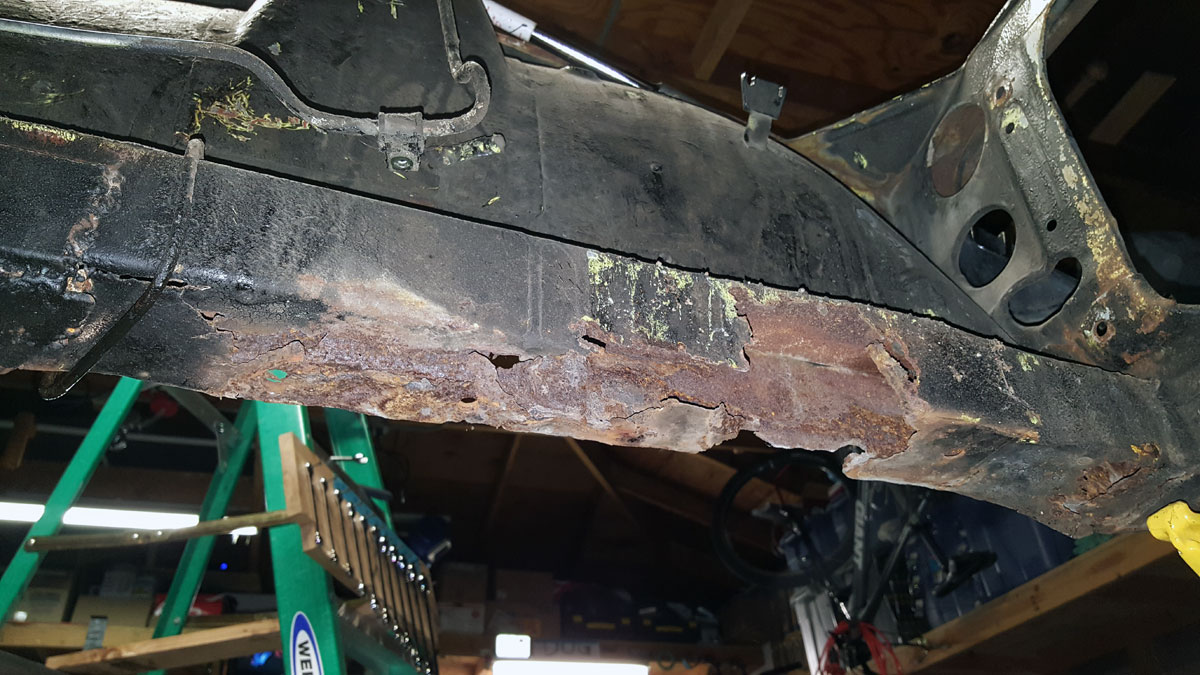
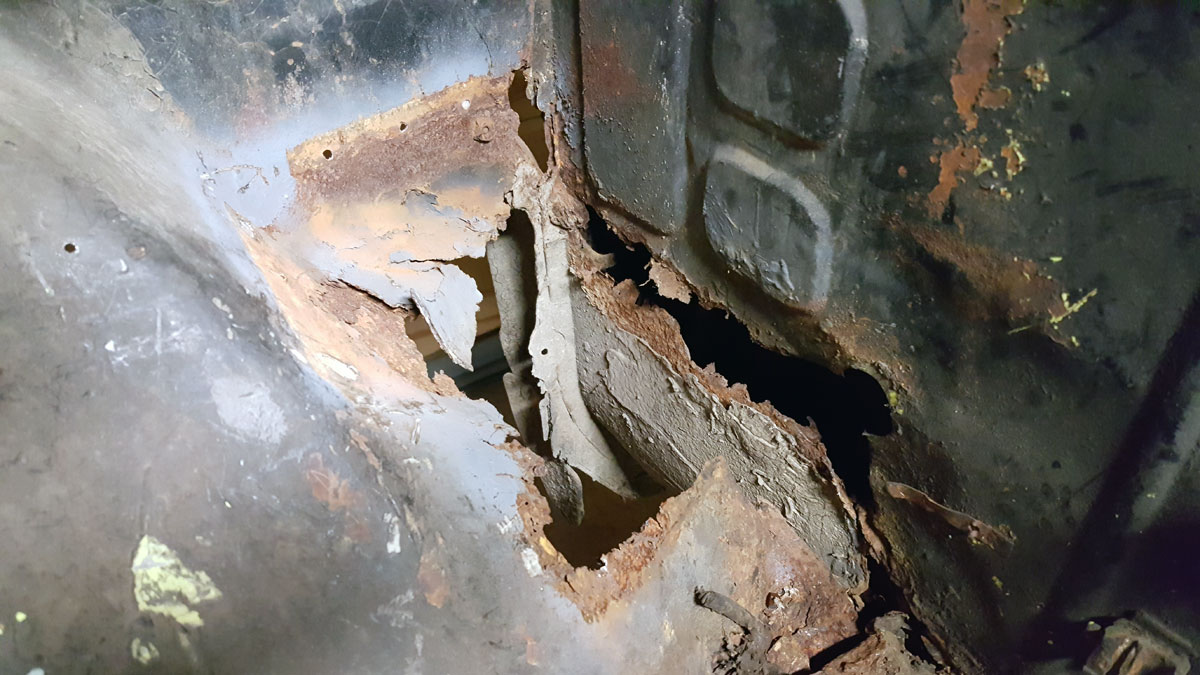
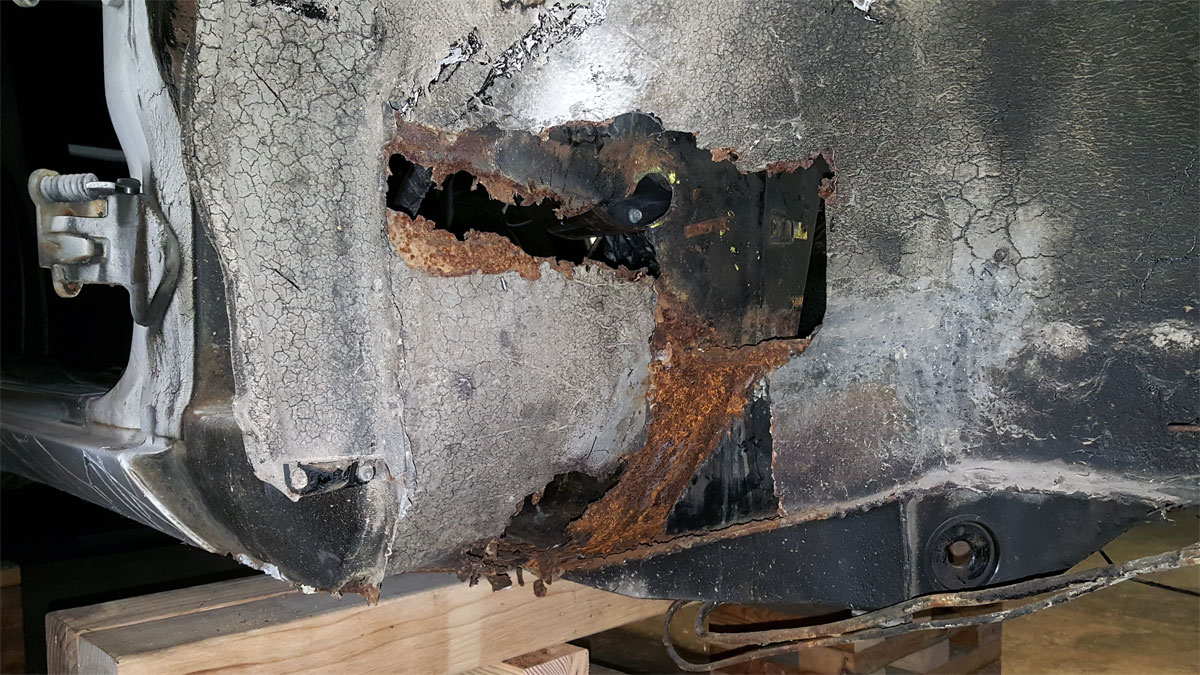
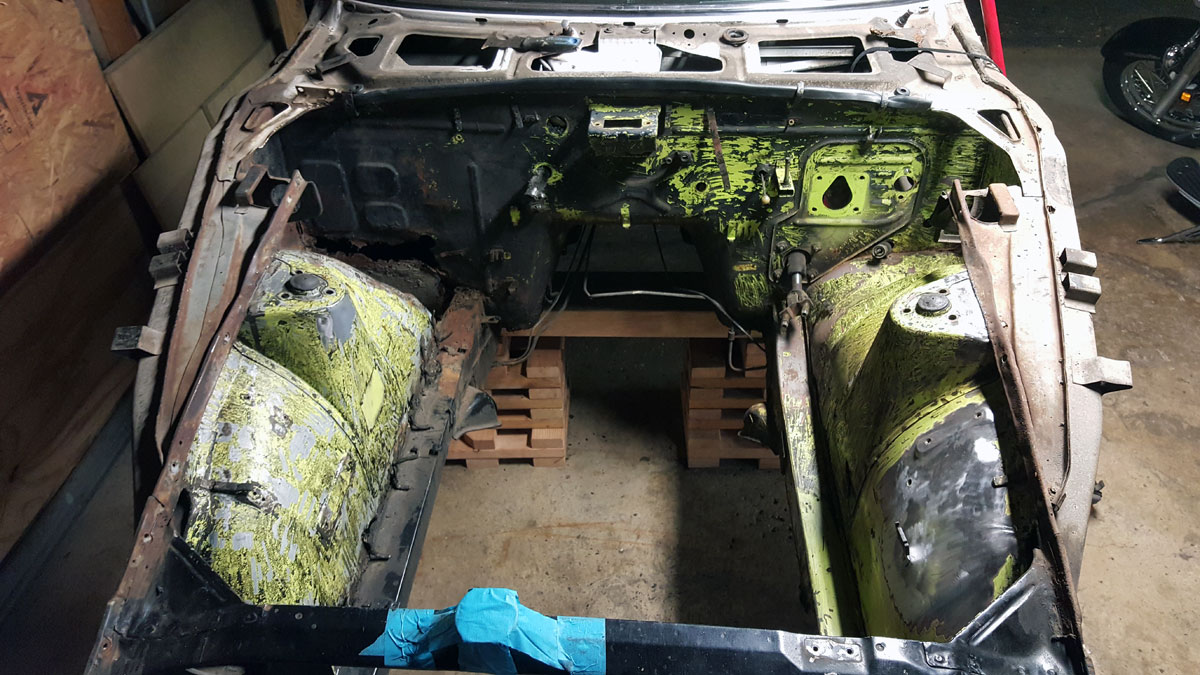
With the majority of the engine bay cleaned up, I decided to move on to the floor pan and foot well so I can eventually start to work on the frame rail.

At the time I thought it made more sense to buy a set of pre-made floor pans and frame rails because I figured that they would be more precise than if I made them. So I ordered some replacements from Zedd Findings.


To find a particular page, use the search feature or index page.


8). Deconstruction II

After I removed the engine, fenders, suspension, steering assembly and grill, I moved on to the doors and interior. Compared to newer cars, these things come apart like Lego kits, super easy. I just hope they go back together just as easily when the time comes.

After removing the seats and carpets, the floor pans were pretty bad and poking at the rust inevitably made it worse.

But not as bad as the frame rails. It was shocking to realize that the passengers side suspension was held on by very poor welds and the drivers side was held on by practically nothing at all. To think I had been driving the car for months in this condition. Looking back it was truly amazing it stayed together.

Moving on to the engine bay, I began removing wiring and other components so I could take it down to bare metal.

Once I had most everything out I could see how bad the rust really was. Especially in the battery tray area. Which, once the tray was removed, the whole area pretty much disintegrated.

I remember thinking I may have gotten in over my head. I mean, I’ve done a little here and there with cars in the past, and practically rebuilt entire motorcycles, but this was a whole new ball game.

But I figured the car wasn’t that expensive to begin with and it would have probably been destined to become a parts car or headed to the junkyard otherwise, so what did I have to lose? Maybe I can learn a new skill and it’s not the end of the world if I make a mistake or two, so I decided to press on.


To find a particular page, use the search feature or index page.


7). Deconstruction I

Now that I had the engine out…

I added some wood to the jack stands to raise the car up a little higher.

Then removed the fenders and changed up the wooden supports so I could get the tires off and work on the suspension without anything in the way.

Removing the suspension however proved to be a bit tricky. Apparently bolting the cross member to the frame wasn’t in the cards when this car was being worked on back in the day. So they decided to weld it together.

Which, honestly was kind of amazing that it stayed together at all considering how easily I was able to grind the two pieces apart.

Don’t let the retaliative cleanliness of the suspension below fool you, I had to scrape away years of dirt and grease just to get it to the state it’s in here.


To find a particular page, use the search feature or index page.


6). Engine removal

Once the engine was ready to be removed, I took off the hood…

Then the upper cowl.

** Scene Missing **

Followed by the transmission.

At that point I built a wooden frame to attach an electric winch to and set it up over the car.

I was a bit nervous about this procedure, but to my surprise it worked out very well.

I removed the engine from the car, rolled the car back, then mounted the engine to the engine stand without any trouble.

Thanks to my neighbor for providing the engine stand. Little did he know that I would end up keeping it. – I’ve since given him a couple amplifiers for the stand, so we’re all good. 


To find a particular page, use the search feature or index page.