13). Passengers frame rail

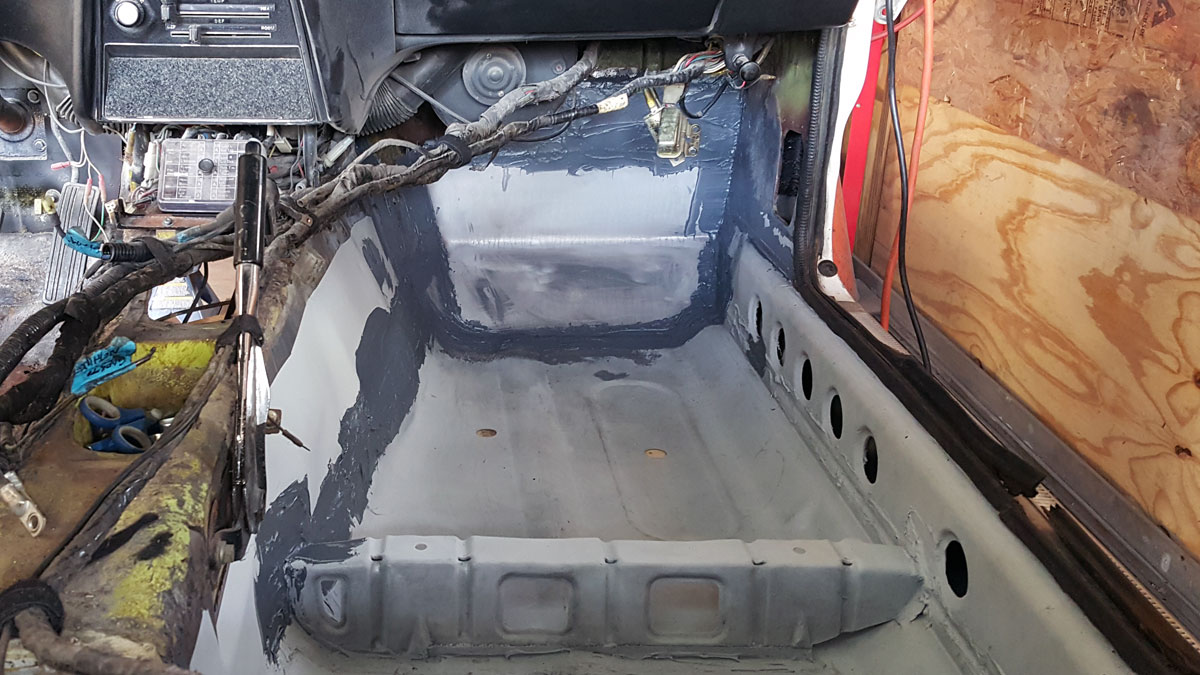
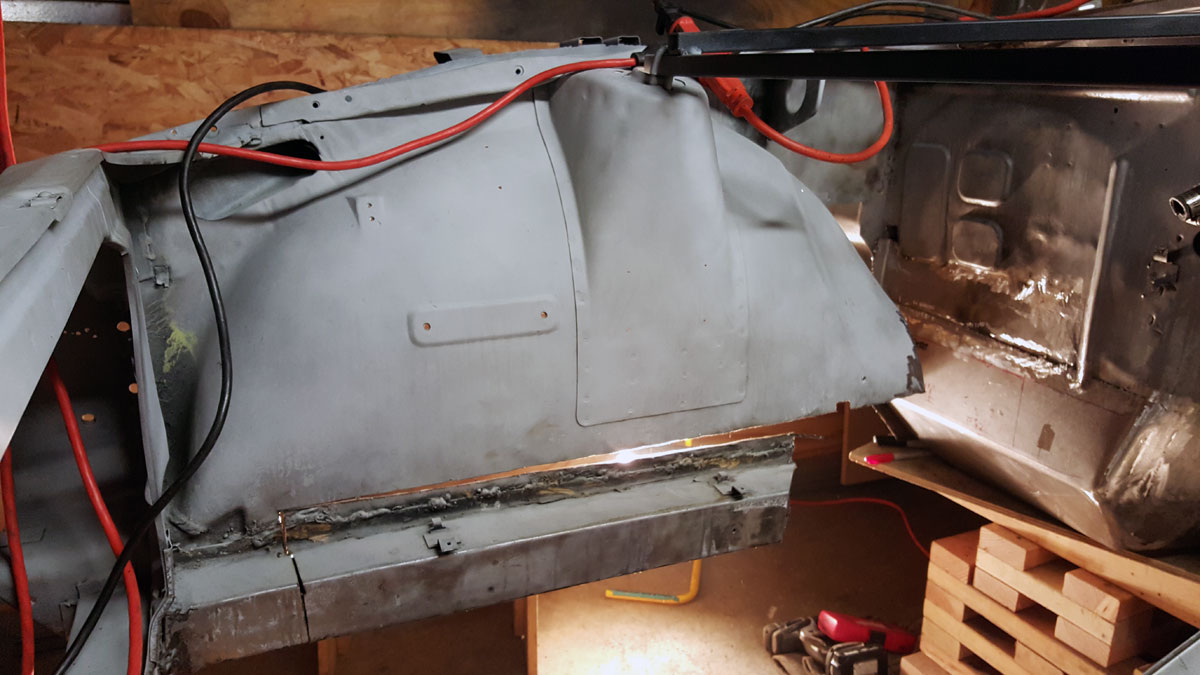
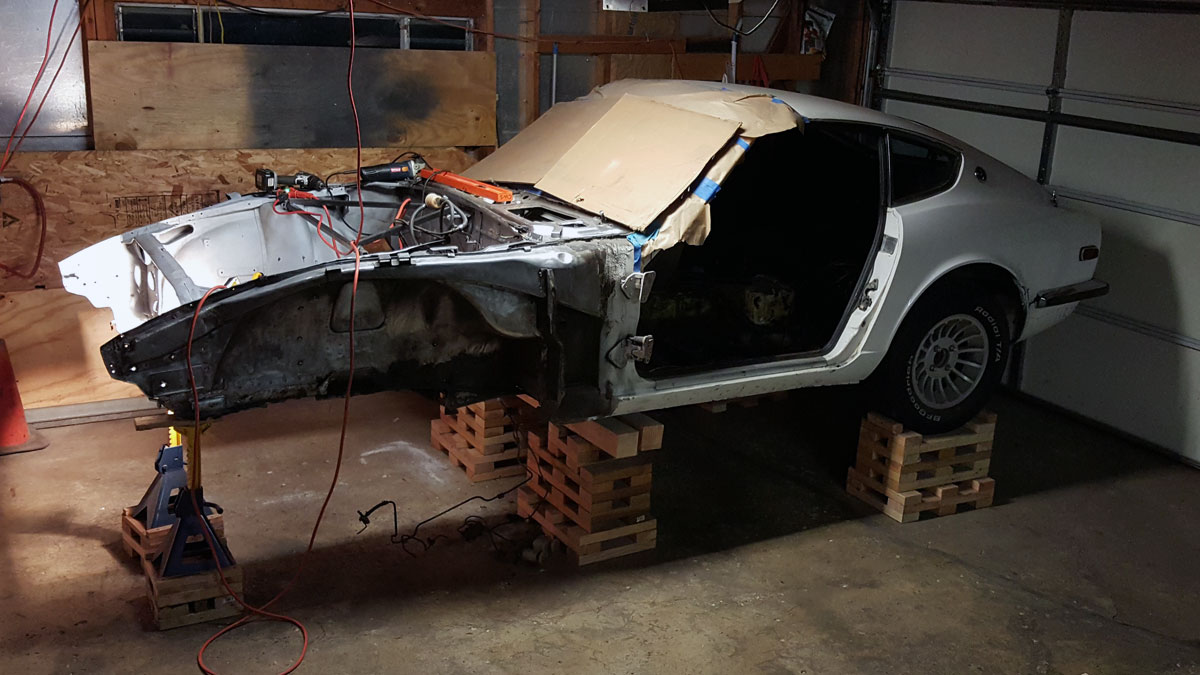
With the passengers side foot well pretty much squared away, I started to cut out the rest of the passengers side frame rail. To keep things relatively square, I created a triangle shaped frame and bolted it to the hood catch and shock towers which you can kind of see in this photo.

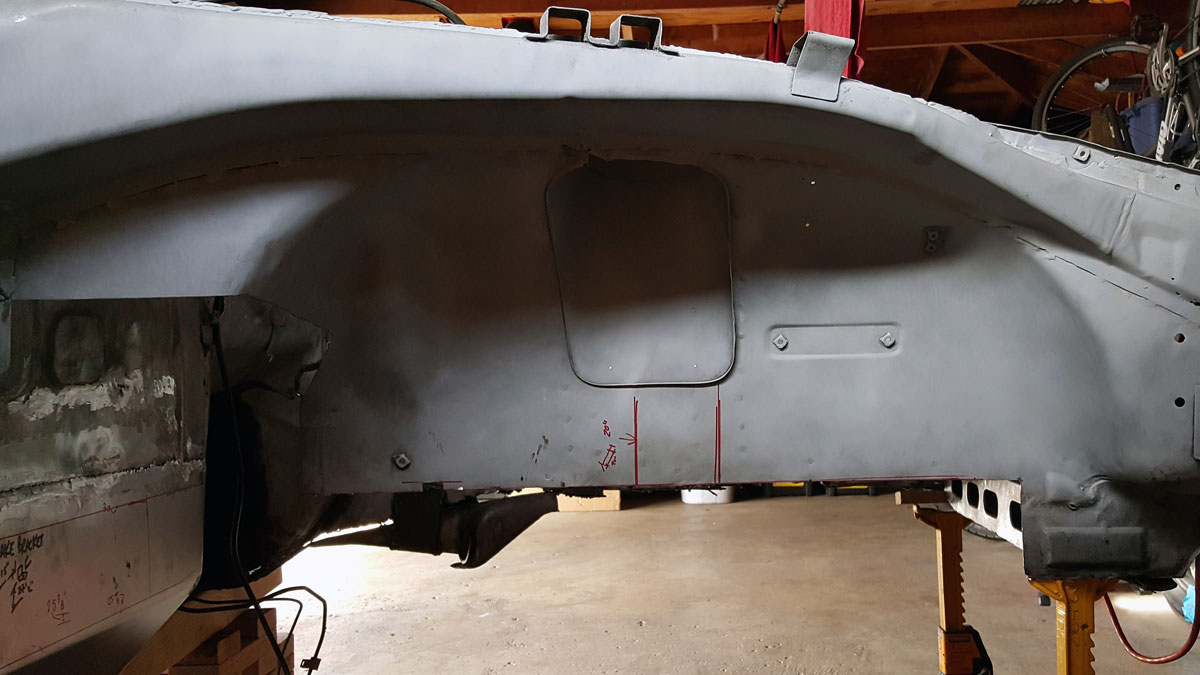
Below is a view from the outside of the wheel well. Which took weeks by the way, to scrape off the tar undercoating and wire wheel down to bare metal before spraying them with primer.

And if you look closely, you can make out where the wheel well had been welded, or brazed rather, to the inner fender wing. Meaning that some part of this had been replaced, probably due to an accident in the front right of the car.

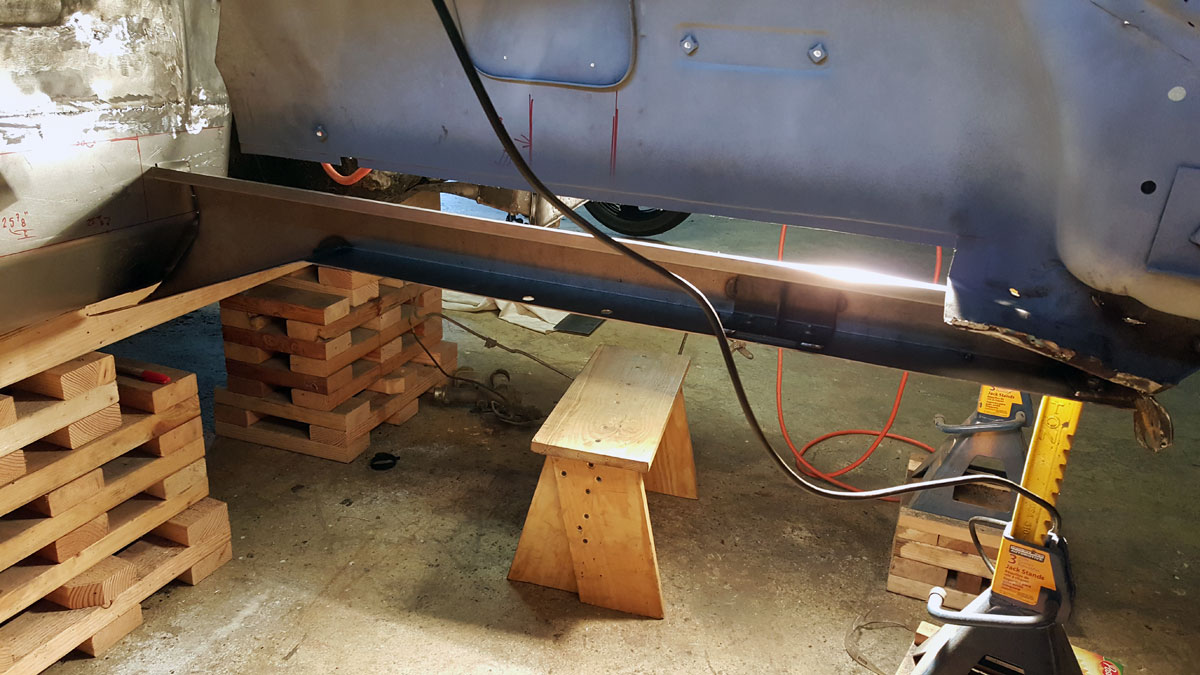
When I ordered new floor pans, I also ordered a set of frame rails. They too required a bit of adjustment to get to fit, but seemed to need much less.

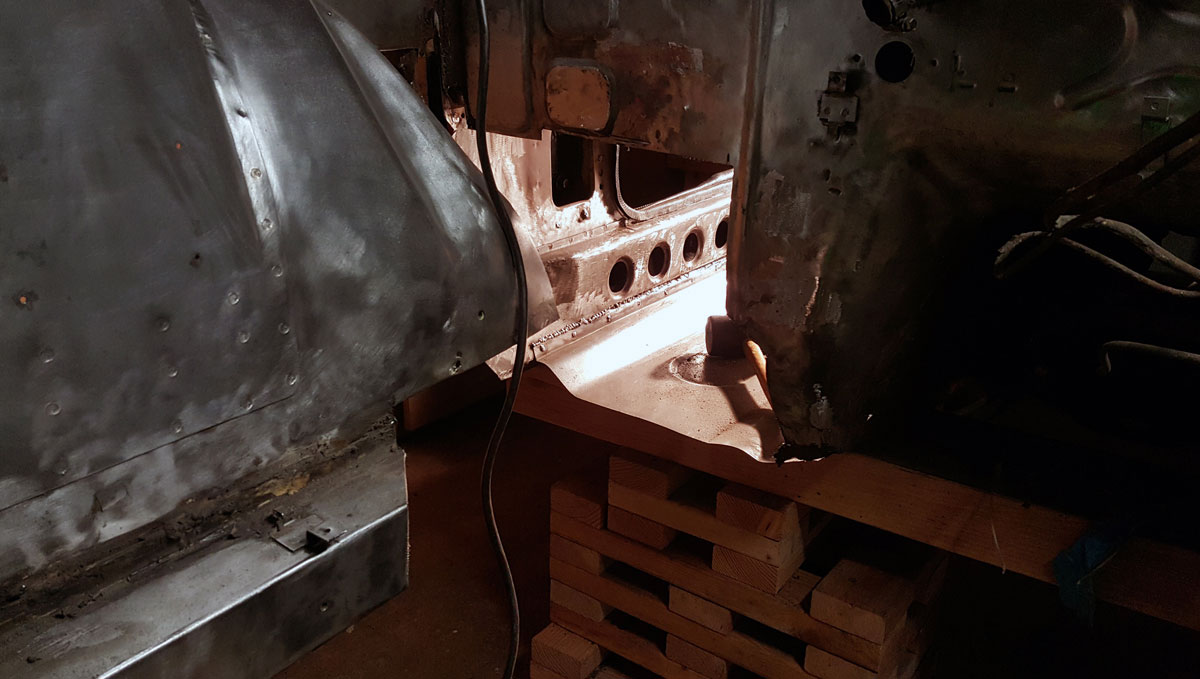
Between the power tools, steel tube reinforcement and trying to make sure I had enough light in the engine bay, I found myself in tight quarters, surrounded by a web of electrical cords and steel.

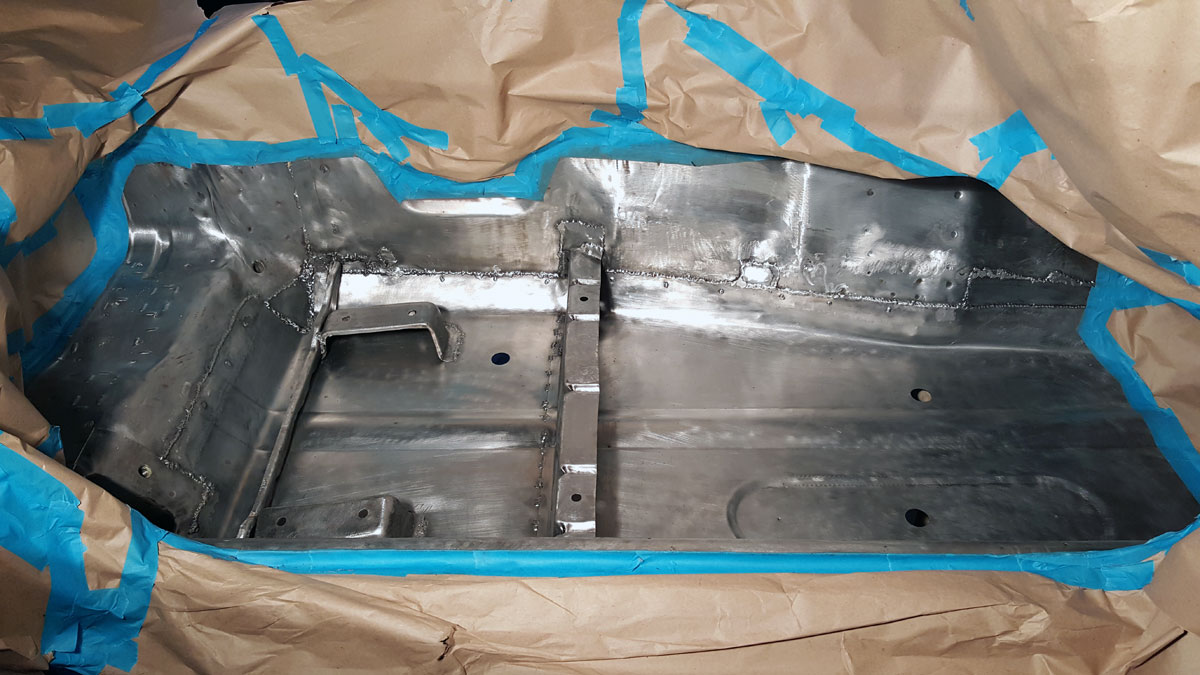
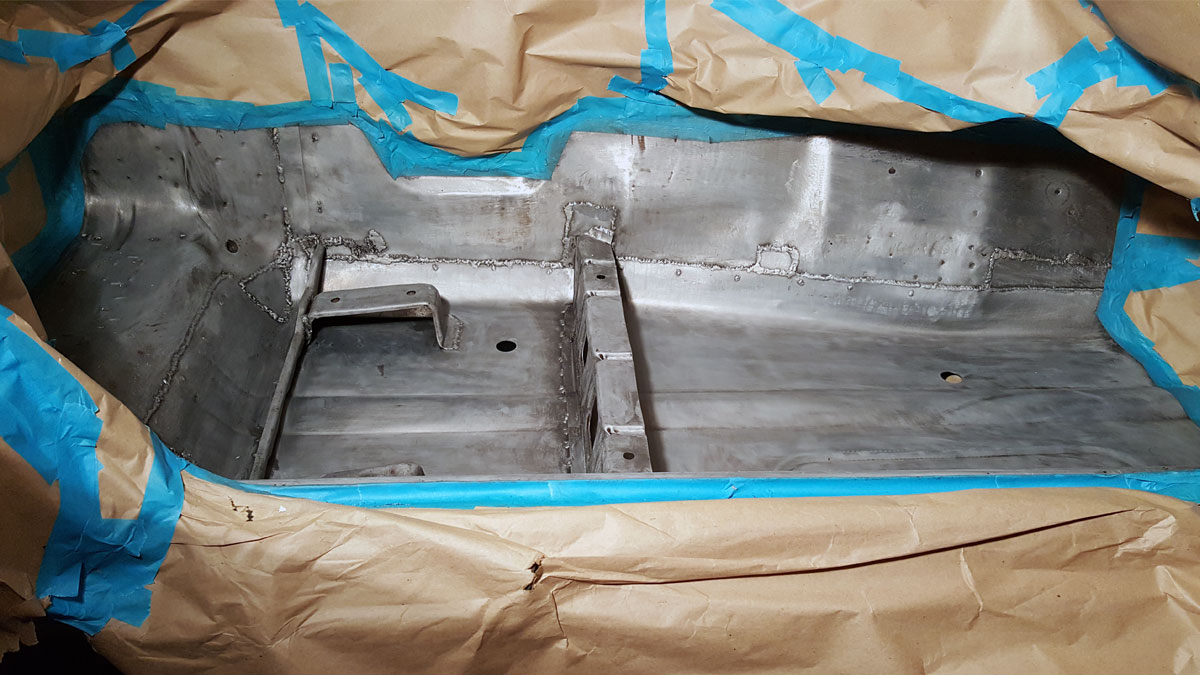
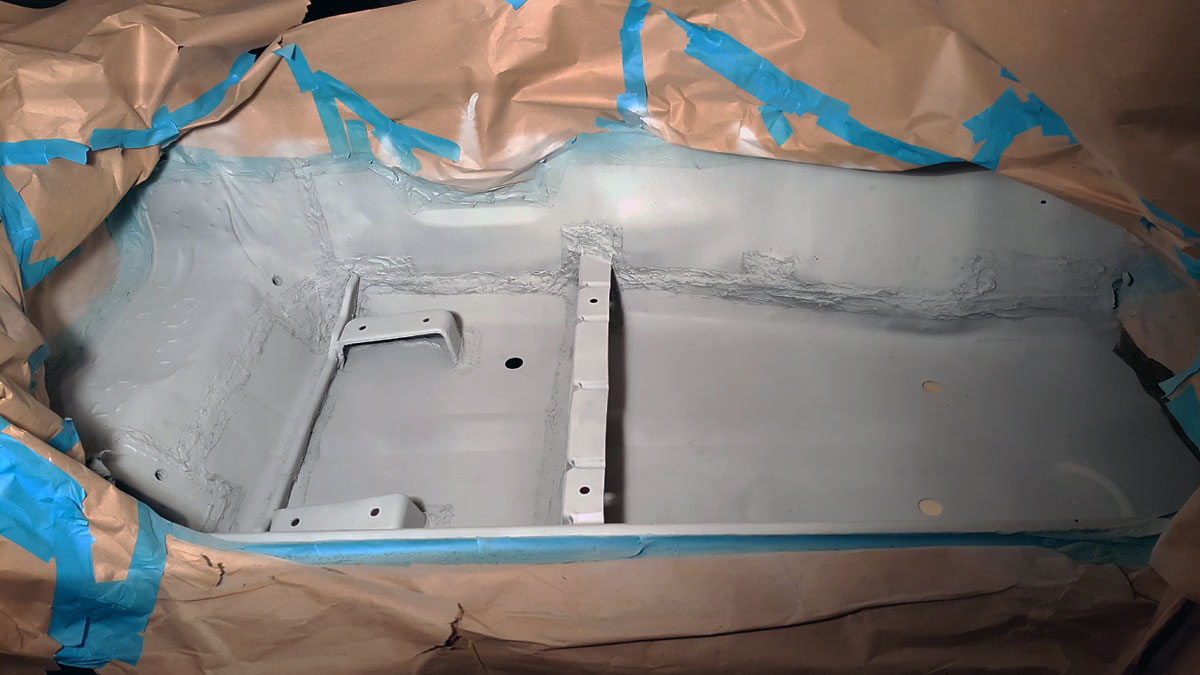
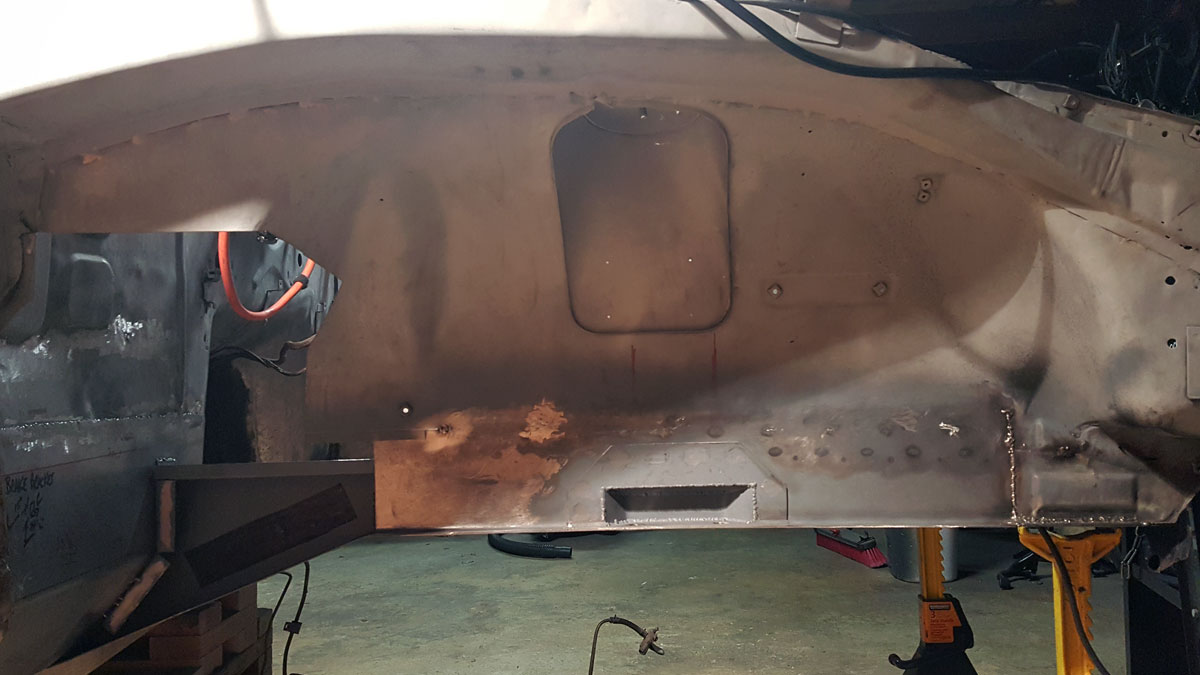
I had to remove a lot of steel when I removed the old frame rail. So much so, that I had to pretty much make the entire bottom from scratch.

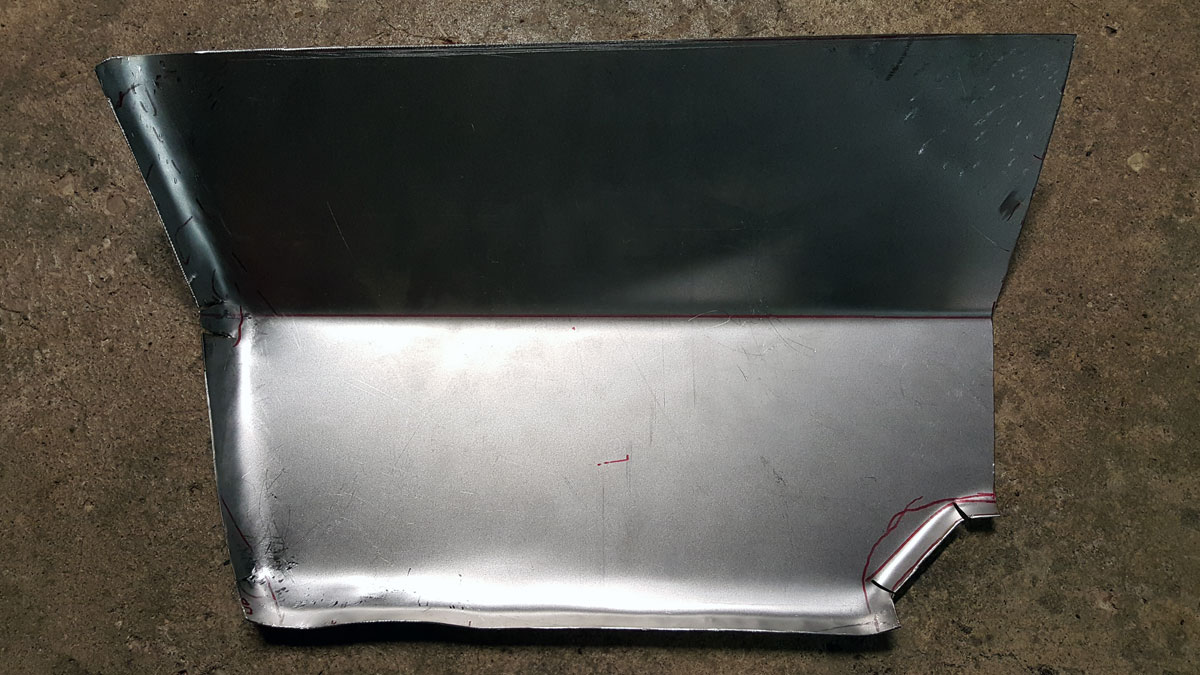
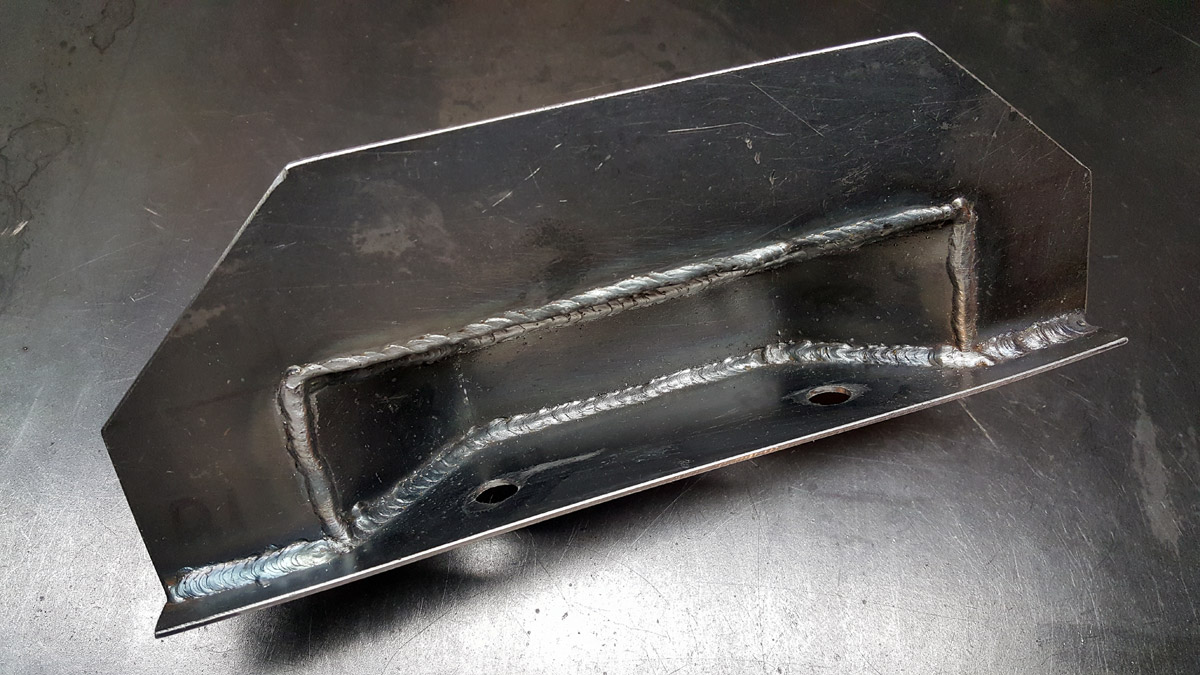
But before I could do that, I needed to replace the suspension pockets because mine were shot. After a few failed attempts at forming one, I settled on fabricating them out of several pieces of 14 gauge, welded together.

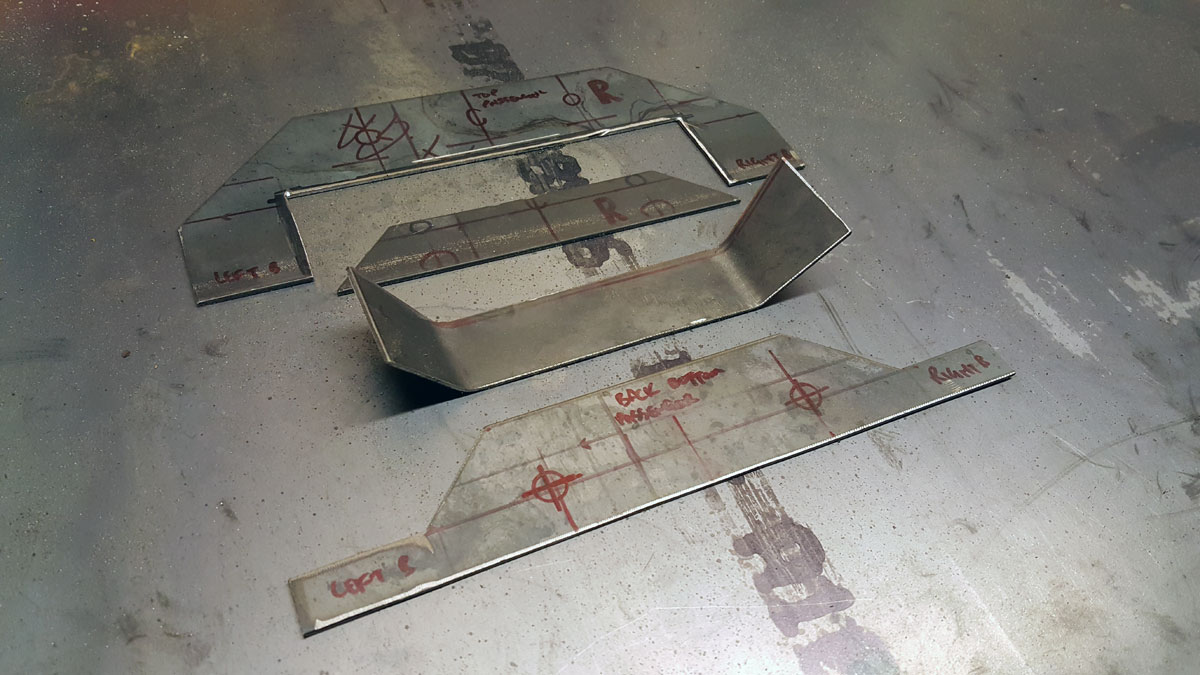
Dimensions below and a link to the model if you want to make your own.

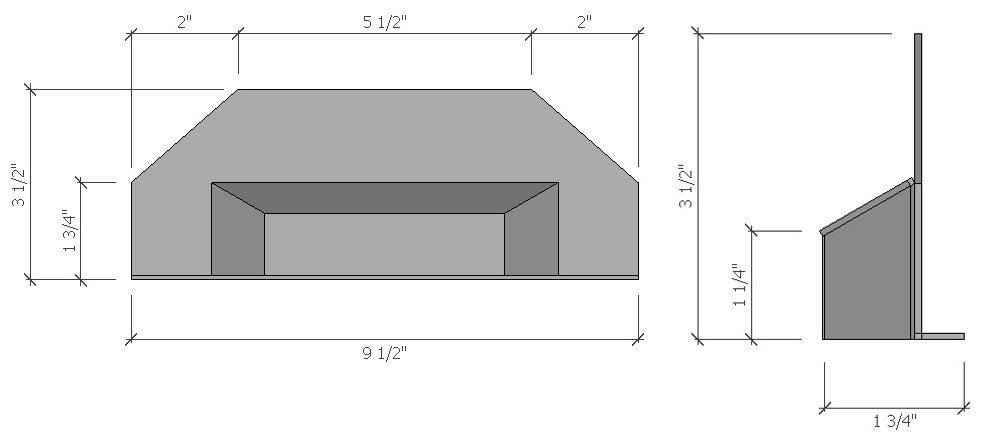
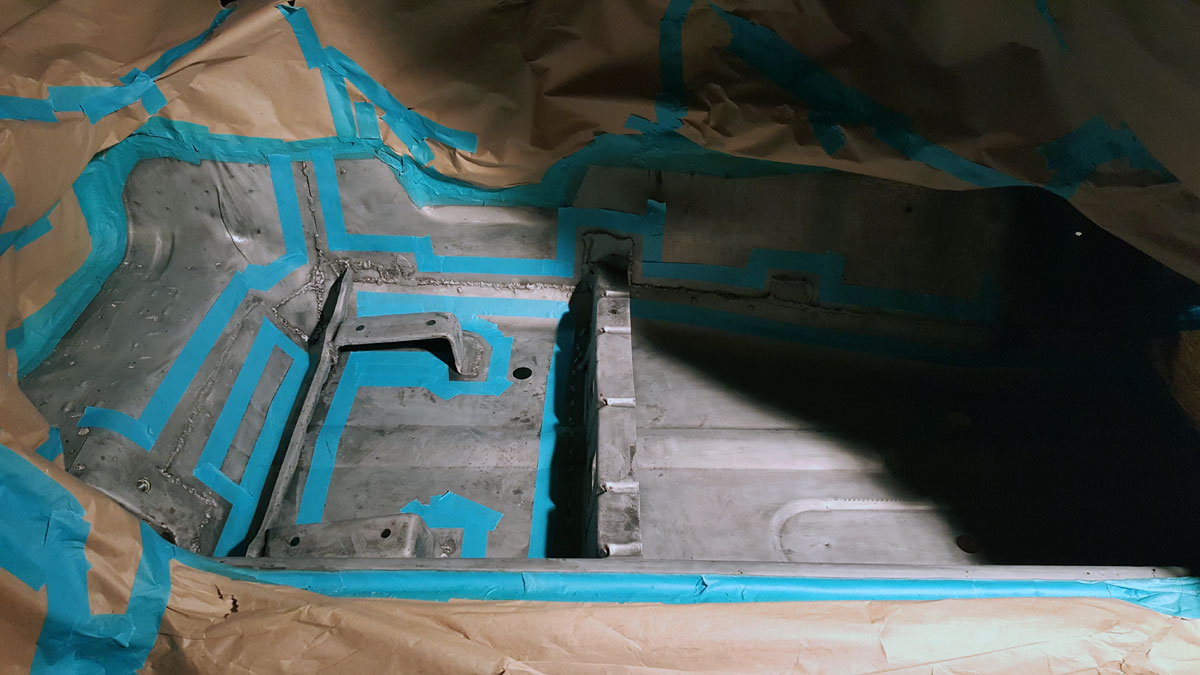
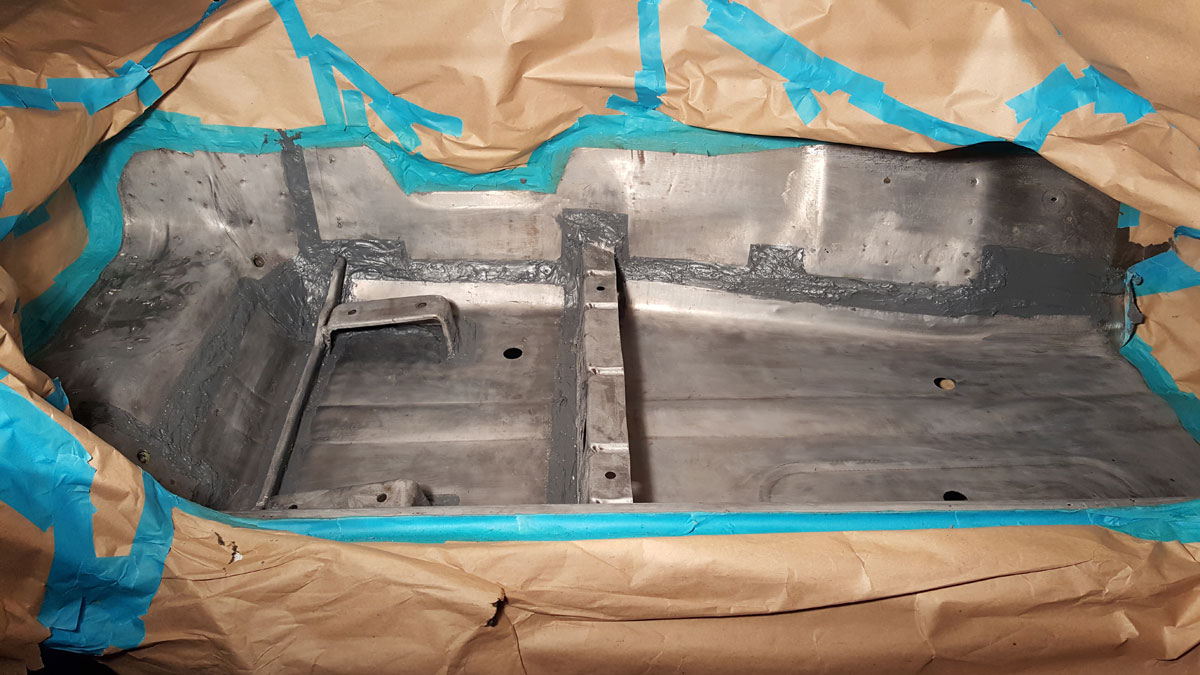
These pockets are commonly rusted out on S30’s and to my knowledge, they’re not available to buy, which is surprising to me. But I feel that mine came out alright.

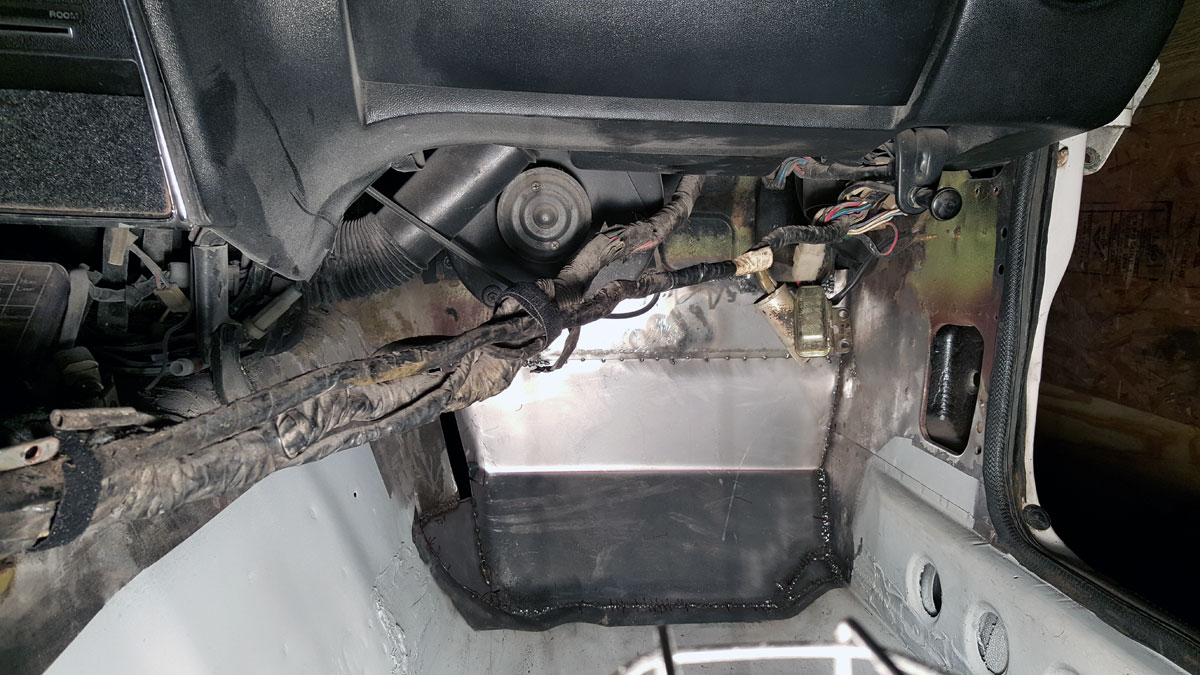
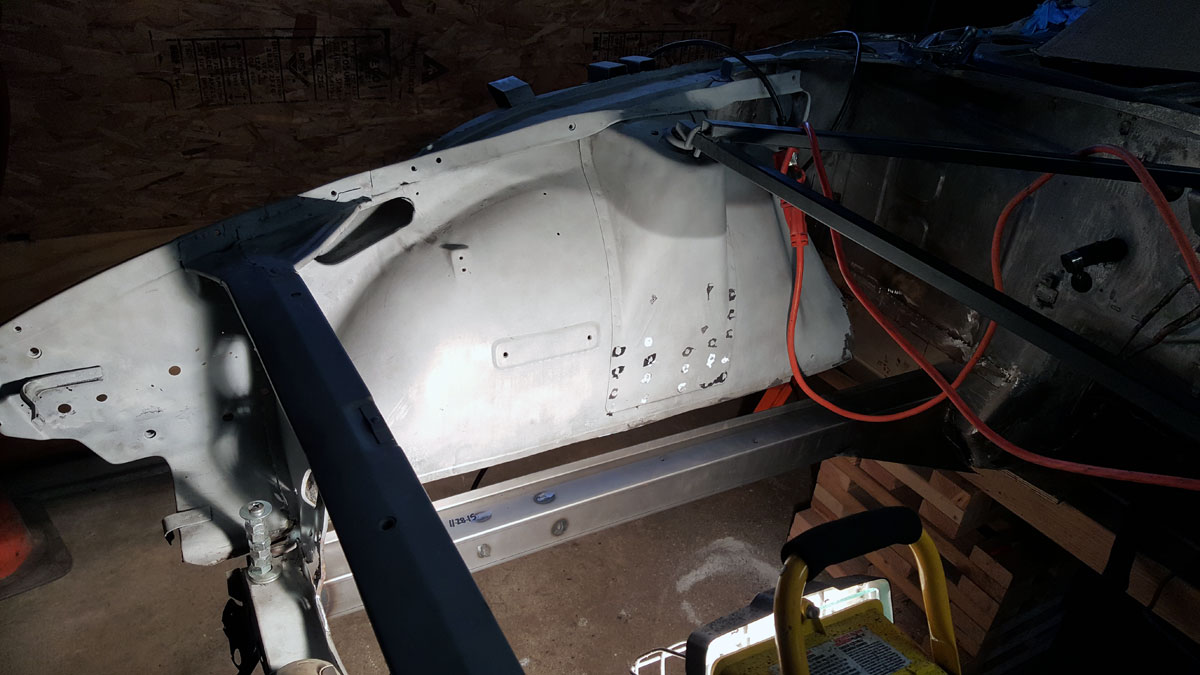
Next it was time to figure out what I was going to do about the massive hole where the battery tray used to be.


To find a particular page, use the search feature or index.


12). Passengers foot well

Before I could move on to the passengers side frame rail, I needed to rebuild the foot well. But just like the floor board, it was completely rusted out and then covered with sheet metal and body filler, so I had to cut it all out.

And that left a huge hole that would require a ton of new steel. So I began by creating a piece that would roughly fit the opening I had cut out and worked from there.

It ain’t pretty, but it did the job.

Completed, from the other side.

And here it is after I slathered some more seam sealer over the welds.

This was still early in the build and I was trying to figure out the best way to go about sheet metal fabrication and approached it with a, “try to cover as much area with a single piece of metal” attitude. Which sort of worked but I needed to fine tune my methods.

I was also still learning the nuances of welding thin metal and it showed. My welds looked like crap and I was warping the steel in several places.


To find a particular page, use the search feature or index page.


11). Passengers floor II

With the floor pan in place, I taped it off with some masking paper and cleaned the steel with a wax and grease remover.

Next I applied an etching product that contained zinc to protect the steel from future rust and prepare the surface for epoxy primer.

I had also bought some brushable seam sealer that claimed it could be applied directly to metal, you just needed to tape off the area then slop it on over your seams.

This looked horrible in my opinion…

And even worse once the epoxy primer was applied.

And although I finished off this side with the brushable seam sealer, I chose a completely different product that was applied with a caulk gun after the epoxy primer had been applied and I feel it worked much better than this stuff.


To find a particular page, use the search feature or index page.