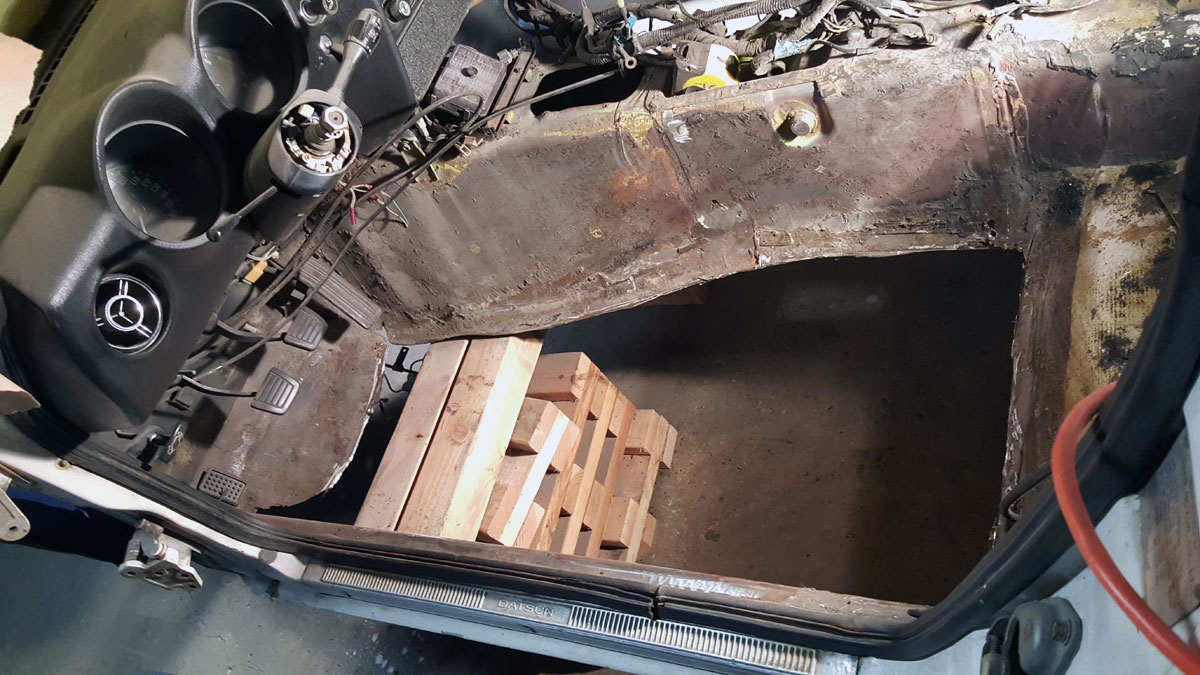
The drivers side floor pan didn’t look nearly as bad as the passengers side, and I felt like I was more prepared for what I was in for this time around.
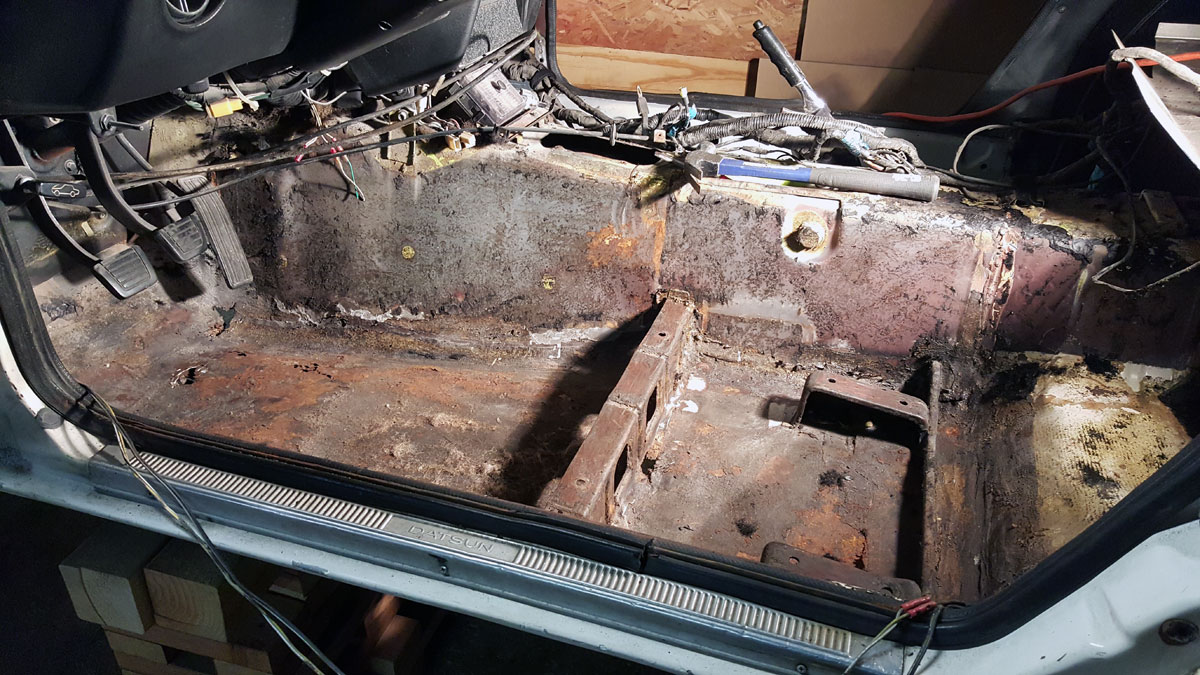
I was wrong.
The drivers side floor board was a nightmare to remove. Mainly because again, the preferred method by the previous fabricator was to layer sheets of steel over the rust and cover it with body filler. Only this time, it wasn’t enough to layer the inside with 18 gauge and body filler, they also used 10 gauge on the bottom where the frame rail had disintegrated. These multiple layers were giving me and my grinder a run for our money.
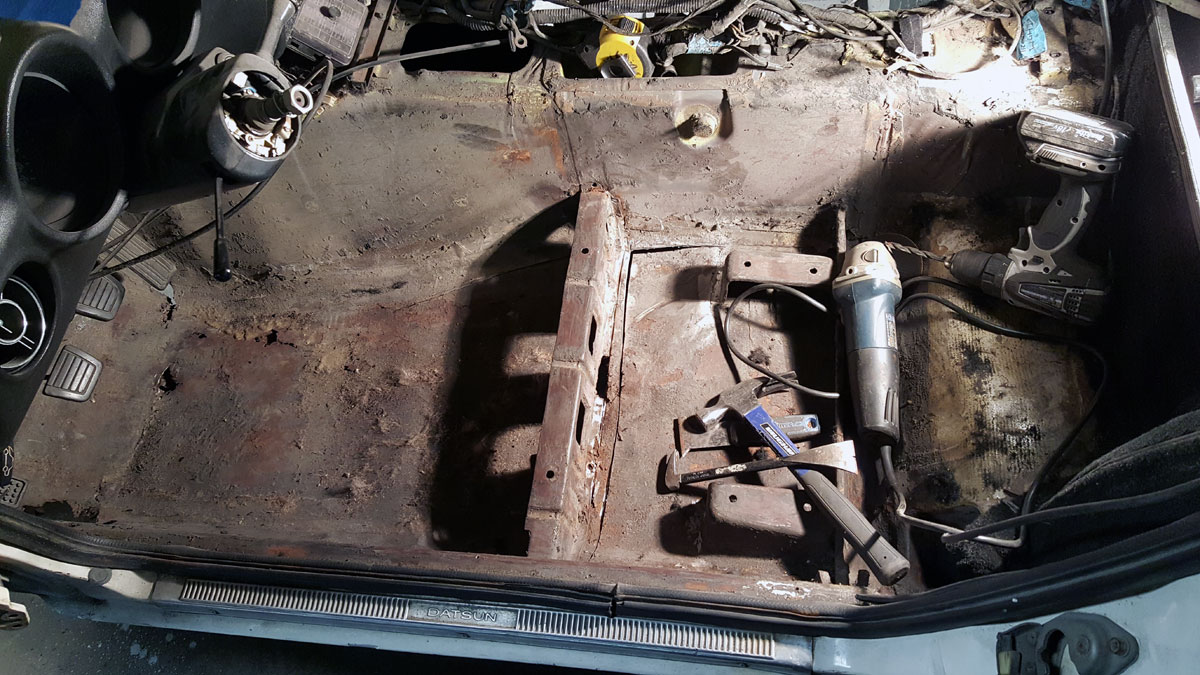
Eventually though, it came out.
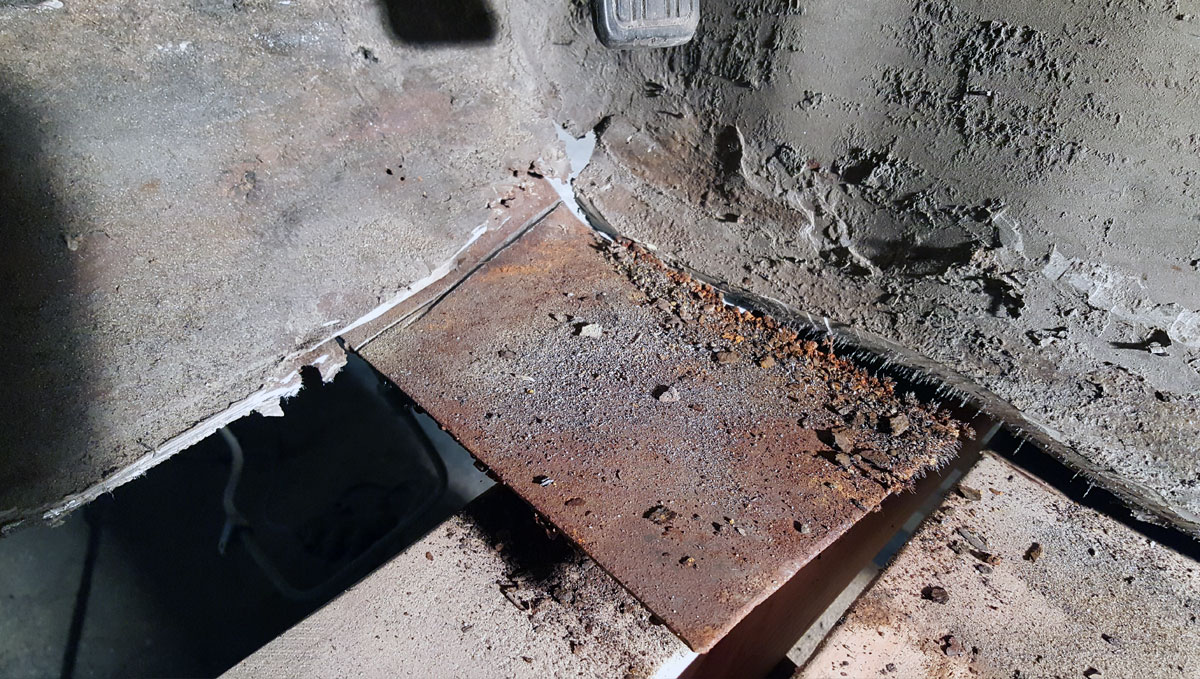
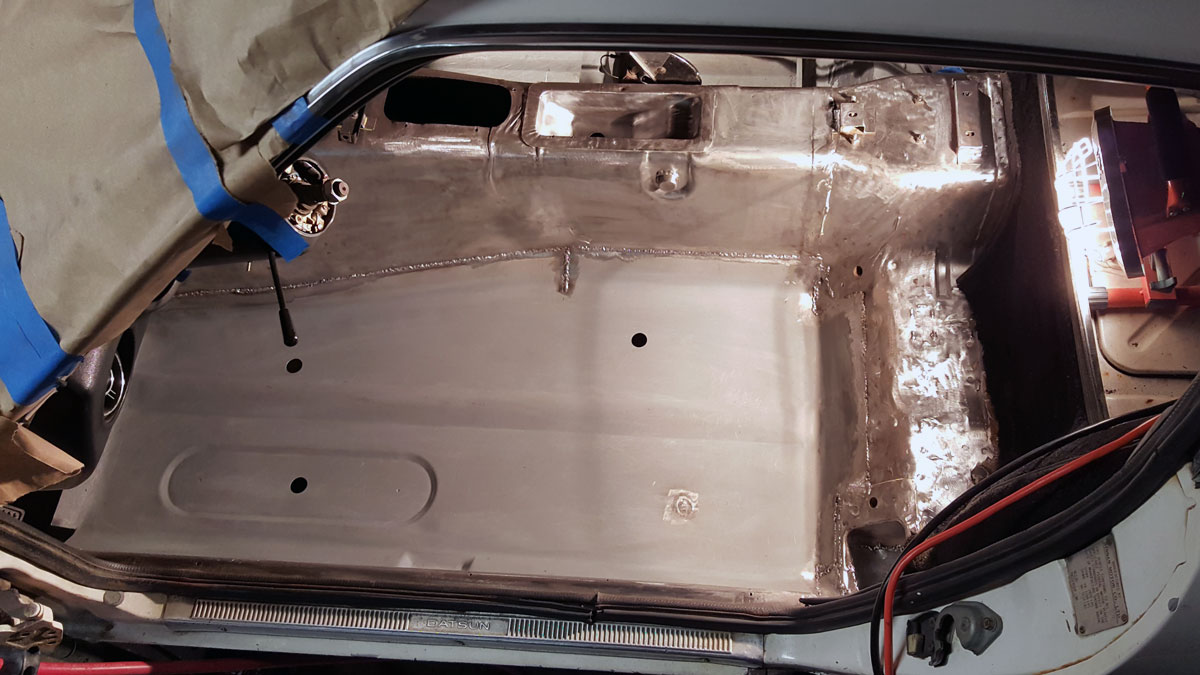
And just like the other side, I needed to work on several little rusted out spots before I could address the real issue. But once those were taken care of, the new floor pan went in without much hassle.
The seat brackets on the other hand, they required quite a bit of reconstructing before they were fit to go back in. But eventually, they too made their way back into the car.
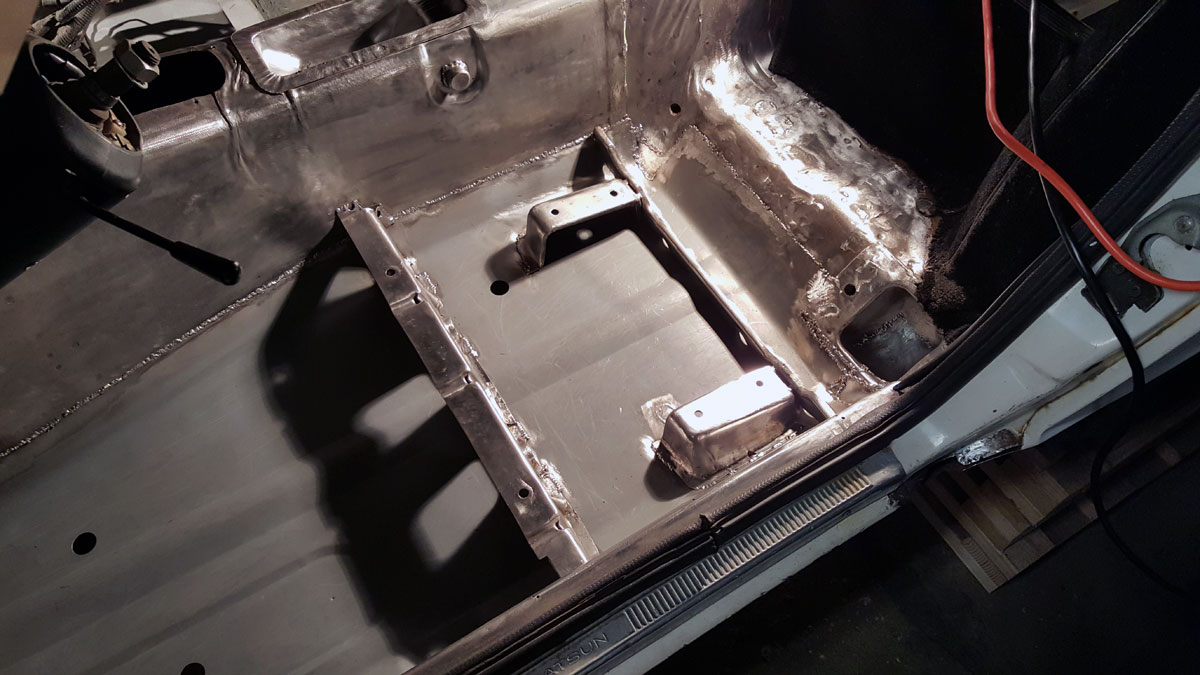
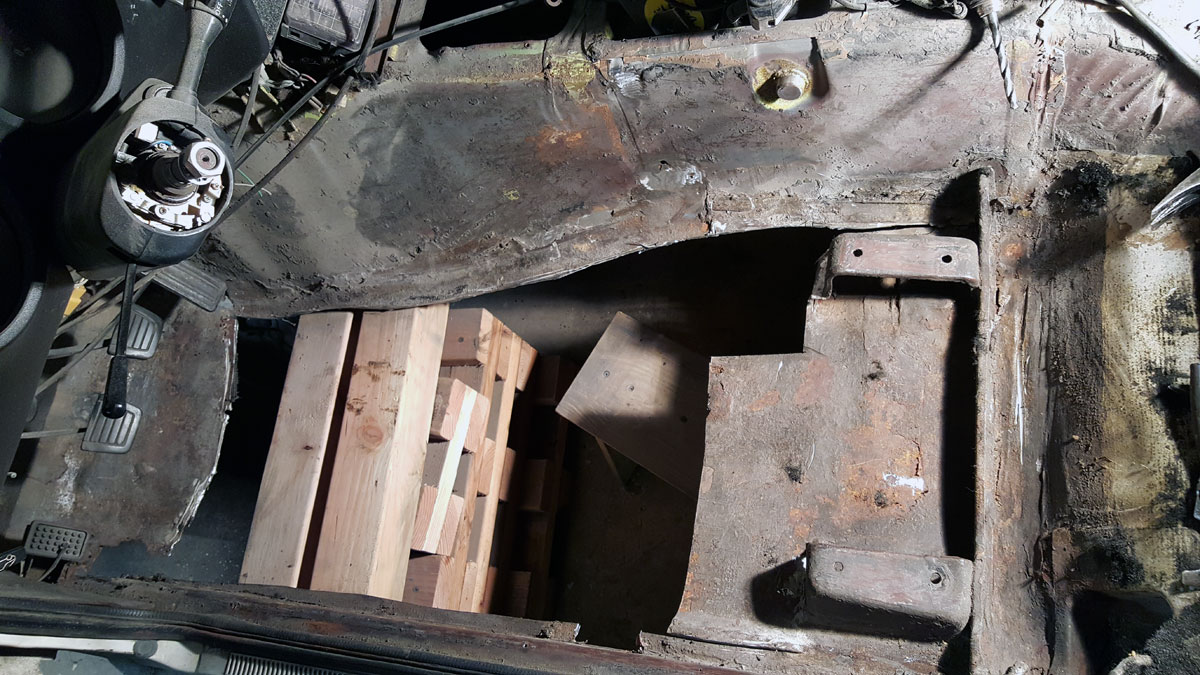
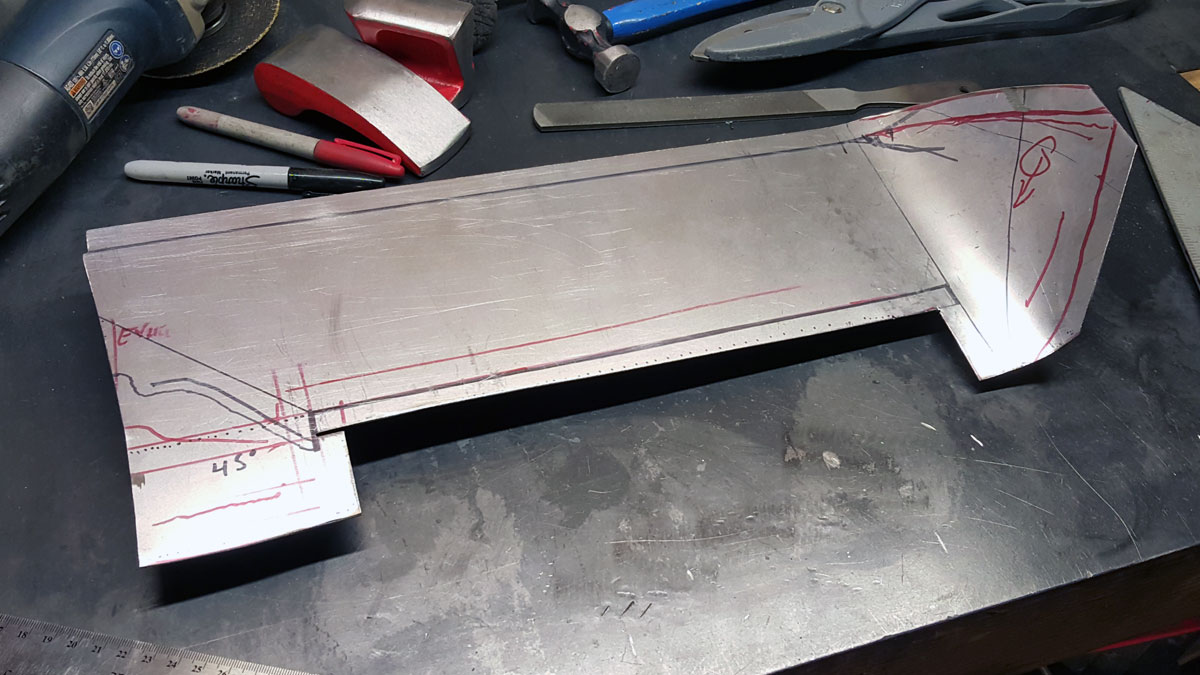
With that out of the way, it was time to start on the drivers side foot well. Which was fairly straightforward without a new battery tray to recreate and just required me to cut a section out of the frame rail like the passengers side, then create a new piece to weld in.
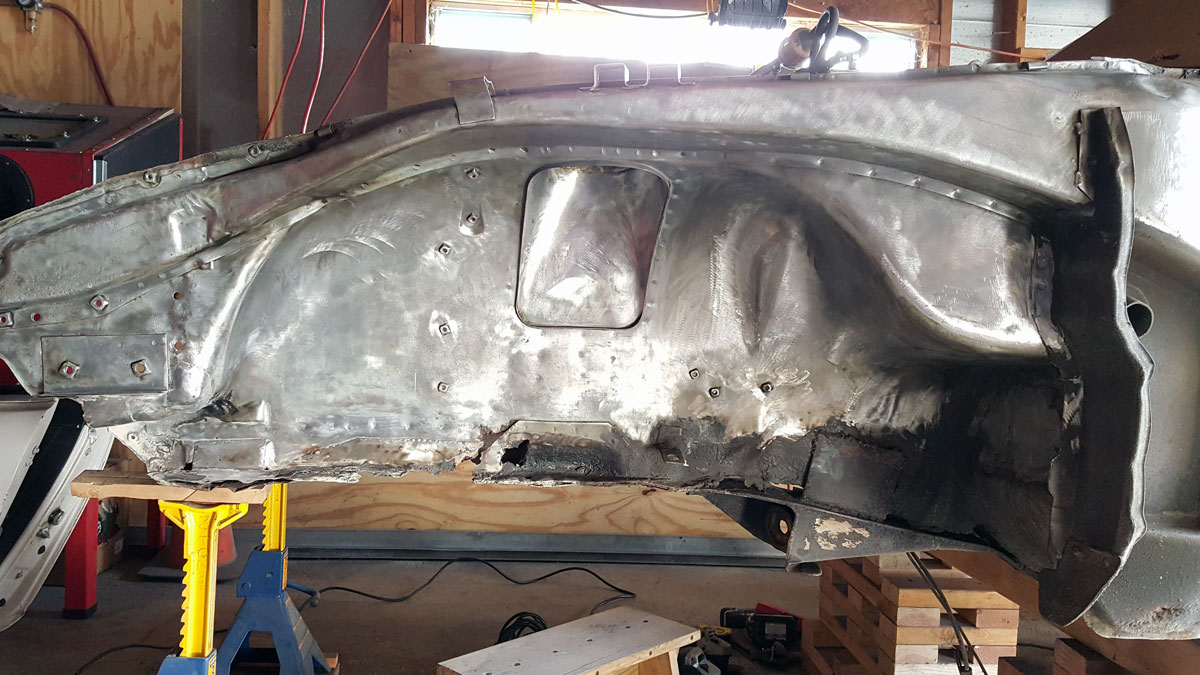
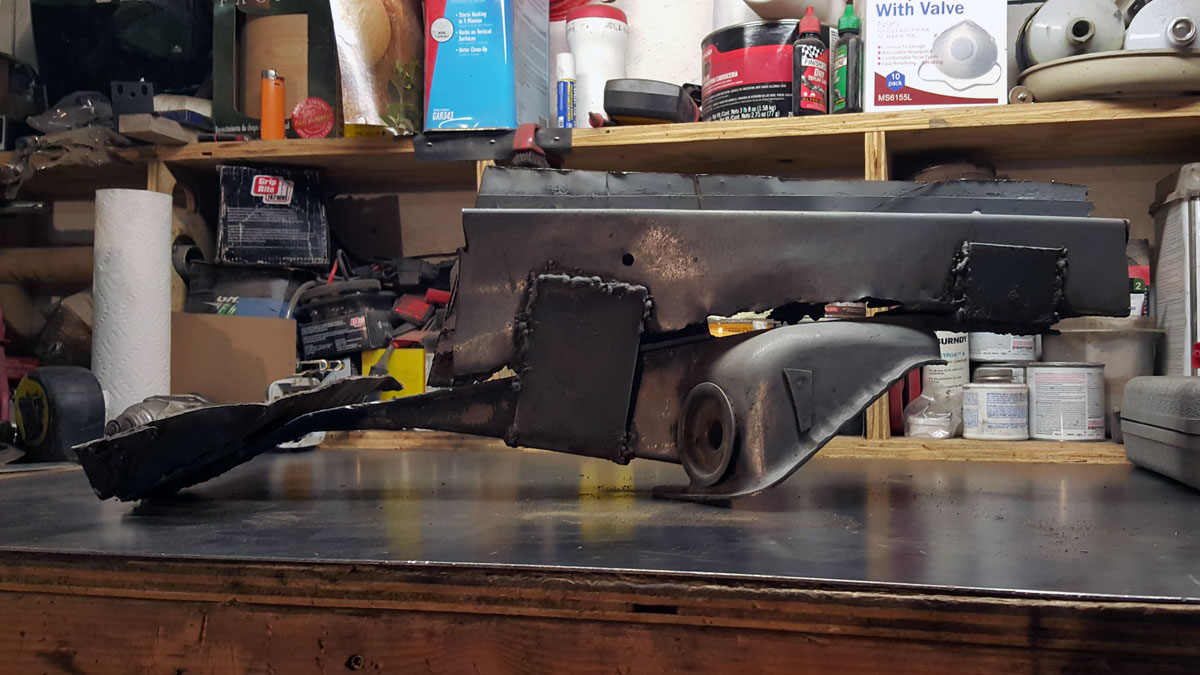
Here’s the finished product from the outside…
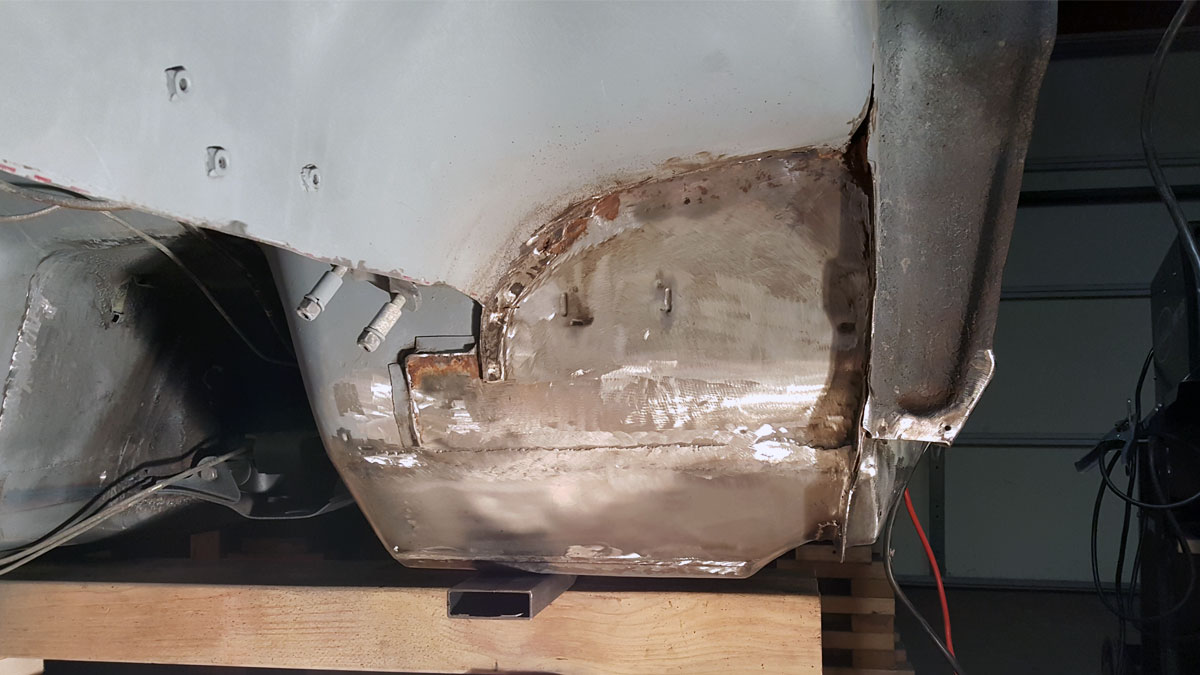
And the inside.

Turned out alright, don’t ya think?
To find a particular page, use the search feature or index page.