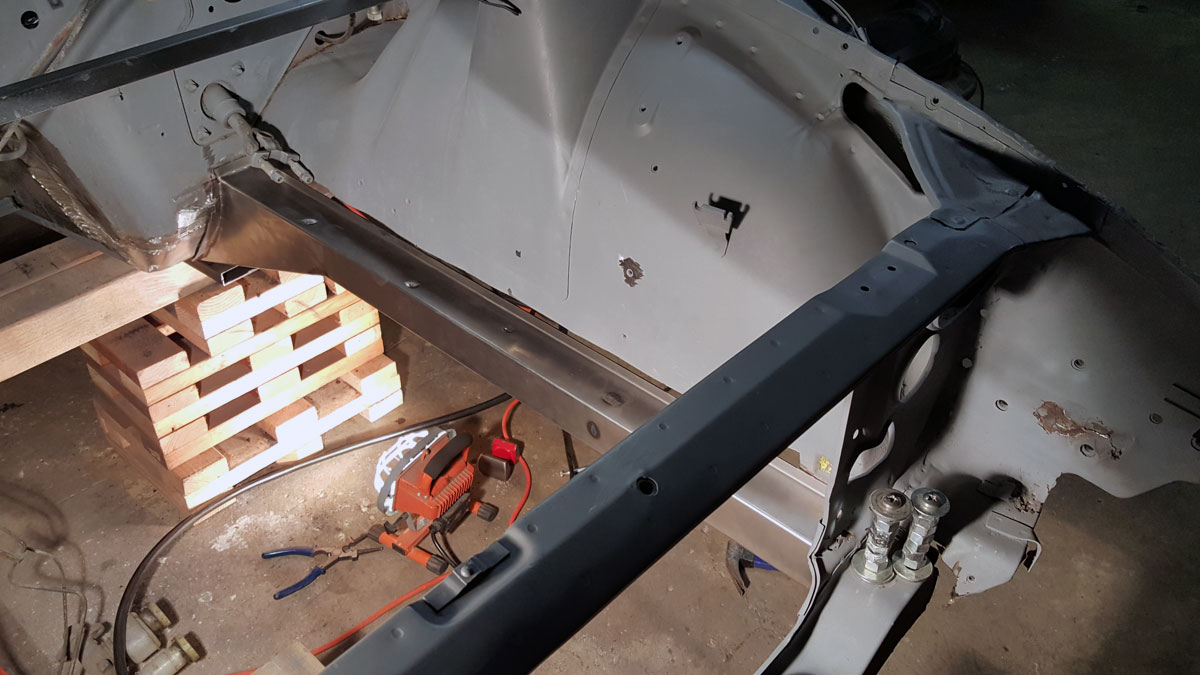
With the drivers side floor pan worked out, I began to chop away at the frame rail so I could test fit the new piece.
Not much adjustment was needed to fit the new frame rail in place and the philips head bolts you see at the bottom right of this picture, were used to temporarily hold the frame rail in place while I mocked up its location. They were the only bolts I had with the same thread and pitch as the frame rail, but happened to be extremely long. So I just used nuts as spacers instead of cutting them down.
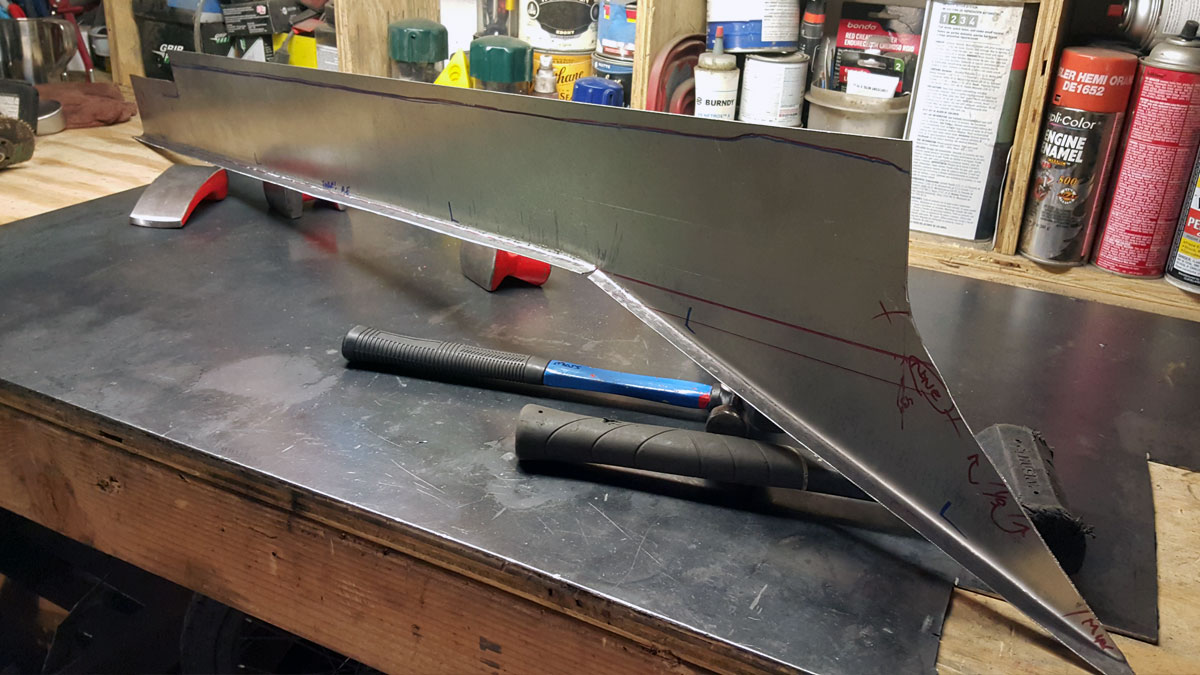
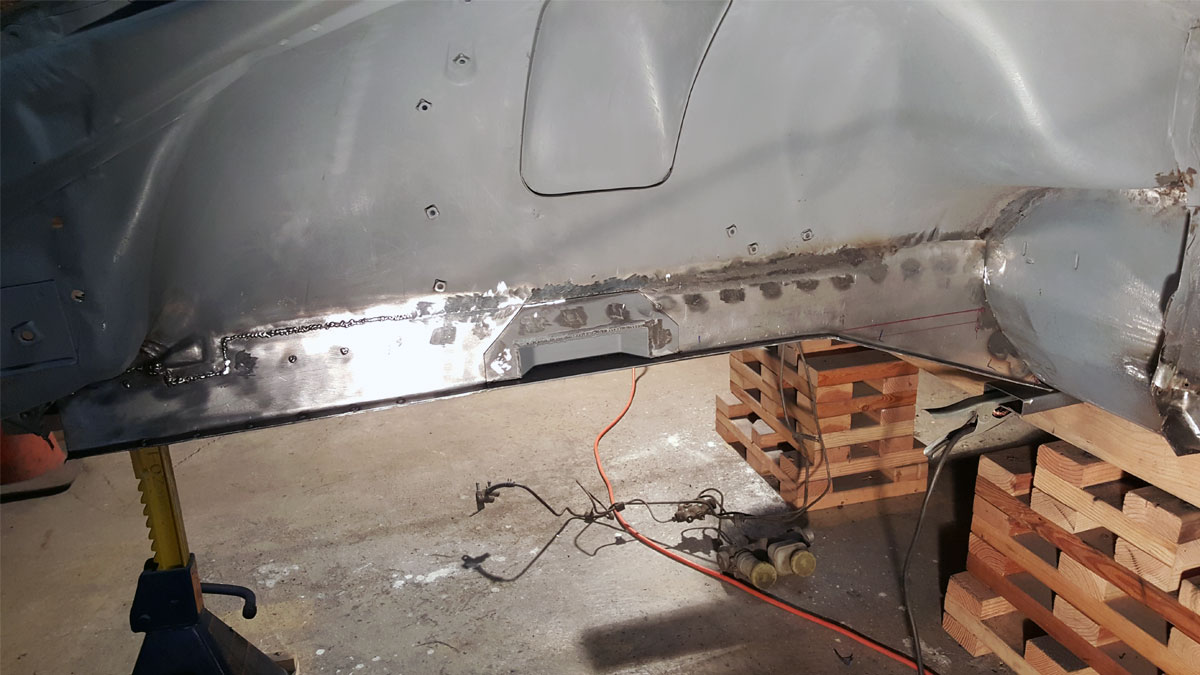
Once I was happy with the fit and welded it in place, I cut out a new inner wheel well lower section and bent it to fit the new rail.
It too welded in place without much excitement.
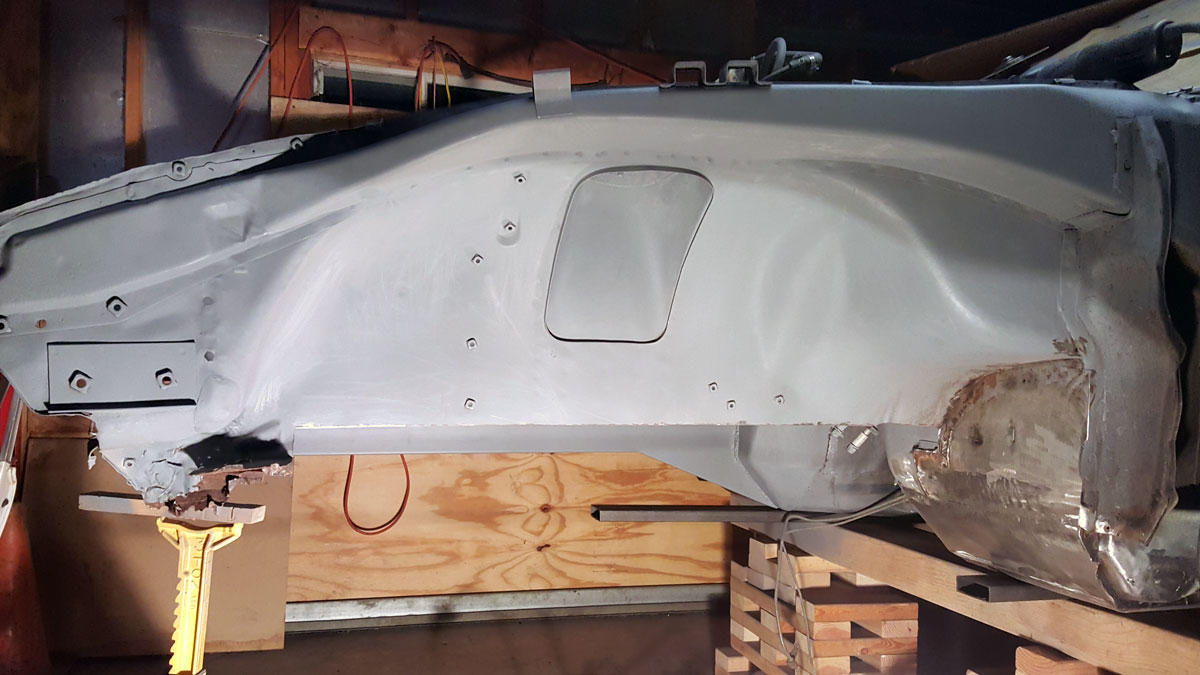
Now that I had both frame rails taken care of, I could move on to other items under the front of the car but needed to be able to work under it without anything in the way. So I strapped it to the rafters and had all the room in the world.
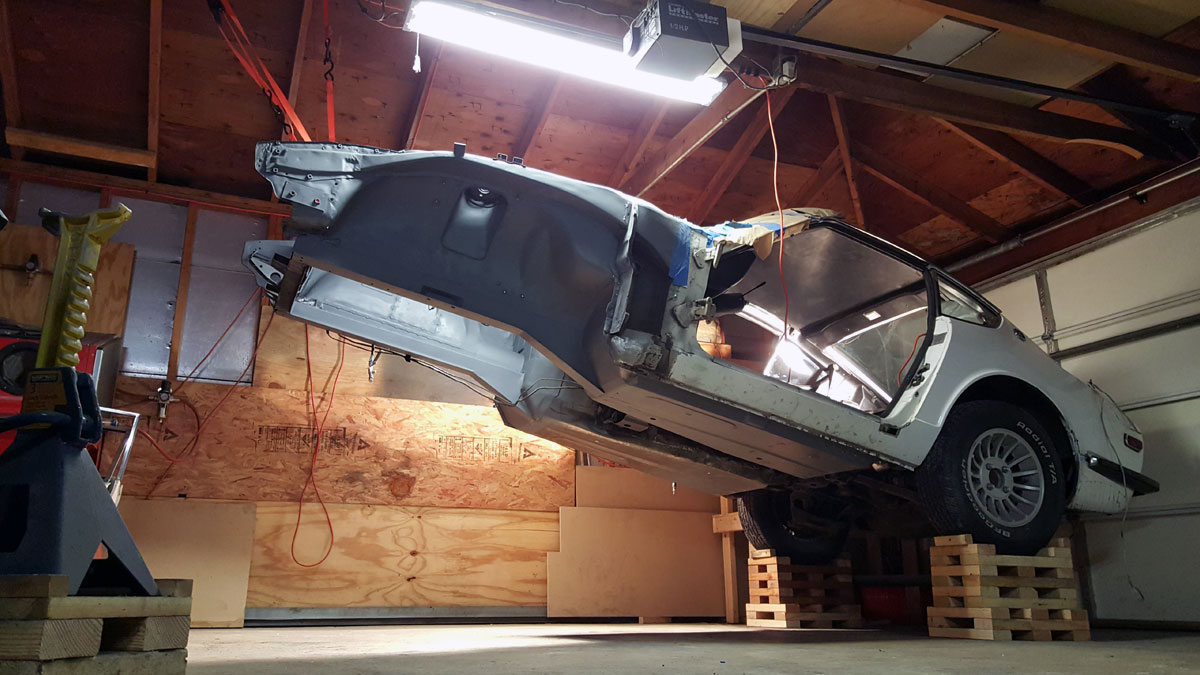
I remember texting my dad that picture and he overreacted like most dads do, telling me I was going to bring the roof down or the car was going to crush me. I assured him that I’d shore up the front, which I did, but there was truly nothing to be worried about as the car was so light with almost everything removed. I could easily lift the front by hand.
To find a particular page, use the search feature or index page.