The idea is, that if I rebuild and refinish most of the original parts for the car, I’ll be able to drive it close to how it left the factory (without a severely rusted out frame) and save some money on not buying a ton of new parts right now.
And I know I’ll want to upgrade many things on the car eventually, but thought it would be nice to upgrade those things in the future starting from a clean slate so to speak.
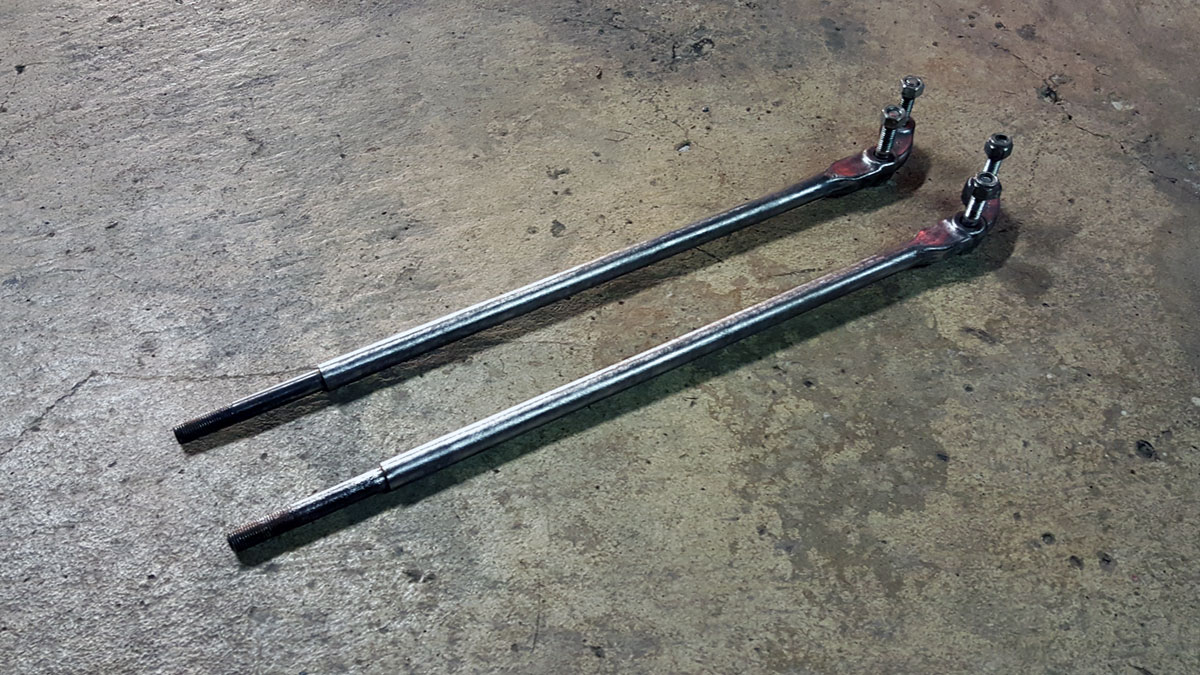
So here I am, looking at a 43 year old control arm that I’ve removed from the cross member that looks like a hell of a lot of work to bring it back to its former glory.
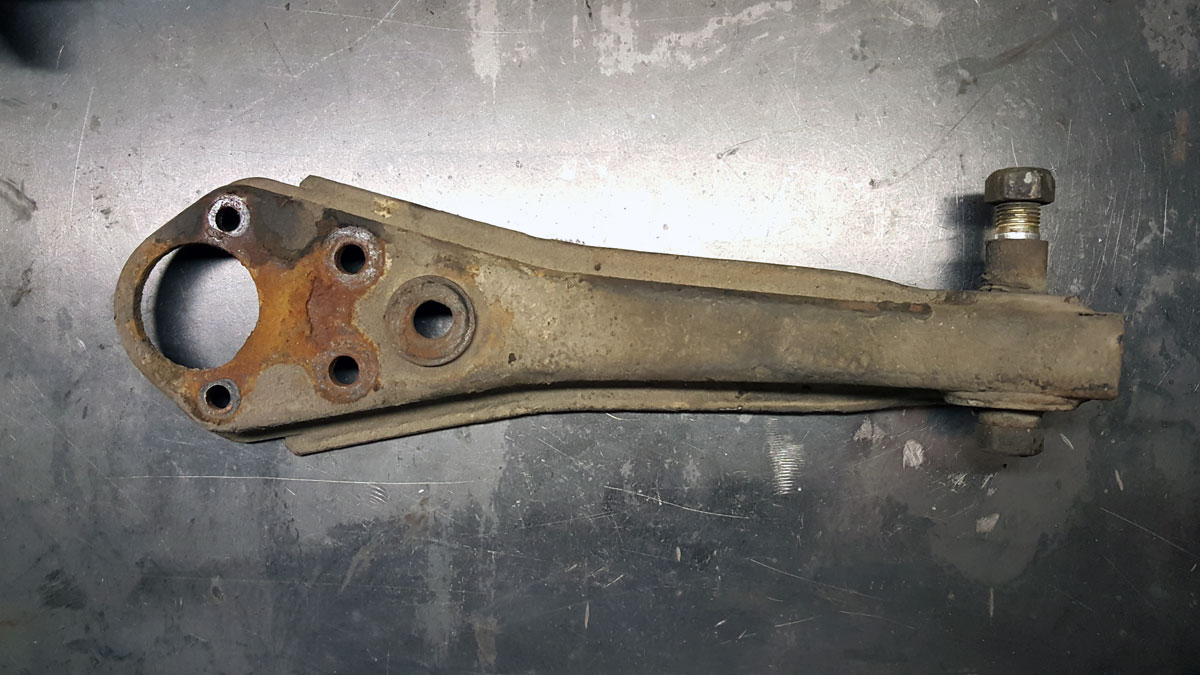
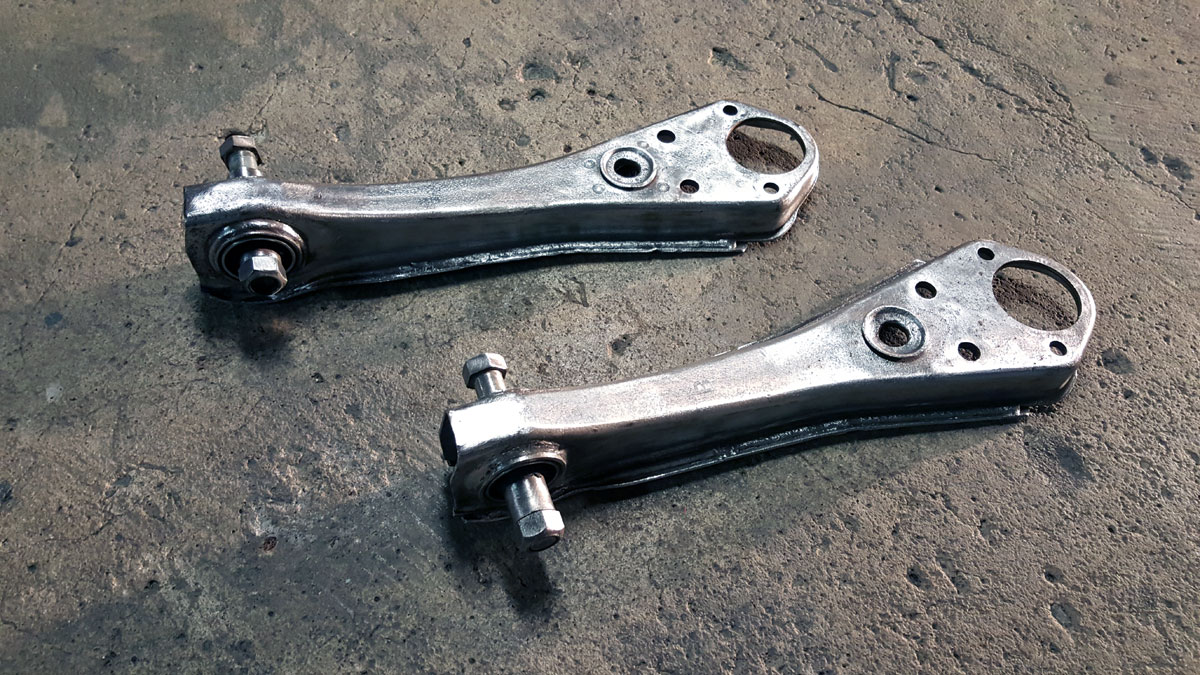
And they were a lot of work. Using an assortment of wire wheels and a lot of patience, I was able to get the control arms down to bare metal.
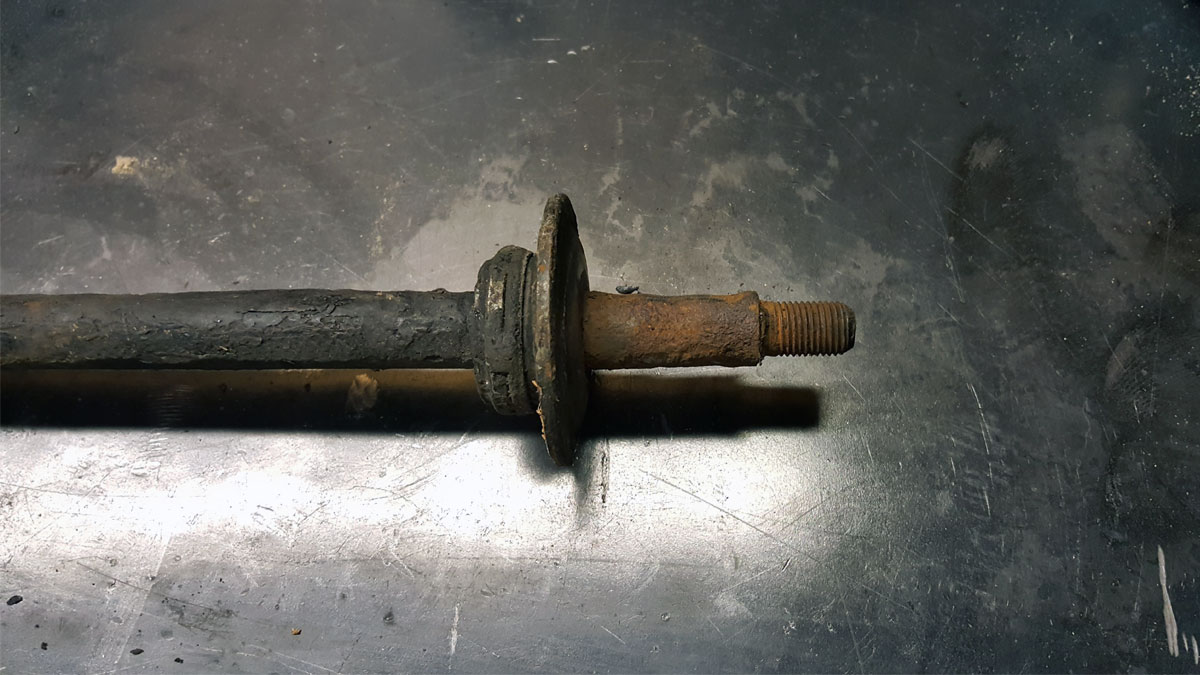
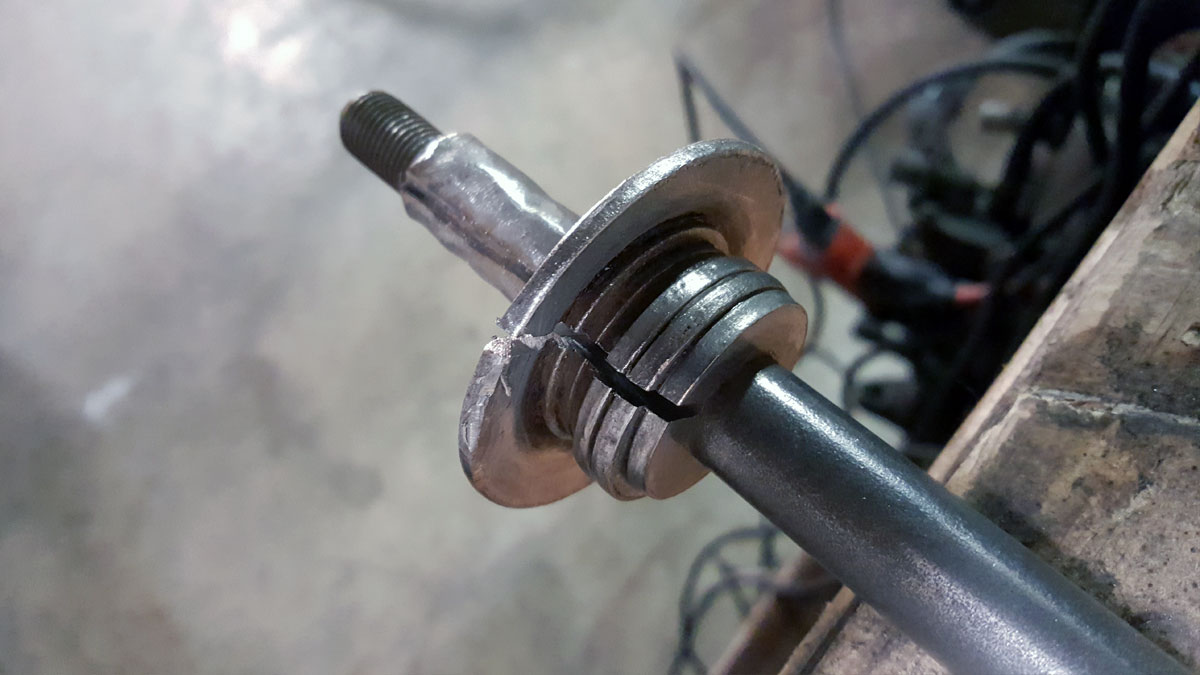
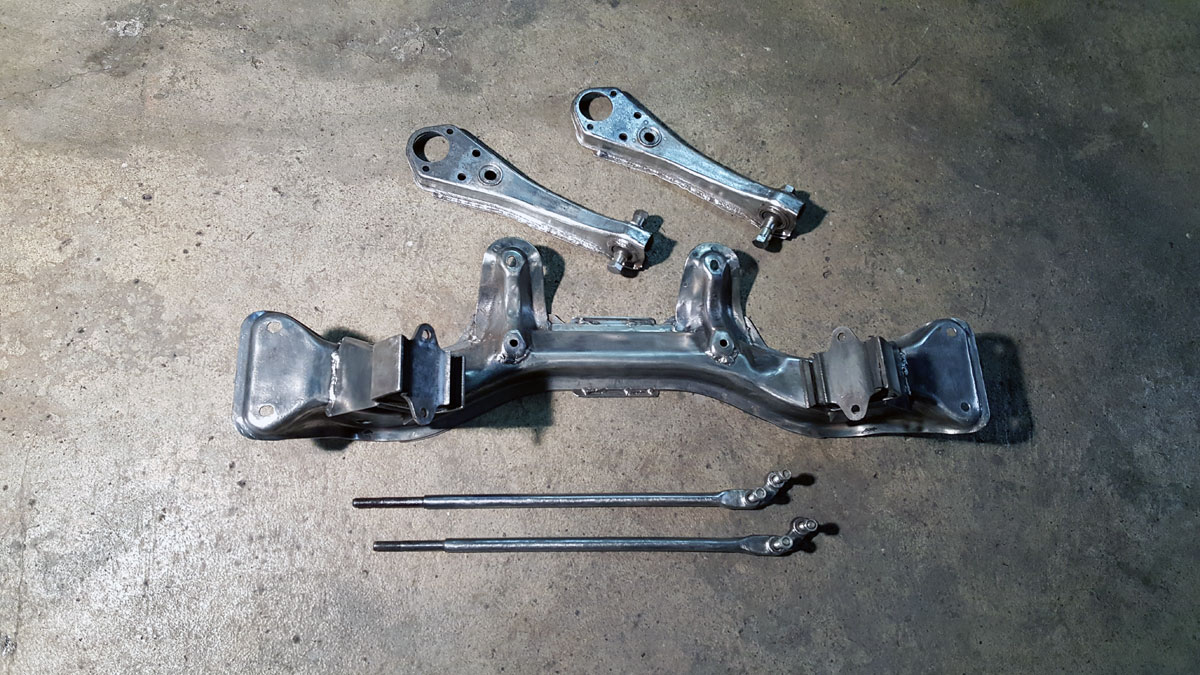
Next up were the torsion bars. One just needed a good cleaning, while the other had some hackery going on in the form of washers for spacers. Which had rusted themselves to the torsion bar, but with a little persuasion, and an angle grinder, I got it where it needed to be.
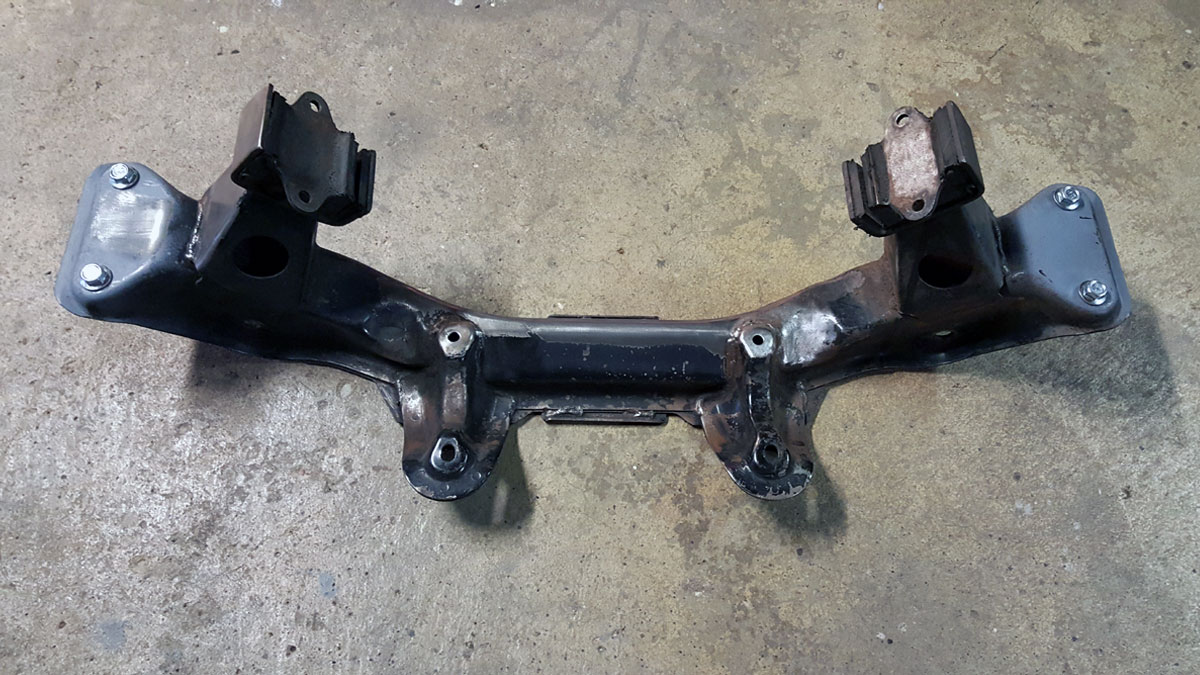
Then came the cross member itself. After I cleaned most of the dirt and grease off, it wasn’t in nearly as bad of shape as the other bits.
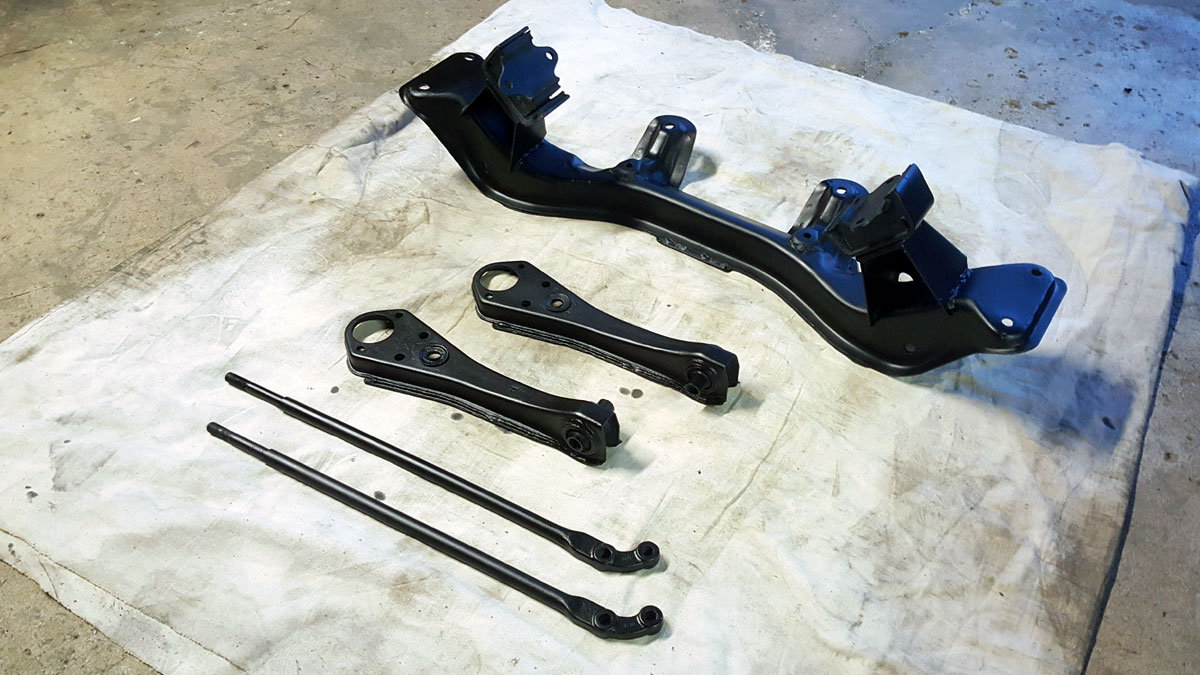
Just like the control arms and torsion control bars, I took it down to bare metal with a wire wheel as well. Here’s the whole lot after they’ve been cleaned up. The factory welds on some of these components made me feel better about my welding prowess.
At this point you may be asking yourself…
But Jason, why aren’t you using the sand blast cabinet we’ve seen in the background of some of your pictures?
Well studious reader, this would have been a whole lot easier and taken considerably less time. However my sand blast cabinet was shit. It’s a Harbor Freight model I picked up for around a hundred bucks on sale and it performs like a hundred dollar Harbor Freight sand blast cabinet. That is, not very well at all.
On a side note, about a year later I got tired of all this wire wheeling and invested nearly $500 into that $100 sand blast cabinet to make it what it is today… a friggin’ beast. More on that later.
Back to the car, I applied a zinc rust proofing to all the parts I’d just taken down to bare metal, then gave them a couple coats of primer.
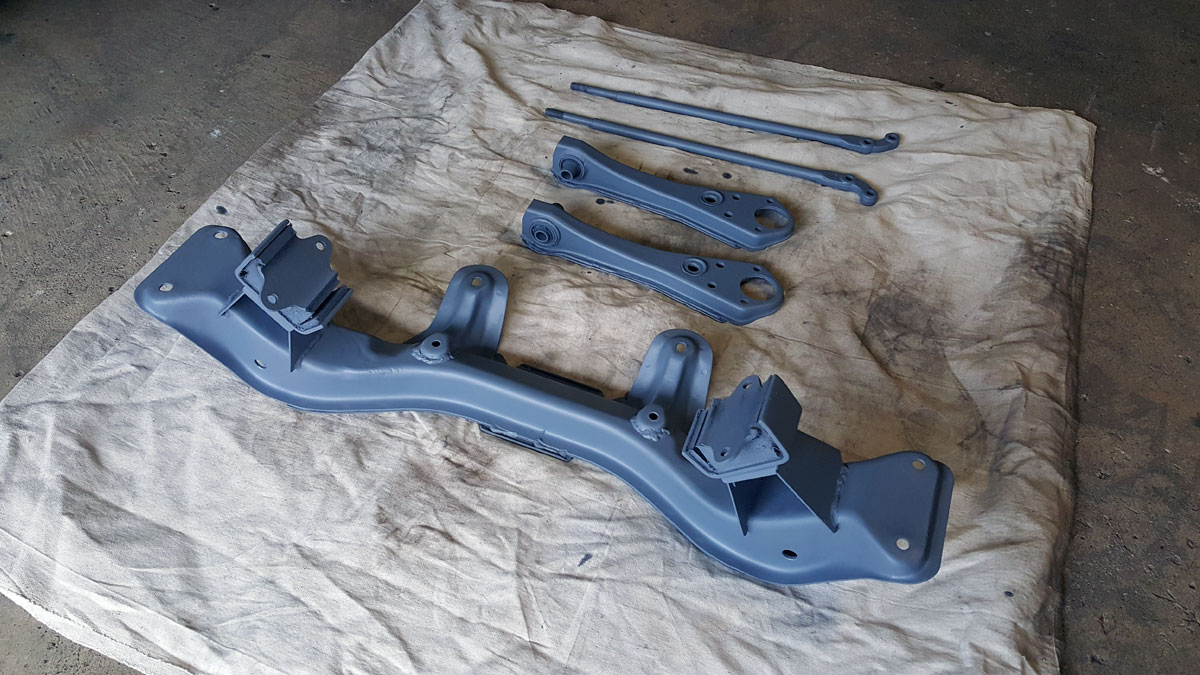
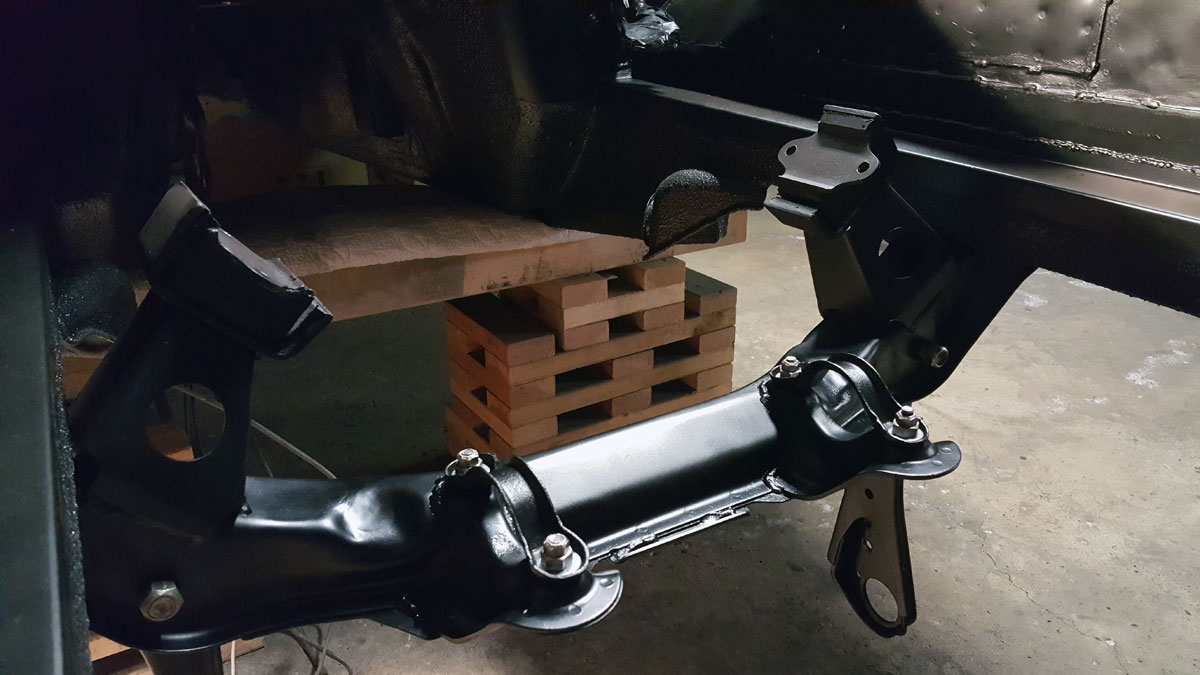
Once dry, I applied the same matte black I used for the engine bay, then bolted the whole assembly to the car.
As with the engine bay, I’ll have to remove these parts and give them a couple coats of automotive flat clear at some point.
Things were coming along though. Next up was the front strut assembly.
To find a particular page, use the search feature or index page.