28). Differential

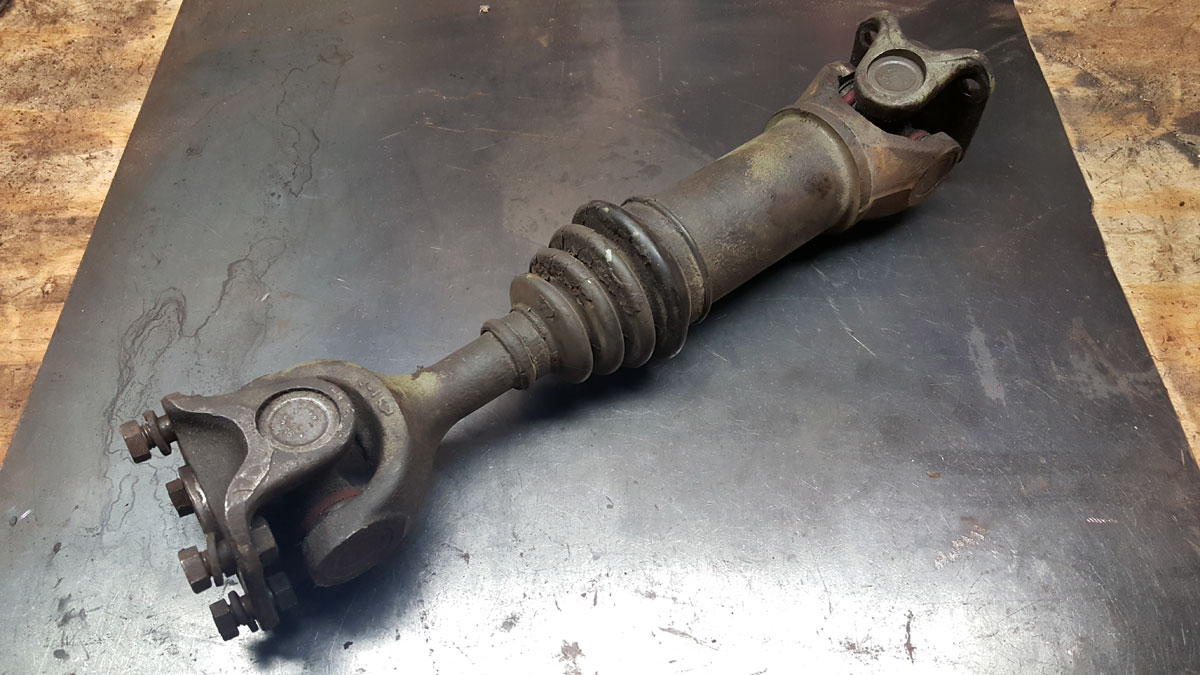
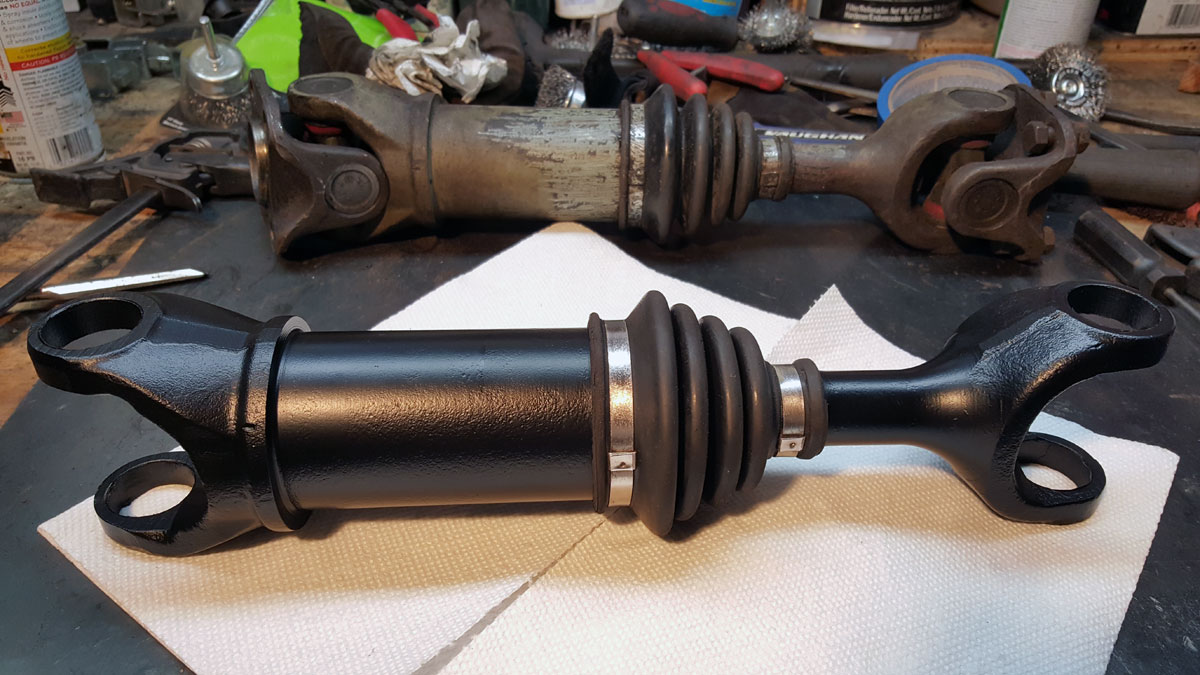
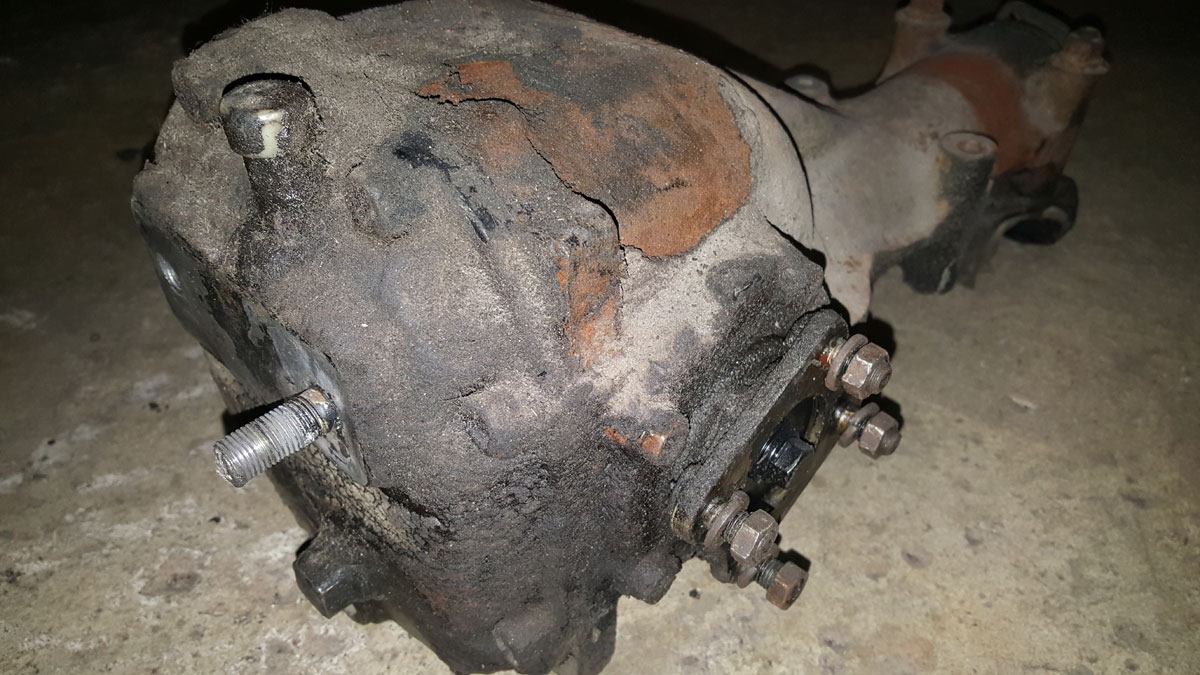
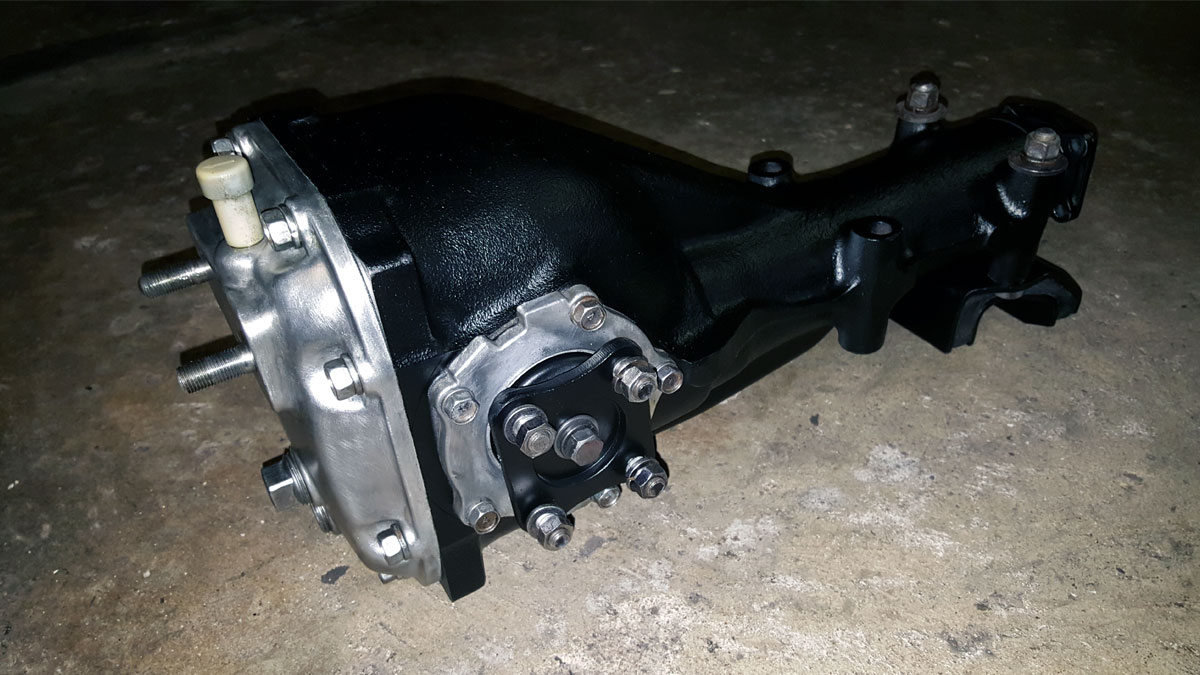
With the half shafts completed, I moved on to the differential. It was about what you’d expect a four decade old differential to look like.

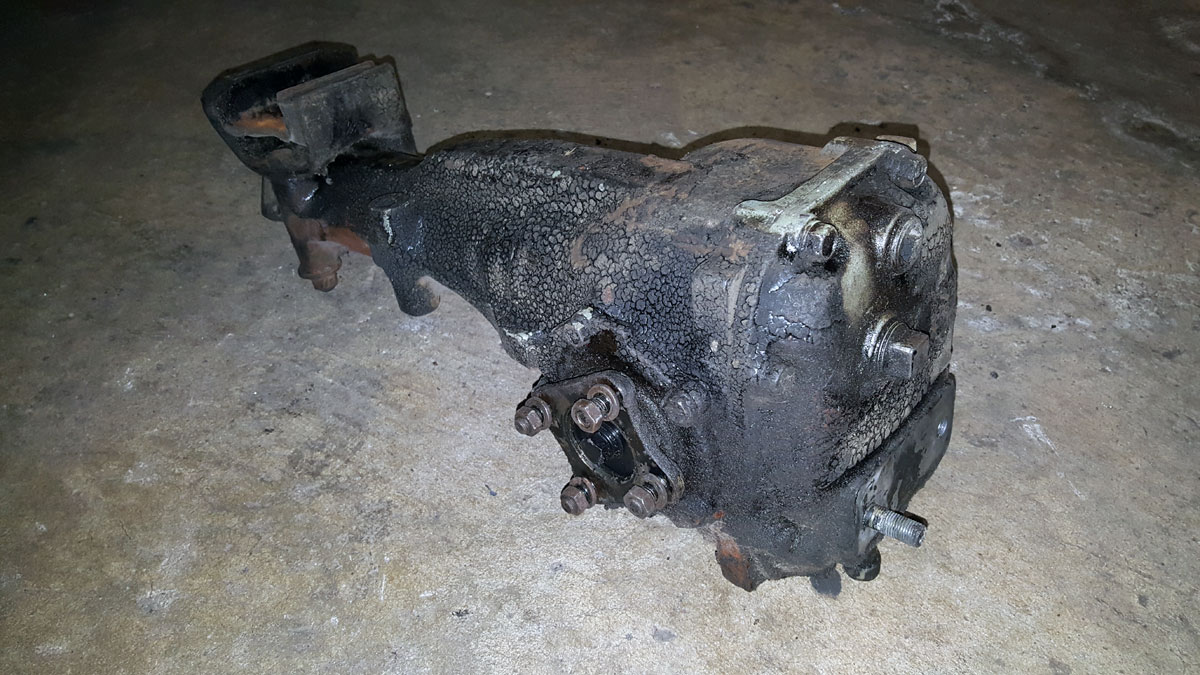
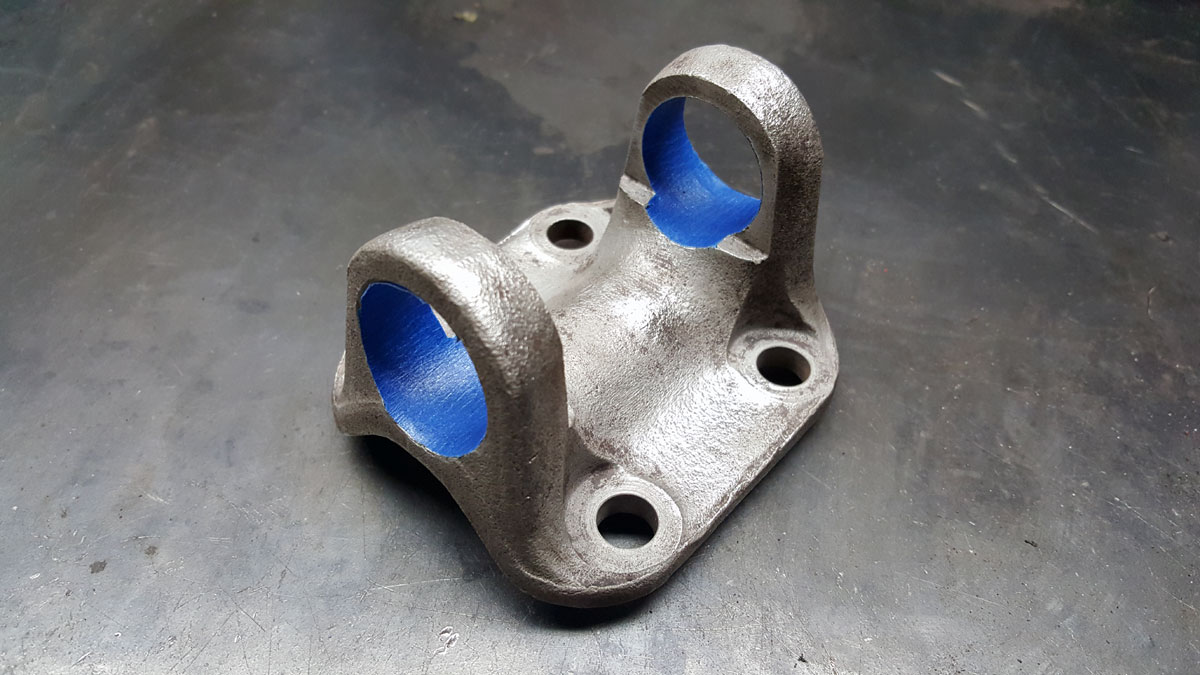
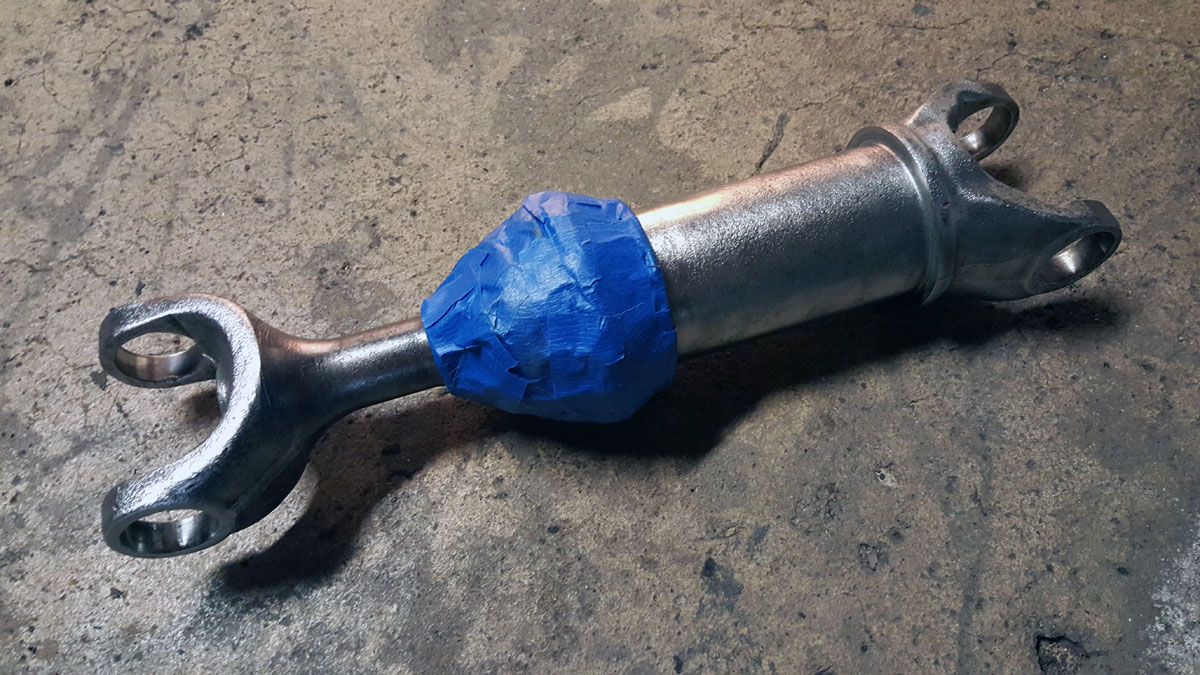
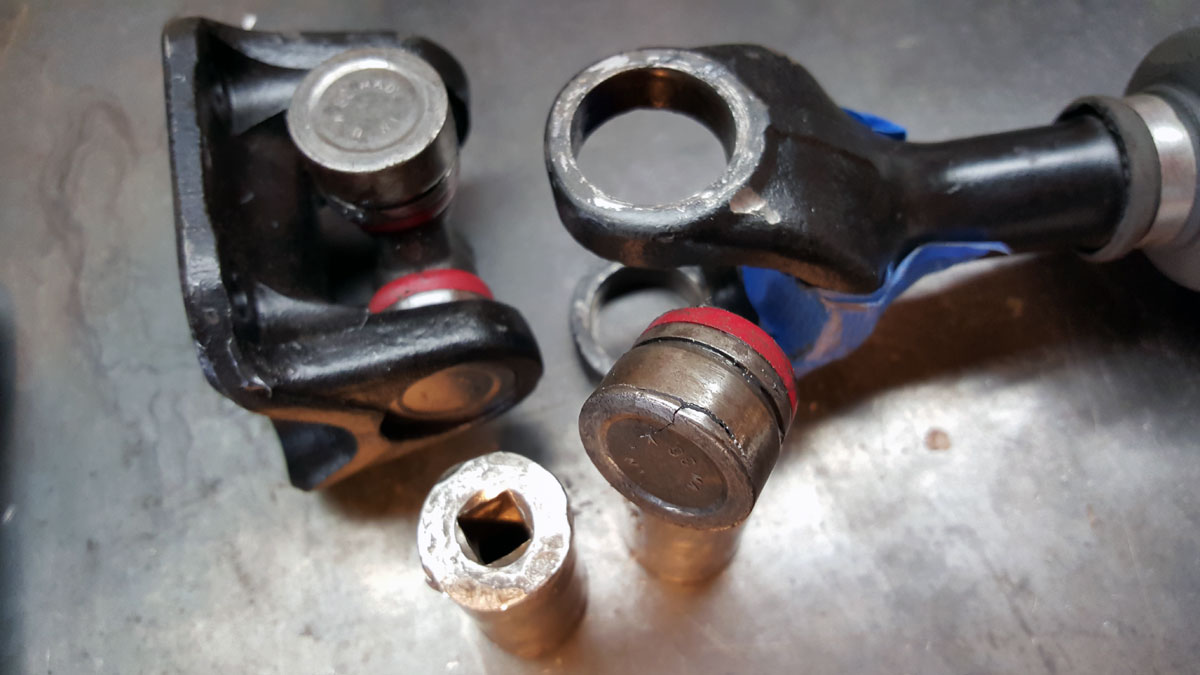
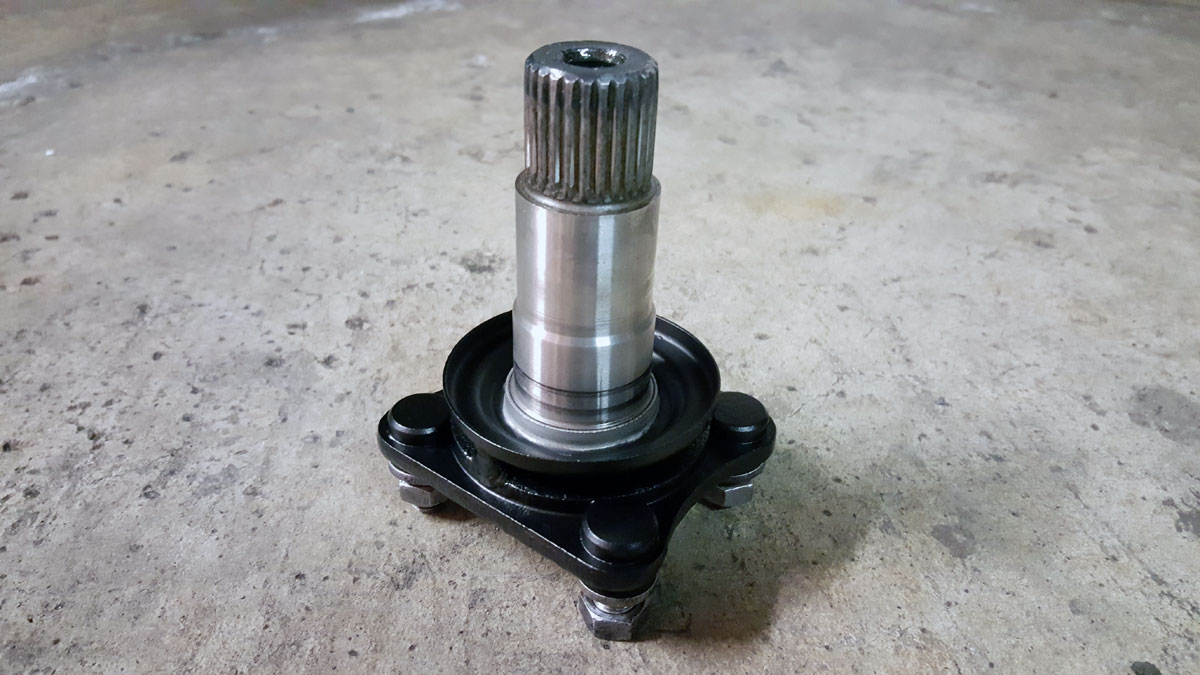
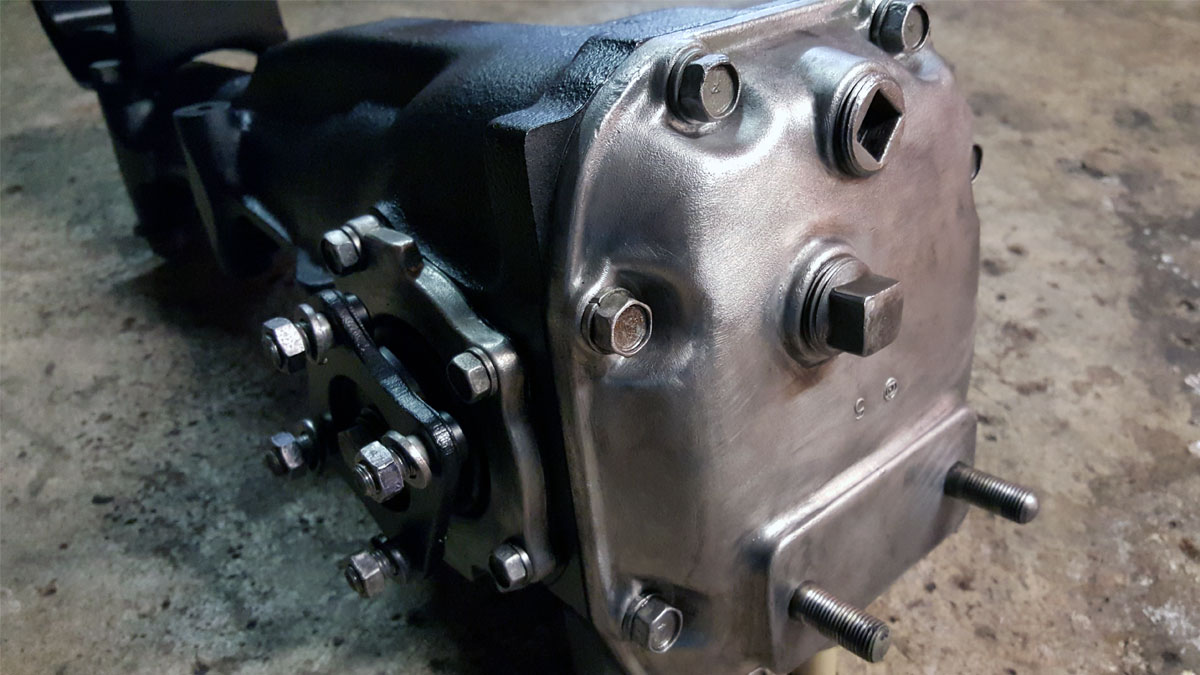
So I cleaned the entire thing then removed one part at a time, refinishing each before I moved onto the next. The splines and gears still looked pretty good, so I’d clean and re-grease as I went.

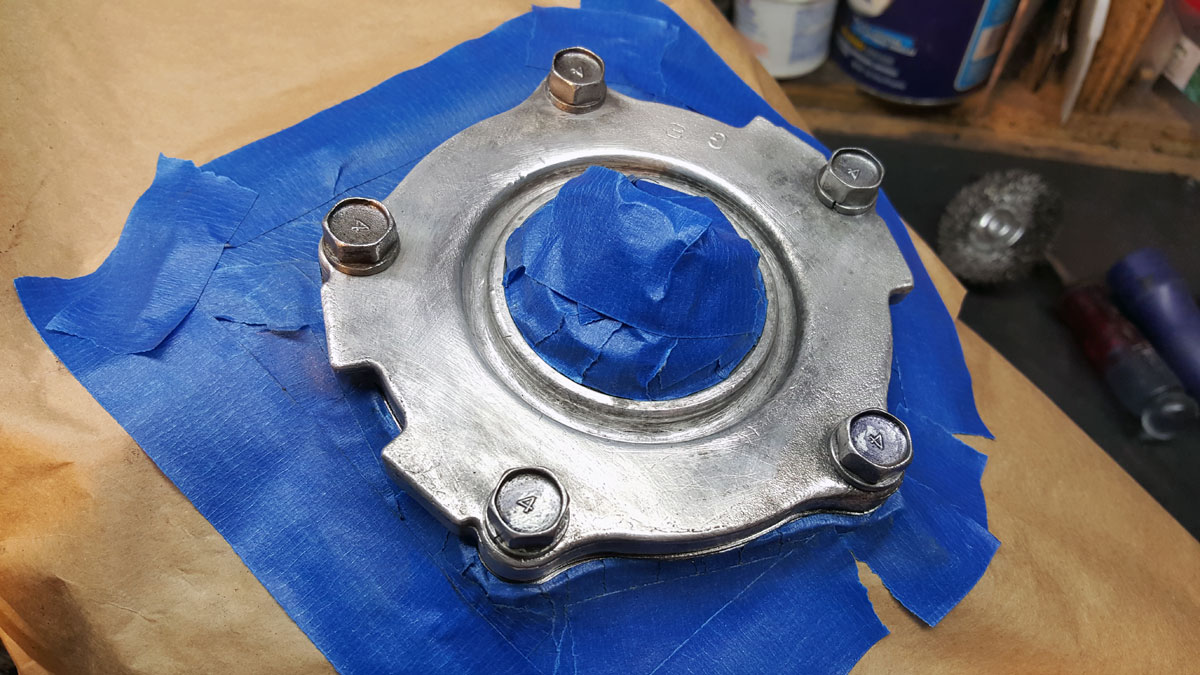
Then I’d tape off other areas and give the aluminum a coat of flat clear then reinstall the parts I removed.

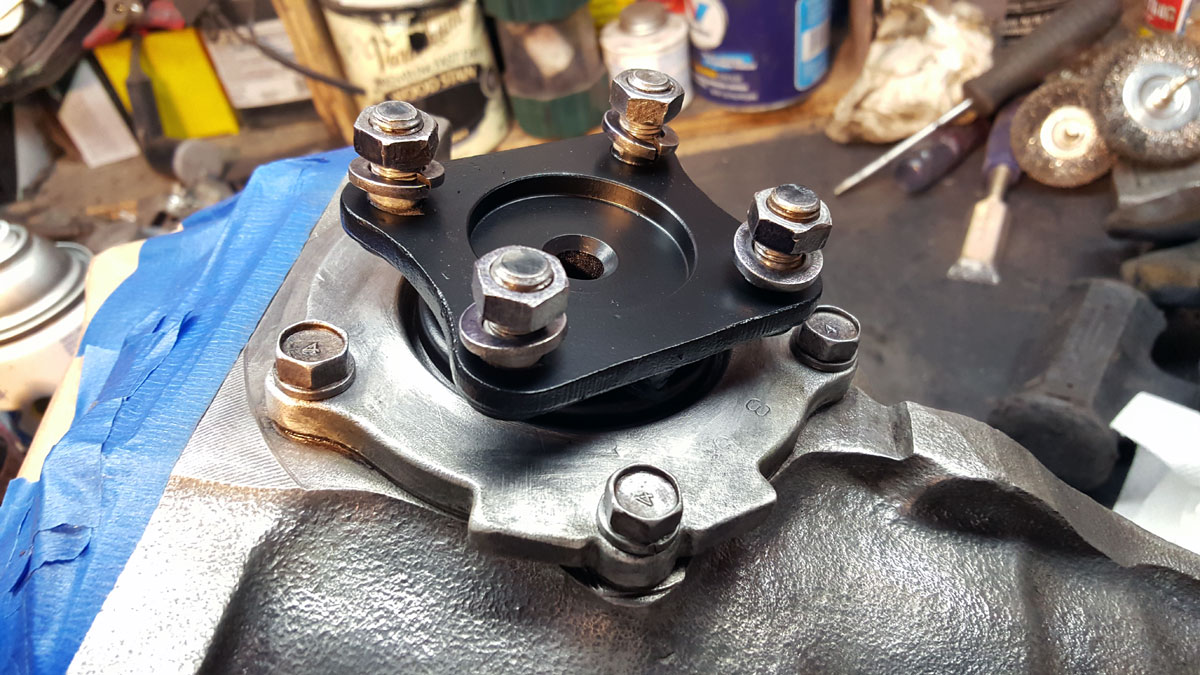
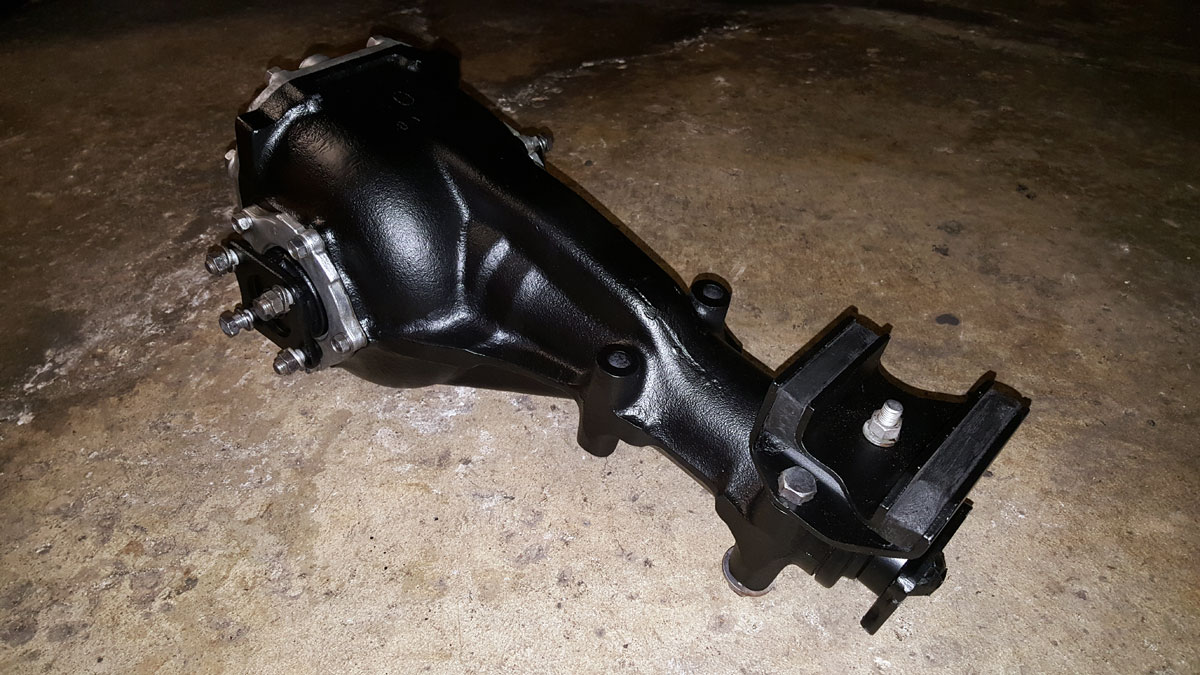
Considering how this looked when I began, I was very proud of how it turned out when I was done painting and reassembling.

Along with the other parts I’ve refurbished, this will end up getting a coat of automotive flat clear to fully protect it from the elements and scratching.

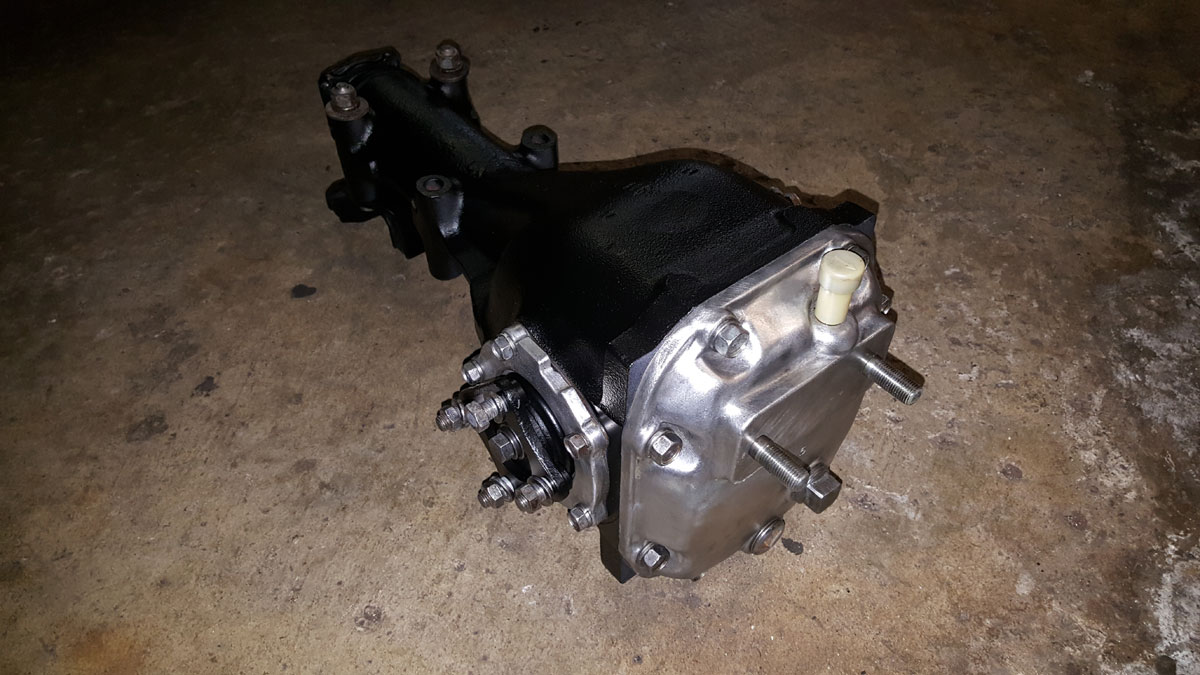
And with all the tar and dirt removed from this diff and all the other parts from the car (the underside especially) I probably saved as much, if not more weight than I’ve put back on in undercoating and sound deadening.


To find a particular page, use the search feature or index.


27). Drive shafts (half shafts) I

Still working on the rear components of the car, and I needed to scrape off all the old road grime and tar off of the half shafts, or drive shafts as Datsun calls them.

More interestingly, Datsun refers to their drive shafts as propeller shafts. Apparently this is common, but I’ve always thought of drive shafts as, well, drive shafts.

So I disassembled the half shaft and began refinishing each part starting with the flange yoke, taping off areas I didn’t want paint on after I wire wheeled it clean. Again with the overkill, I know.

Now the manual says to open up the half shaft and re-grease the ball spline every 30,000 miles.

I did not do that. In hindsight, I should have… especially knowing that it’s most likely never been done on my car, which has at least 50 thousand miles and probably more like 150 thousands miles.

Although the engine looks pretty good for however many miles it has on it.

But I’m getting off the subject.

Back to the half shaft. It had no play in it, compressed smoothly and I didn’t want to have to buy another boot with clamps to replace the ones I’d have to remove (only about $30 each). So I just cleaned the boot and clamps and painted around it.

I’m kind of cringing even writing this now because I’m thinking why didn’t I just fully disassemble it and do it right. Well, It’s still out of the car to this day as I haven’t reassembled the rear suspension yet, so I can, and should… but it did come out alright for what it was.

Fast forward to May 2018 when I did rebuild them before reinstalling them.

The universal joints appeared to be fairly new, although the seller didn’t mention if this was something that he had replaced recently or not. So I just cleaned and re-greased them all except for one, because I broke it putting the thing back together. Pricey little bastards too at about $25 each.

Once I did get the half shafts reassembled I think they looked good.


To find a particular page, use the search feature or index.