This car has a limited amount of serious rust on the body (that I have found). So far, the doors, outer door sills and quarter panels are all that seem to be effected by rust on the exterior.
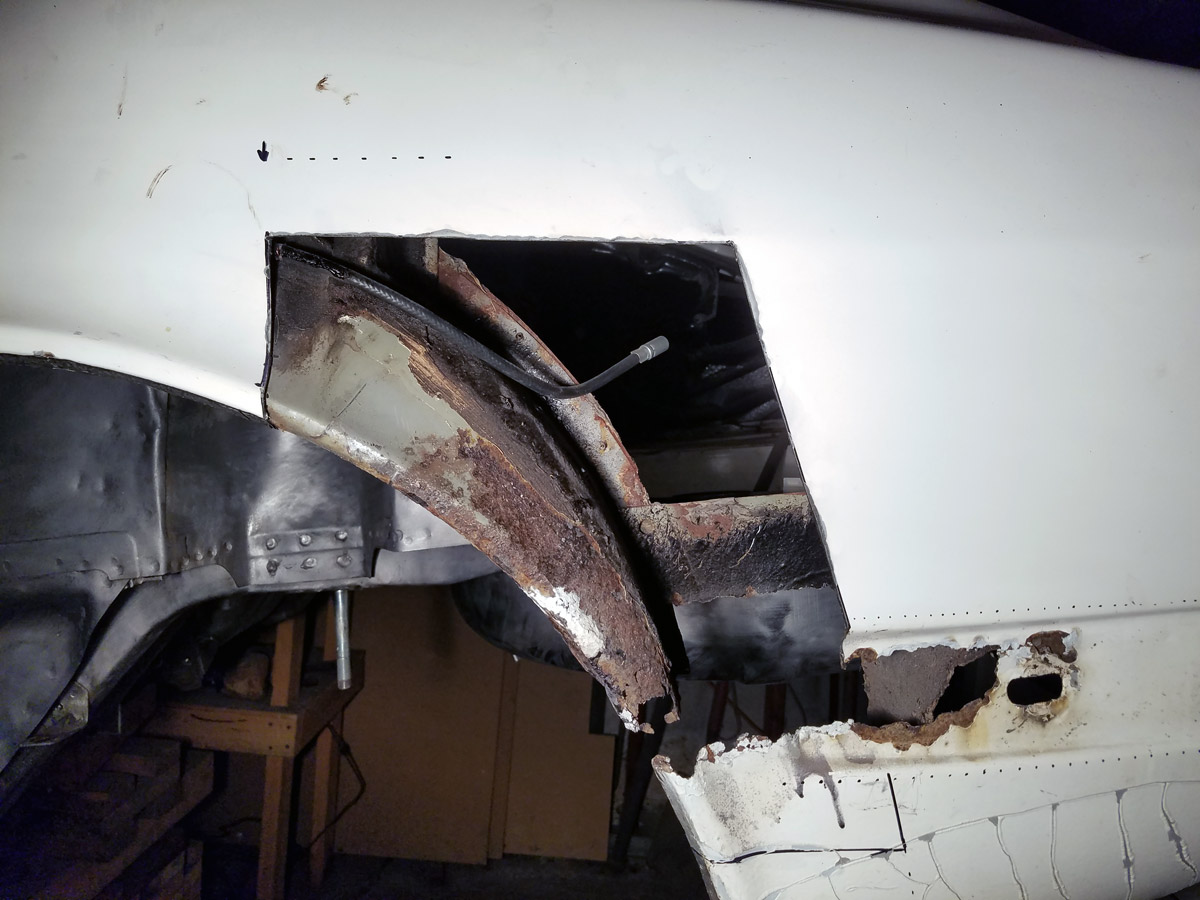
With the rest of the undercoating having been removed, I would need to address the remaining rust before I could finish the rear of the car. Starting with the drivers side quarter panel.
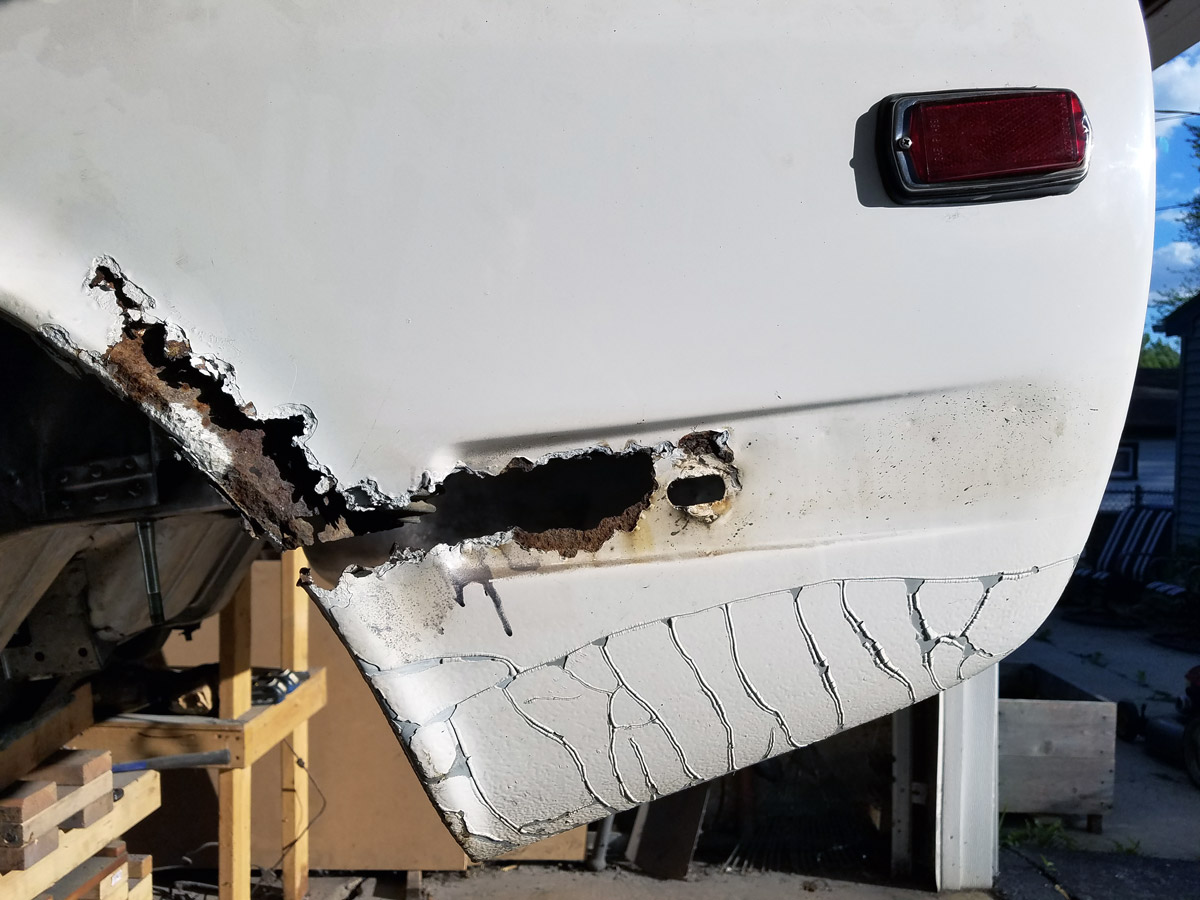
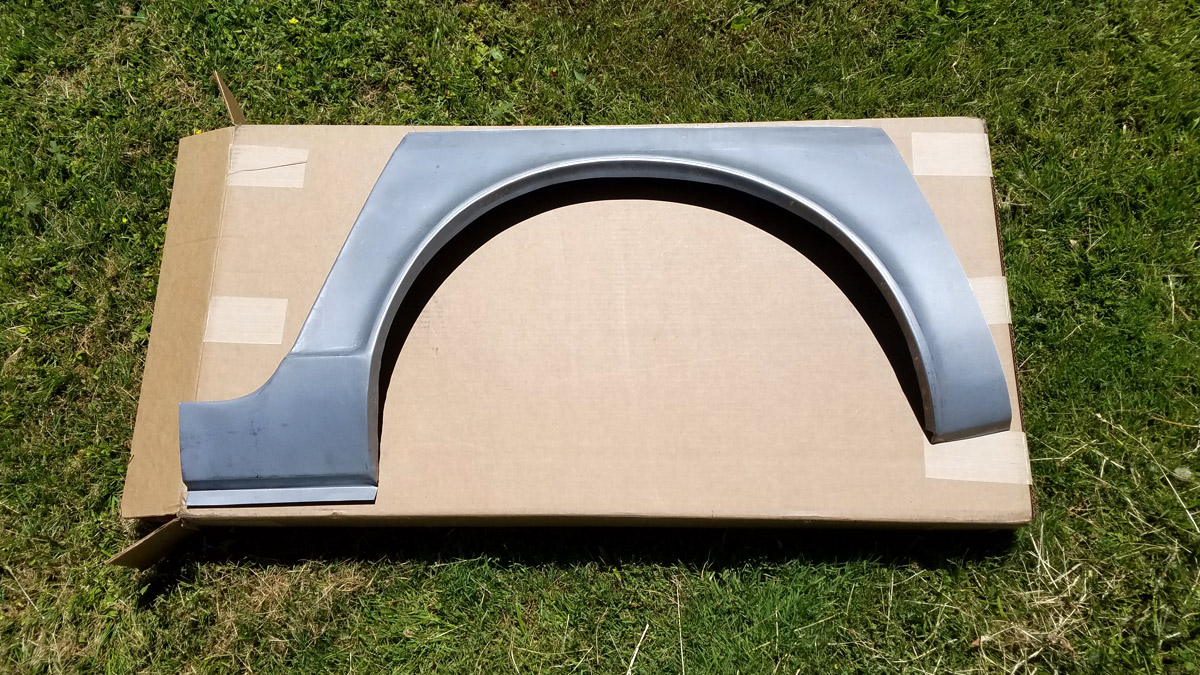
I began by removing the bumper then cutting out a small section of the quarter panel to see how bad the inner wheel well was. Which appeared not to be too bad off, so I only ordered a new quarter panel and figured I could manage the inner wheel well on my own.
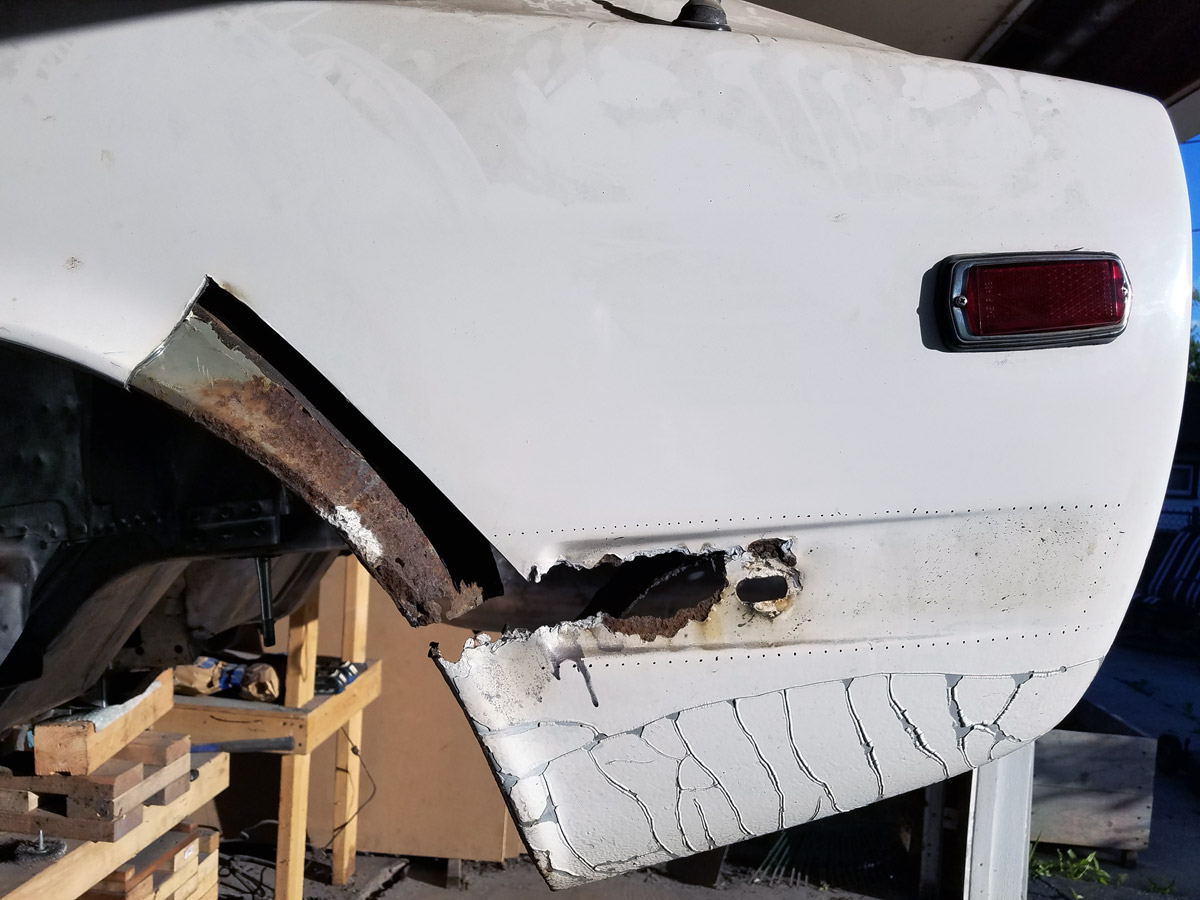
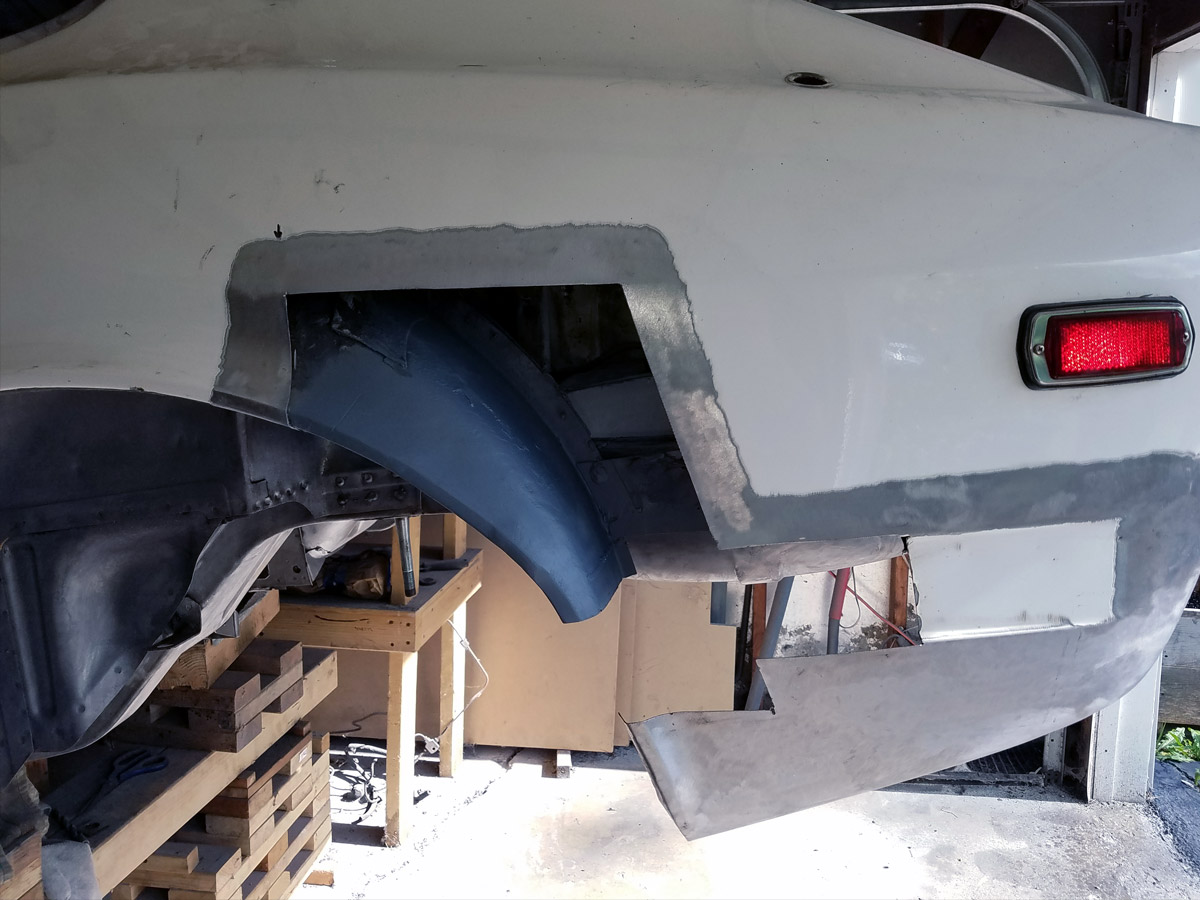
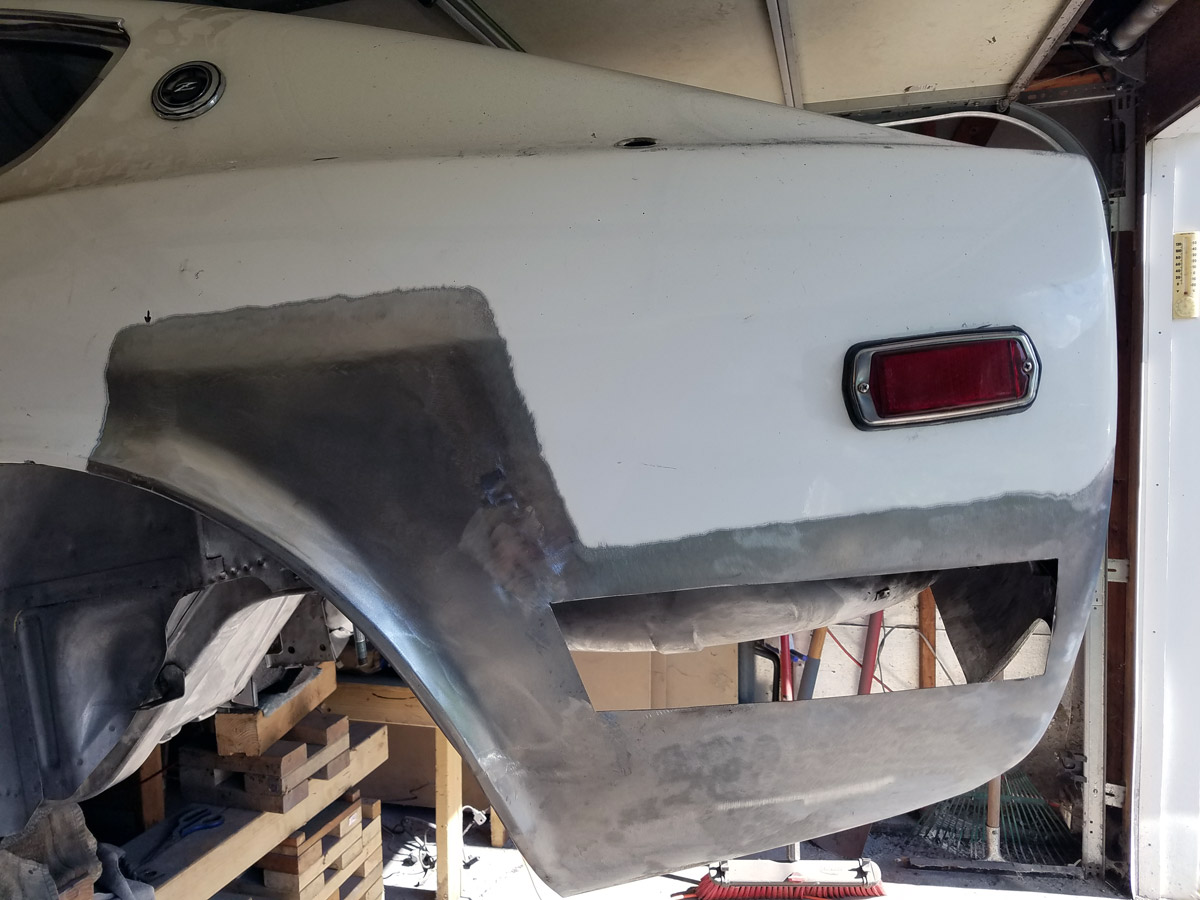
Once the replacement panel arrived, I cut out a portion and clamped it to the existing quarter panel. I then marked where I needed to cut and cut out that section on the car.
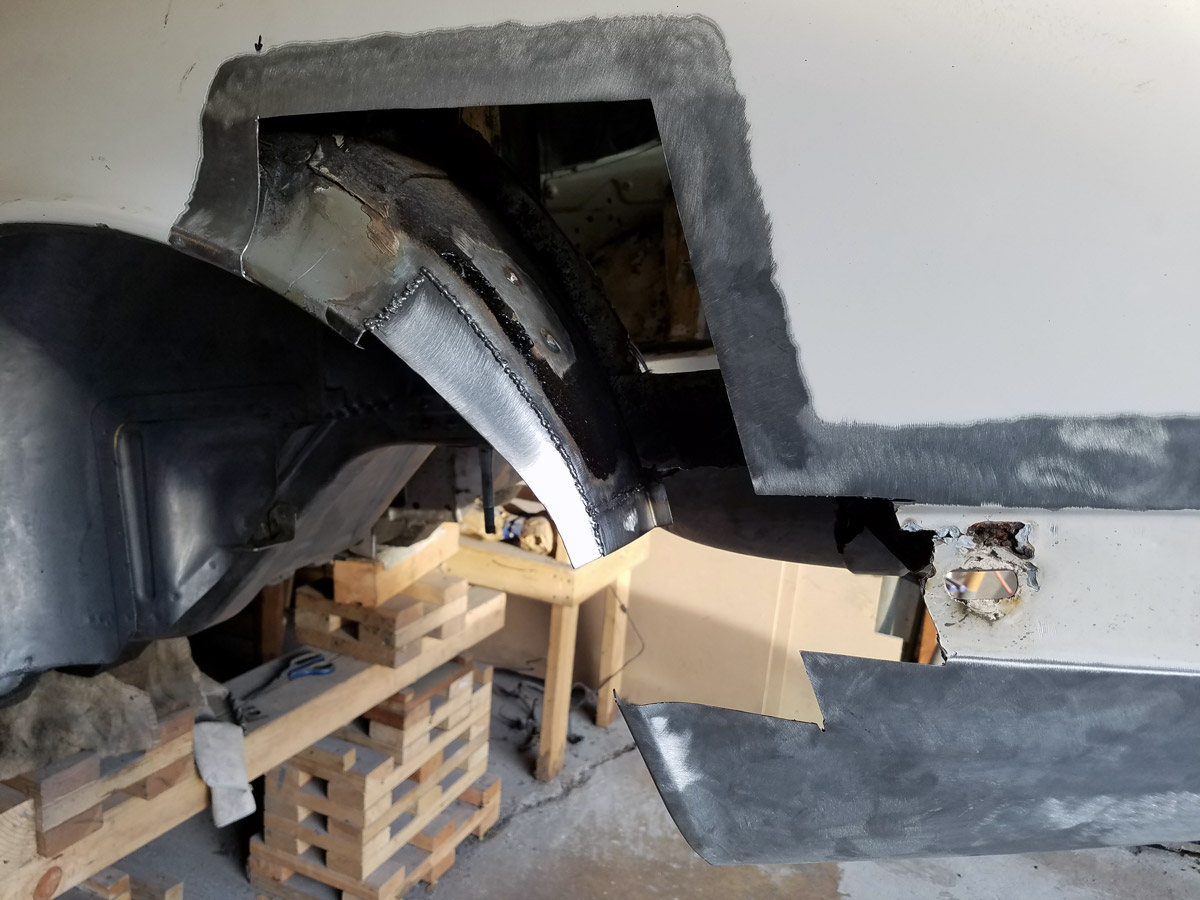
Now I had better access to the inner wheel well. So I cut out the rusted metal and began to replace the steel one piece at a time due to the compound curves. After I completed the inner wheel well fabrication, I cleaned up the welds and gave it a coat of primer.

I’m not going to lie, I was nervous for this next bit. The majority of my sheet metal welding up to this point could be covered up or wouldn’t really be seen. And now I was about to weld a decent sized piece of steel in highly visible spot on the car.
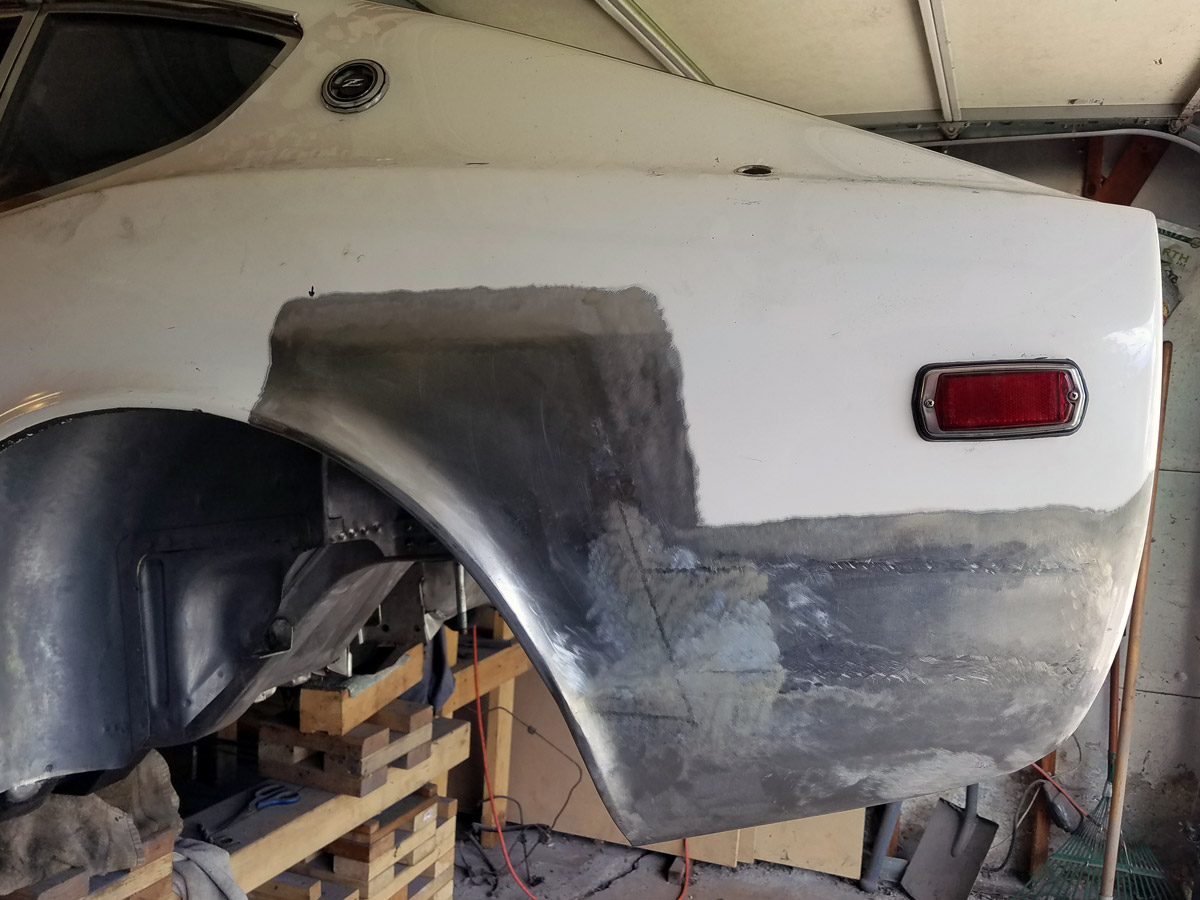
Taking my time was going to be key. I approached it like the other sheet metal welding I had done, just a little more cautiously. I tacked the panel in place then would place a single weld, move about 4 or 5 inches from that one and place another until I reached the end of the panel. Then I’d cool those welds with compressed air and clean them off with a wire wheel. Doing it this way kept the panel from warping and gave me some of my best welds to date.
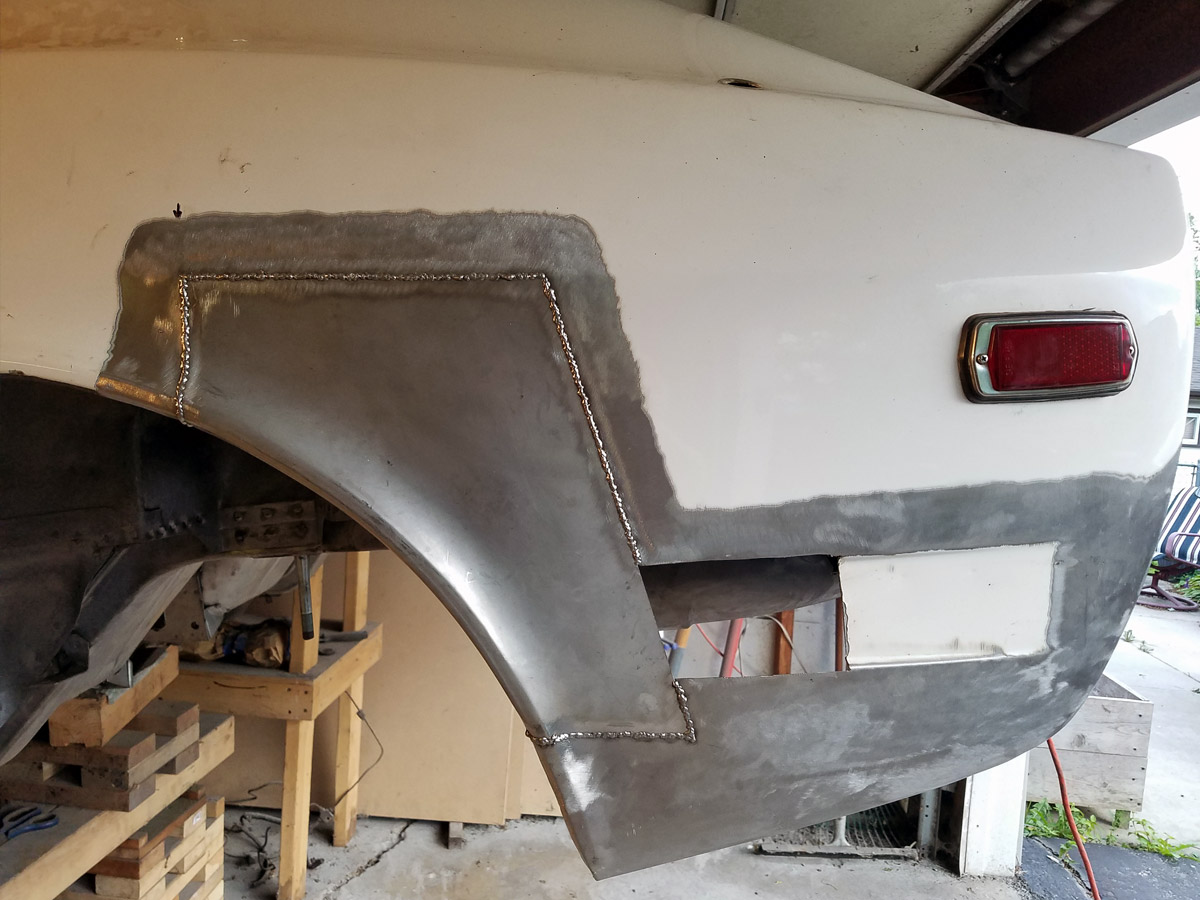
Then I would carefully grind down my welds using the edge of a cut of wheel so I wouldn’t remove any metal from the surrounding panels and once I got it almost flush, I’d break out a flap disc to finish it off.
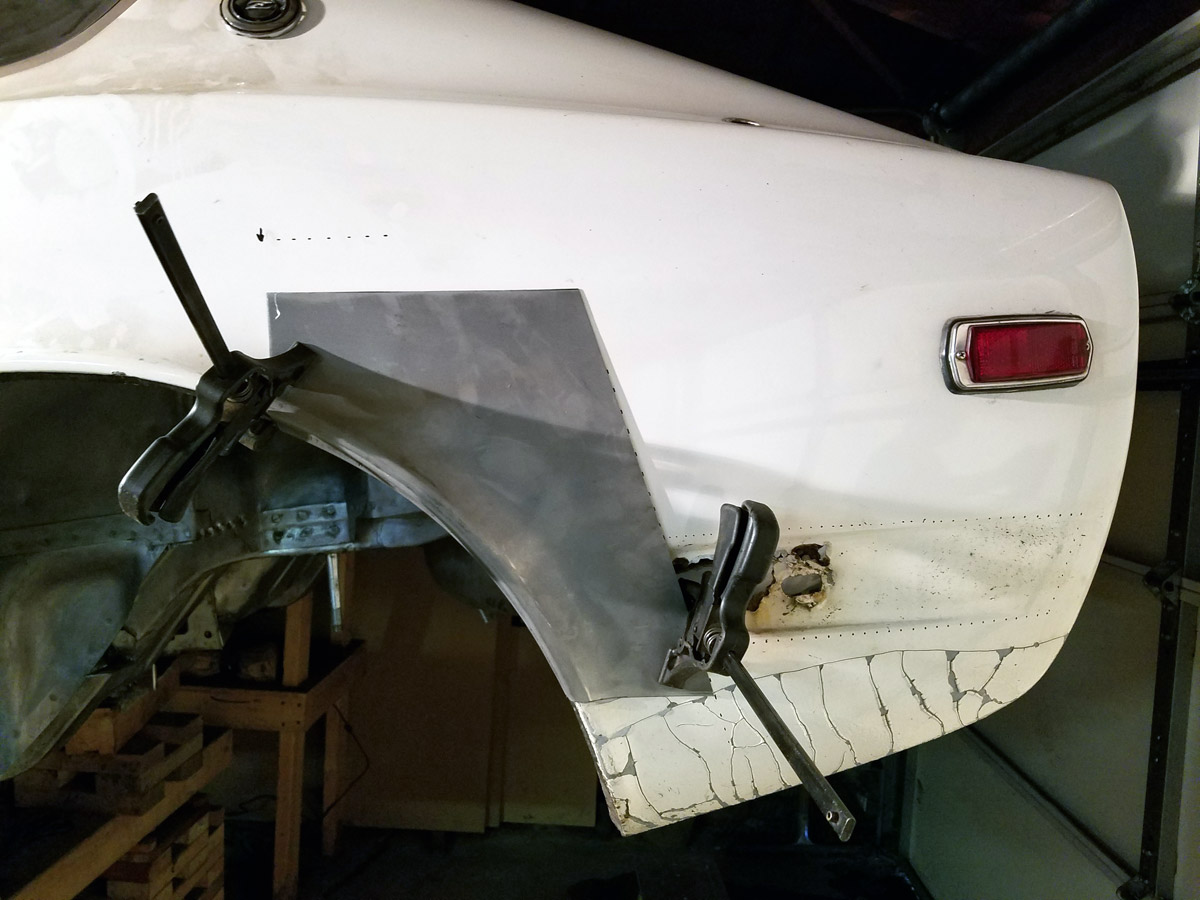
I also cut out the recessed area that the bumper attached to and made a template from cardboard to scribe onto a piece of steel to weld in the opening.
I welded this piece in the same way I welded the larger quarter panel into place although I might have gotten a little impatient smoothing out the welds.
If you’re wondering why I didn’t replaced the bumper indentation with the another indentation, this was done for a couple of reasons. One of which being that I just liked the way the car looks without a rear bumper and didn’t plan on putting it back on. And the other will become apparent later.
To find a particular page, use the search feature or index.
very nice
Thanks man
I feel that is one of the so much significant information for me.
And i’m glad studying your article. However want to remark on some normal issues, The web site style is perfect,
the articles is in reality excellent : D. Excellent
job, cheers
Great post.
Thanks man, I appreciate that.