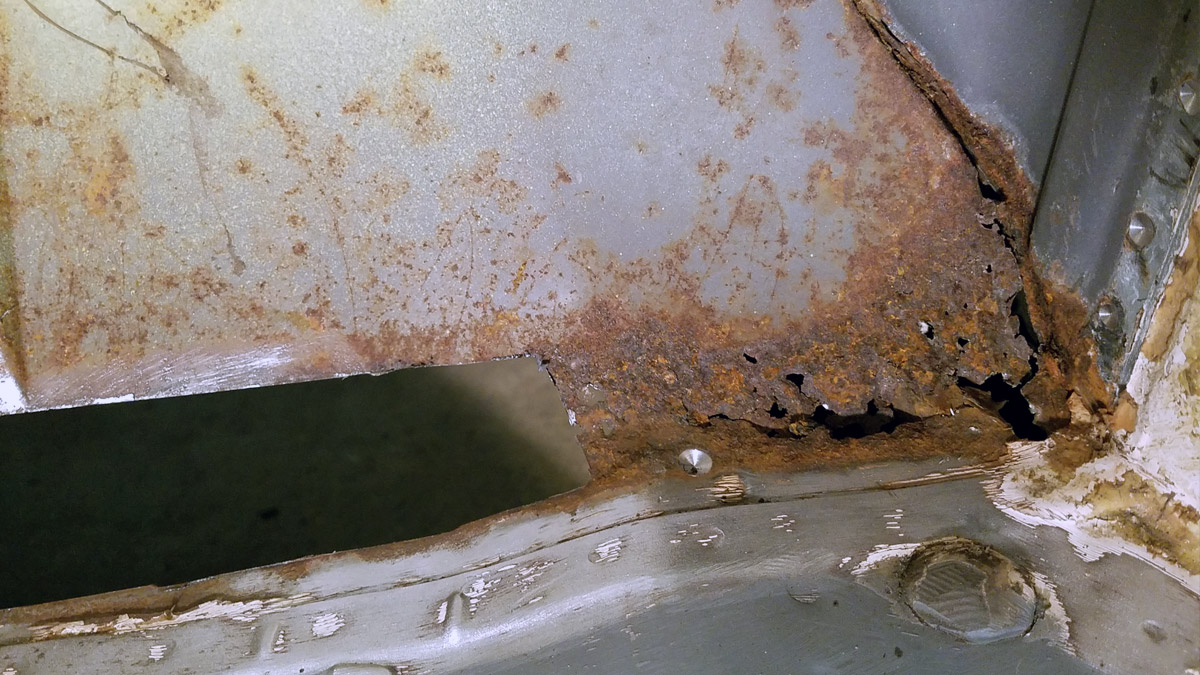
When I was removing the undercoating from the rear of the car I noticed some rust holes under the interior storage bins and decided to tackle that next.
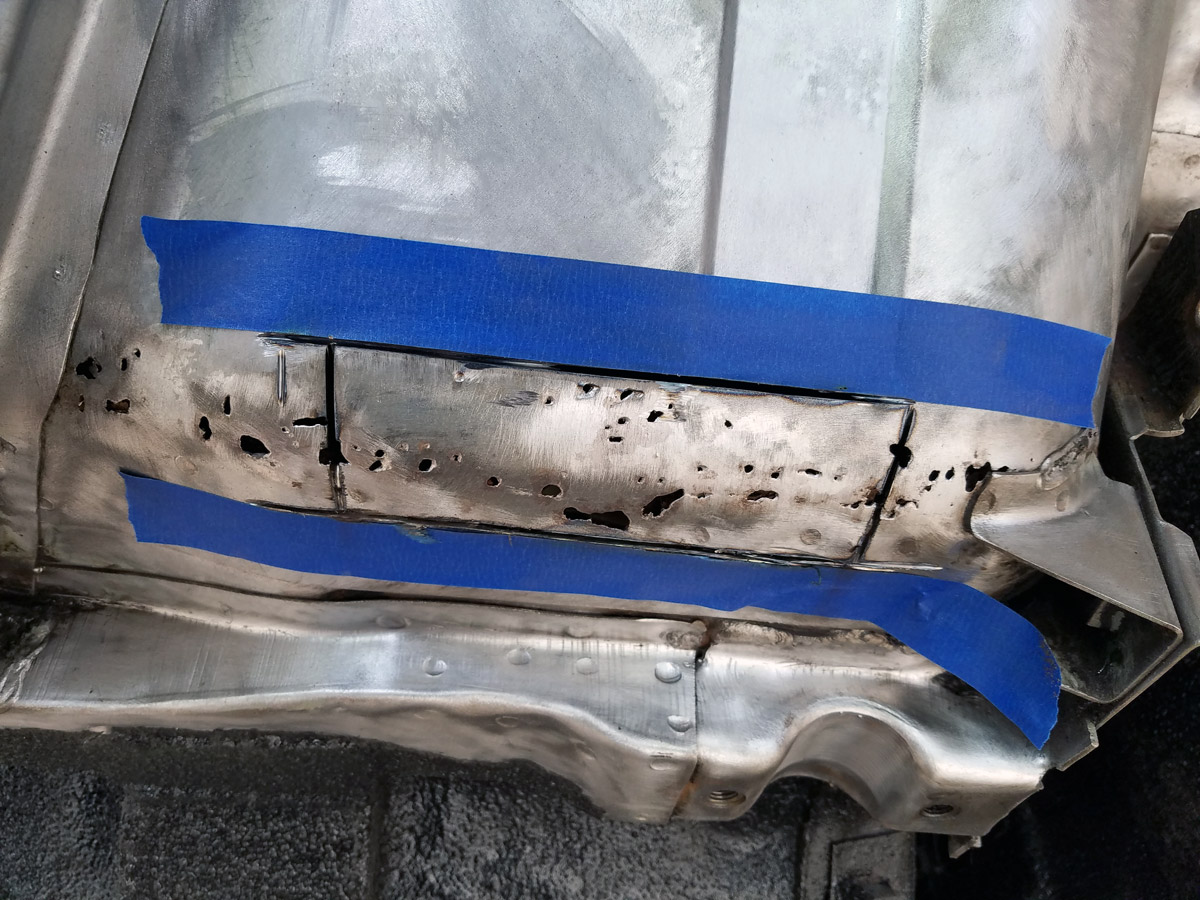
It quickly became apparent that I wasn’t going to be able to remove all of the rust without cutting from the inside of the car as well.
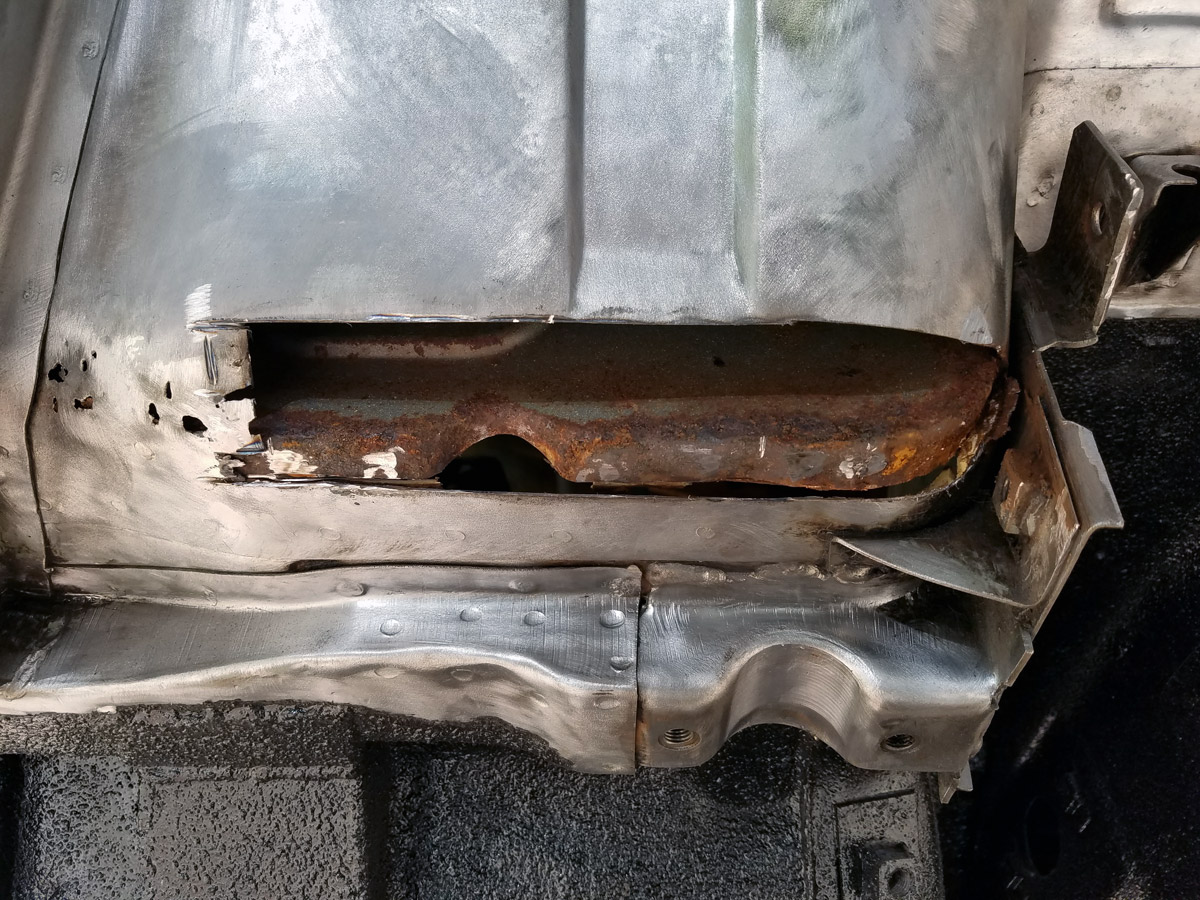
So I started by removing the vertical storage bin wall by drilling out all the spot welds then taking it out entirely. Now I could really see what I was up against and made access much easier.
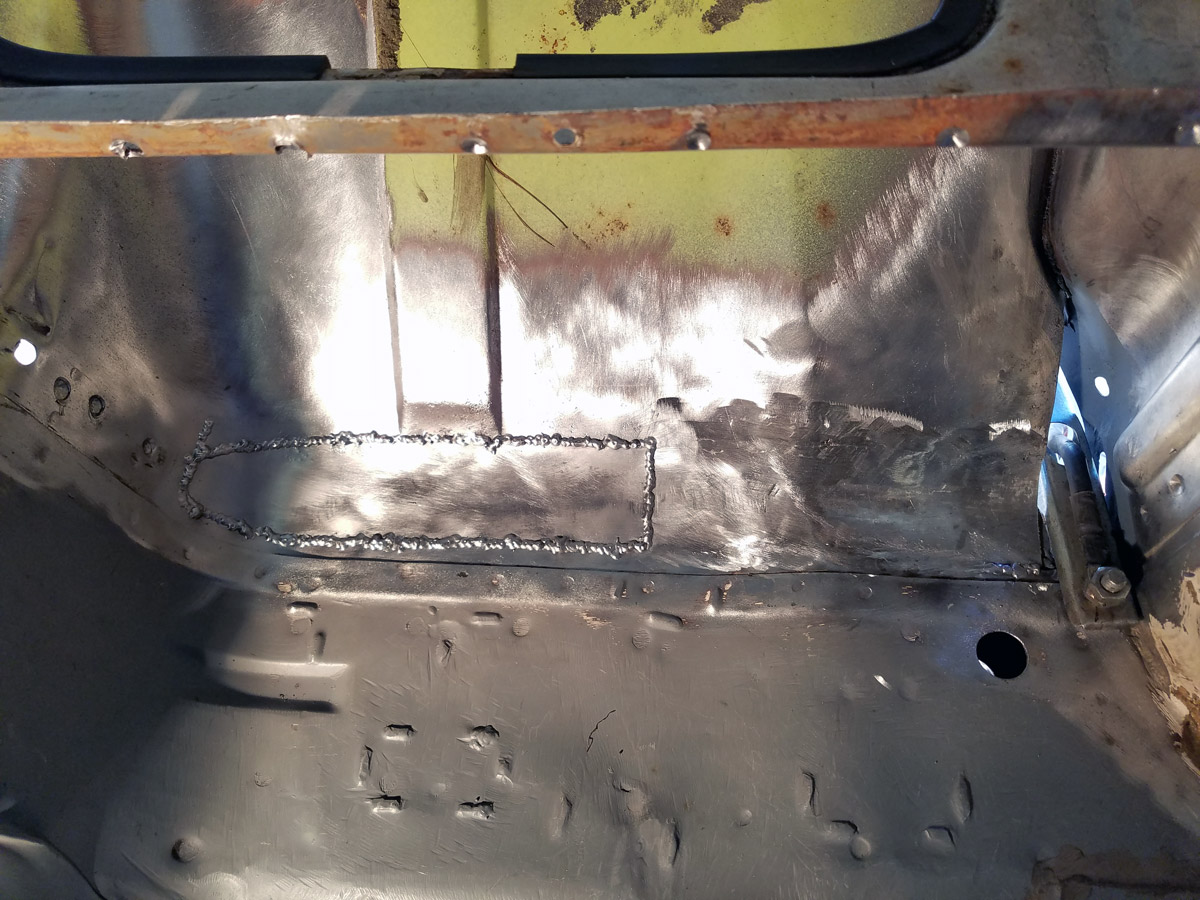
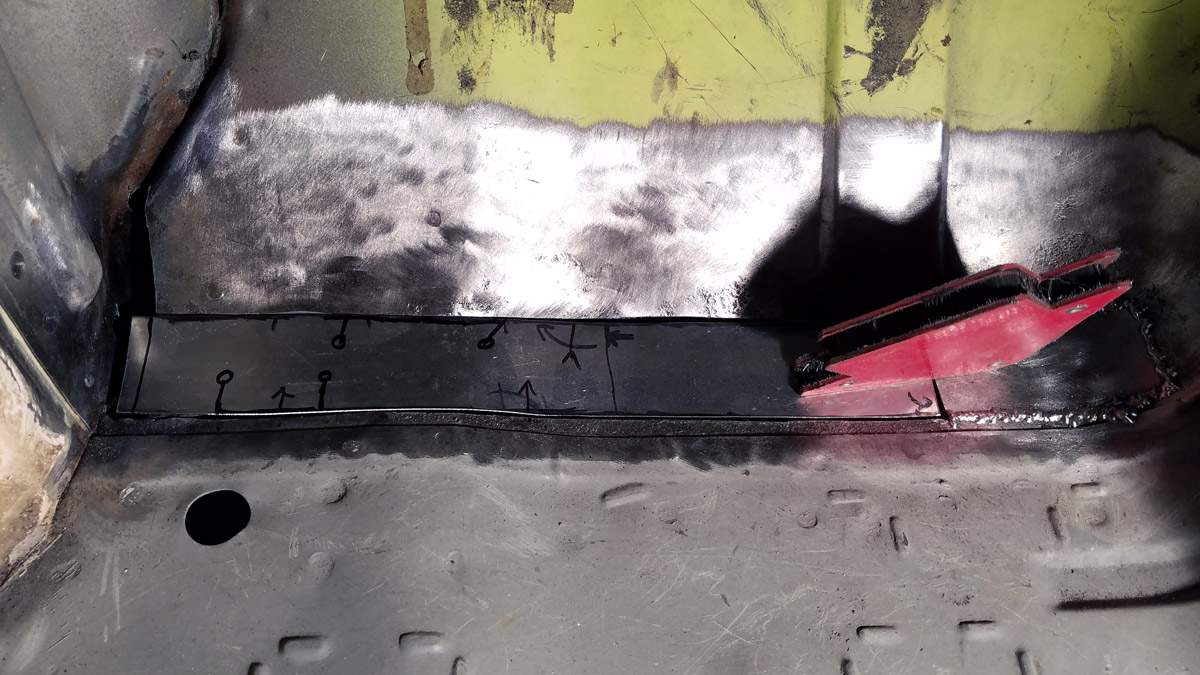
I cut out the rest of the rusted steel and cleaned up the area a bit to make way for new steel to be welded in place.
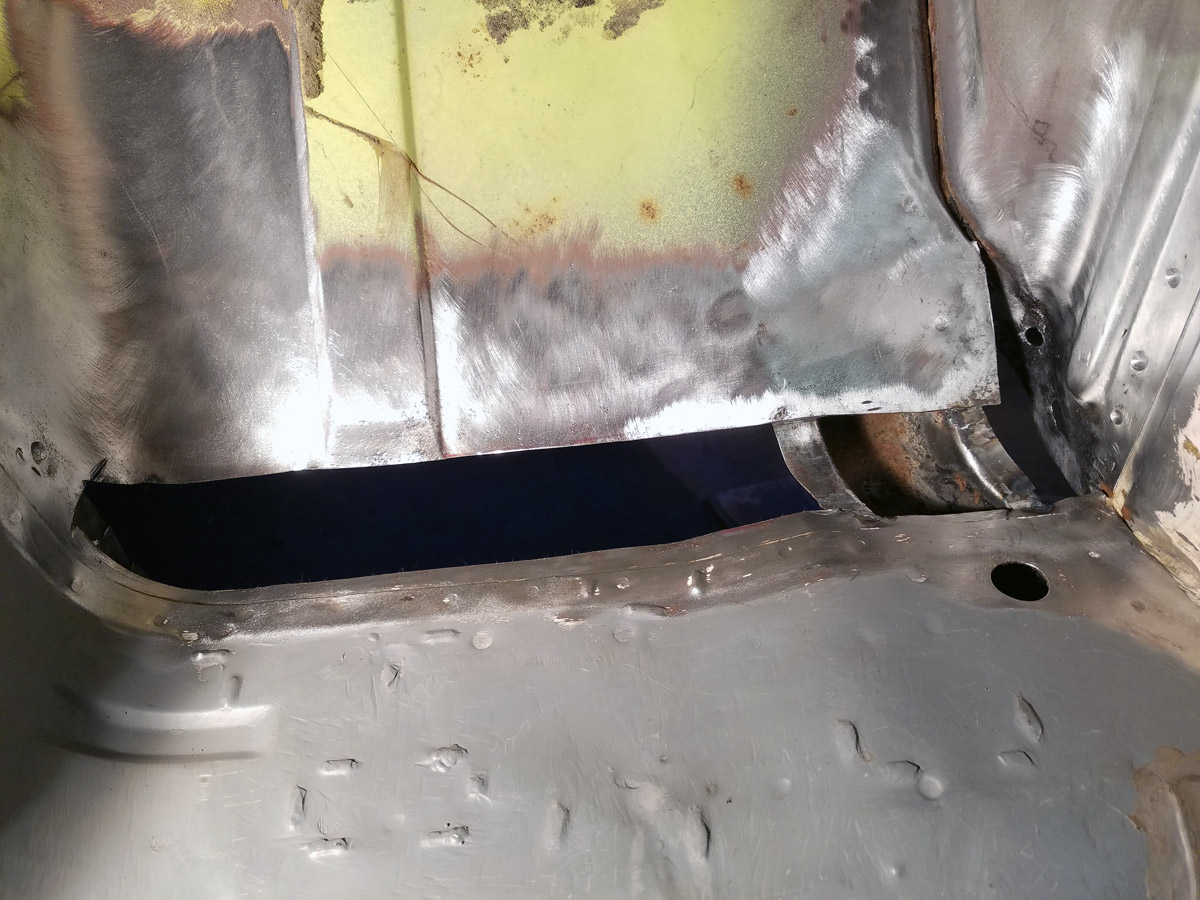
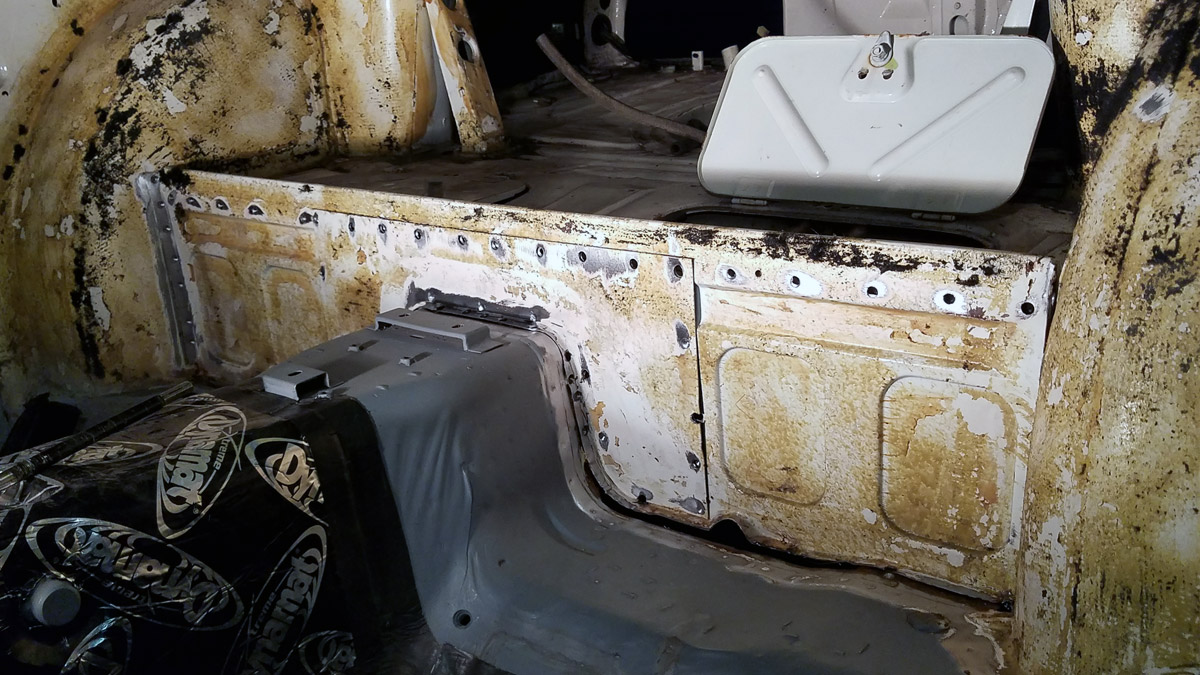
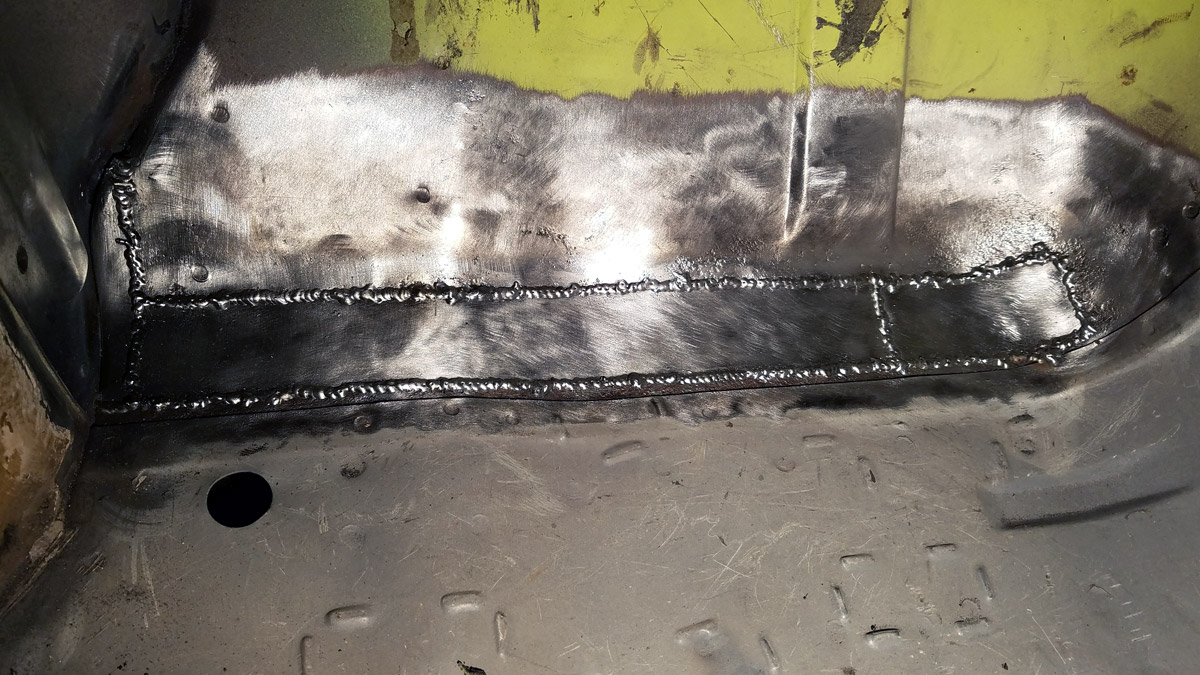
I tried to replace the entire area with one piece but all the bends made it difficult enough that I decided to do it in three.
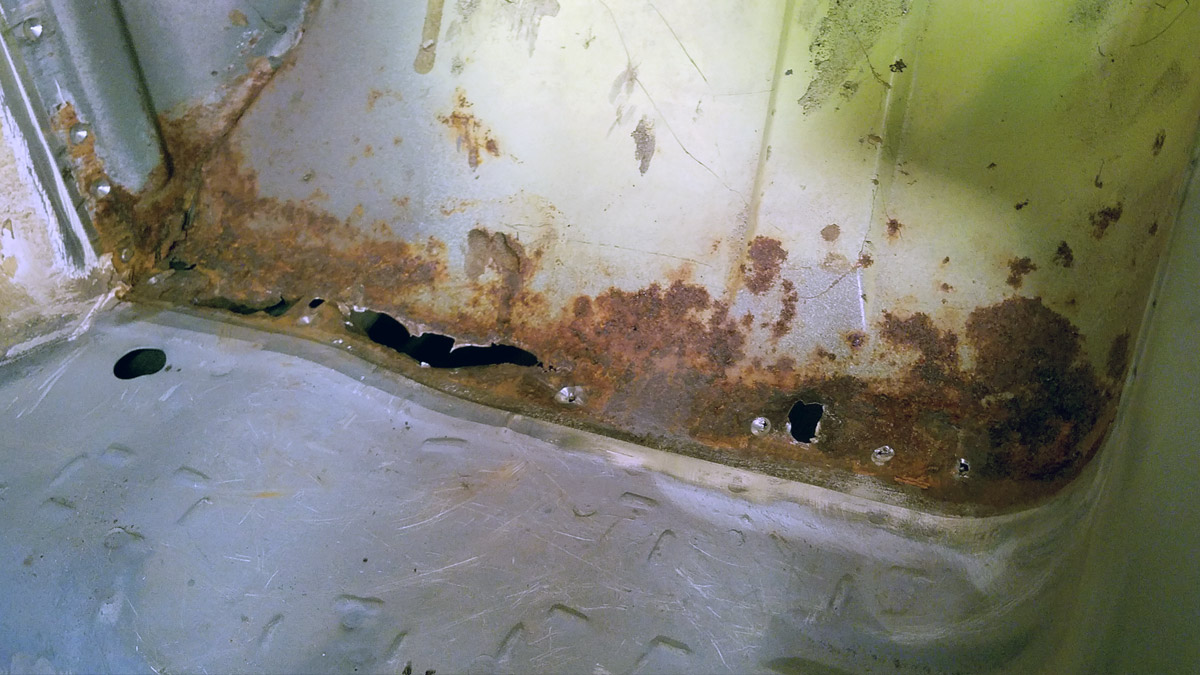
The other side was almost as bad so I did the same and replaced it too.
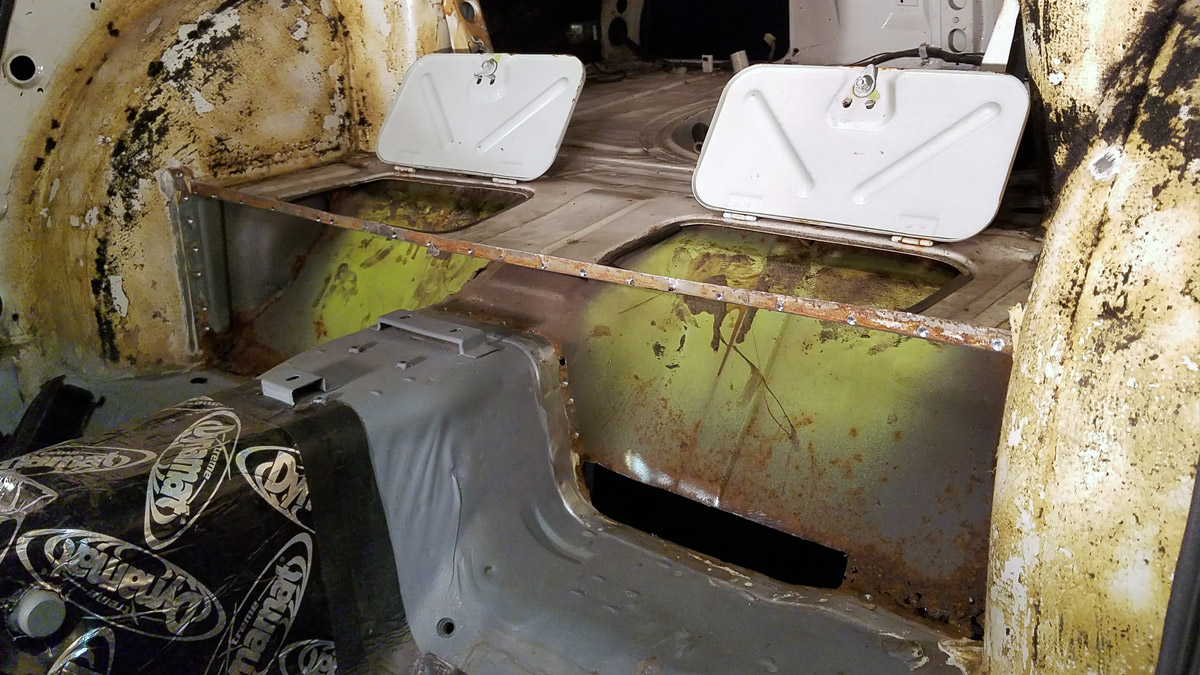
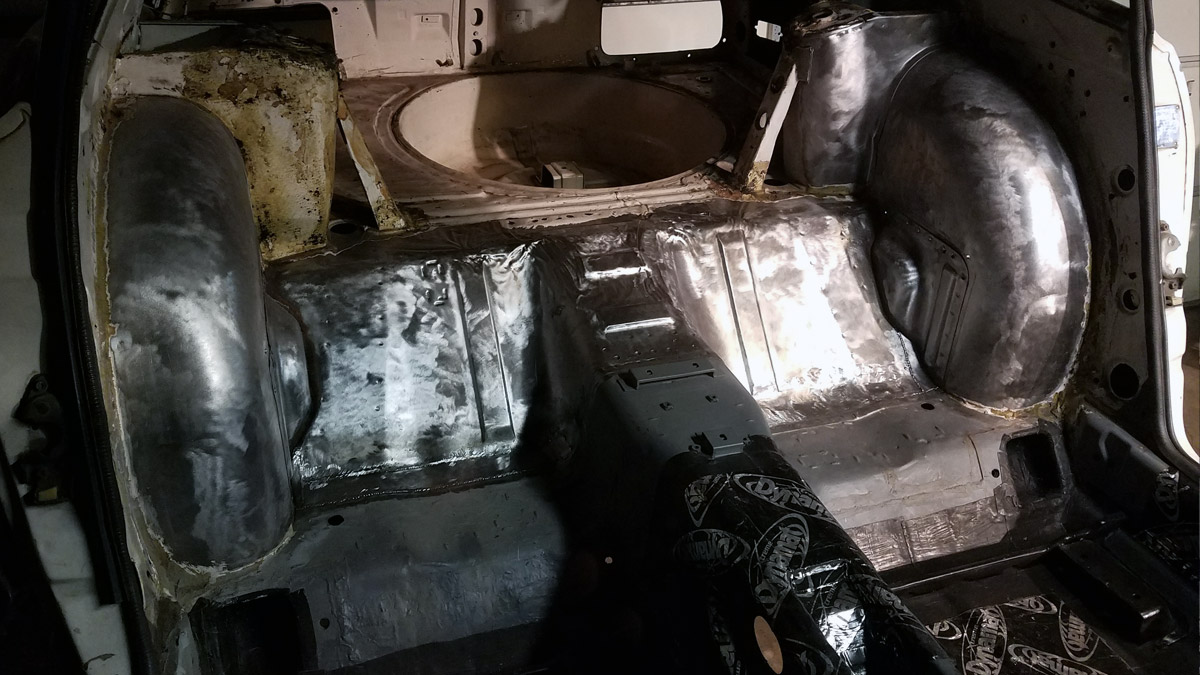
With both sides repaired, I took off the top part of the storage compartment so I could get to the surface rust hiding in the hard to reach spots.

Once cleaned up, I really liked the way the car looked without the storage bins in the cabin of the car, so I’m thinking about leaving them out. I’m wondering if this is going to have any effect on the rigidity or structural integrity of the car and I should put them back in, or if I’ll be fine without them.
While I’m pondering that, I turned my attention to completing a couple motorcycle builds I was working on at the time. The idea was that I’d work on the Datsun in the winter of 2017. But I was in for a bit of a shock when I buttoned up the bikes and not long after, we had a two week stretch of below zero temperatures in December.
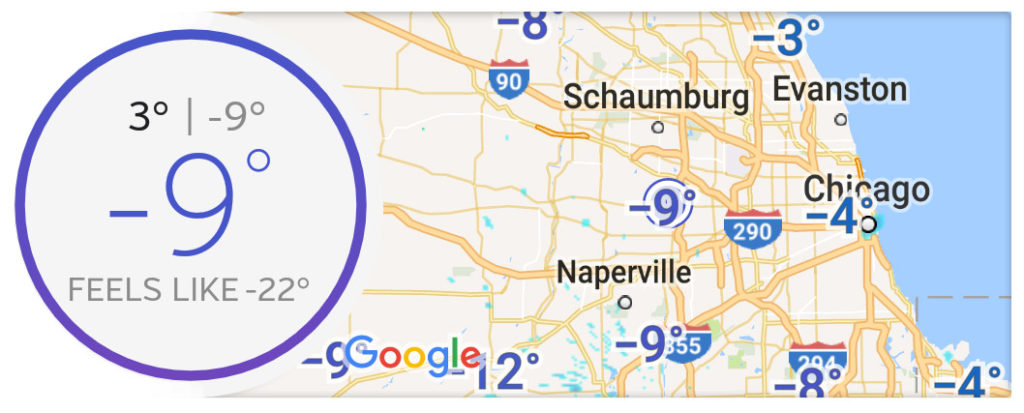
As I type this, it’s mid January 2018 and still well below freezing. One of the coldest winters we’ve had in a while and I’m finding it hard to motivate myself and get back out in my unheated garage and go to work.
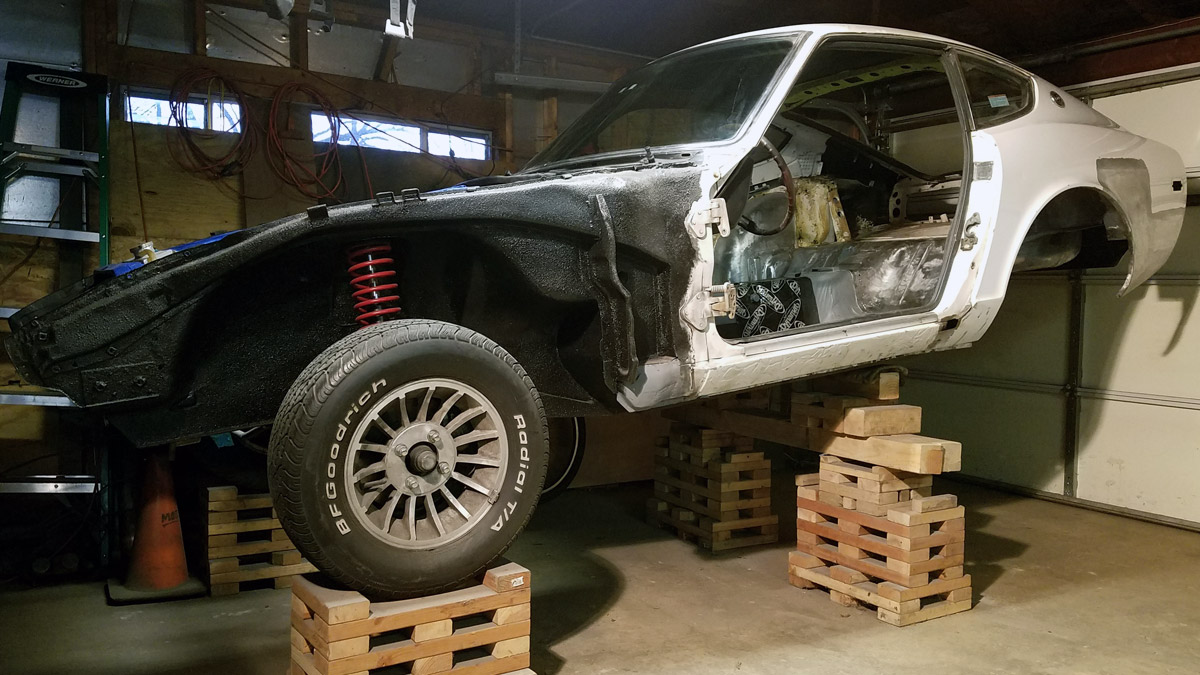
So here’s how she sits as of right now…
To find a particular page, use the search feature or index.
Nice work….Keep it up
Regards from Stockholm Sweden
This website is really great and very helpful for my 260z I’m “restoring” right now. The pictures are great and on this part, in particular, I can see how you lifted the rear of the car which will be helpful for when are undercoat the rest of my car in roughly 2 weeks. I’m documenting all of it on a YouTube channel right now and if you have time I’d really like some input if you see something I have missed. Thanks for the great website and I can’t wait to read the rest of it!
Thanks man, I appreciate that. Regarding lifting the car to clean off the old and re-apply new… on my next restoration, I’ll invest in media blasting and a rotisserie and would suggest anyone doing this kind of work to do the same. I’m glad I did it, but the experience was miserable.