After much of the severe cold of winter had passed, I decided it was time to get back out in the garage and work on the Datsun. I needed to complete all the metal fabrication on the rear of the vehicle before I was able to give it a new coat of undercoating. And most of it had been taken care of by this point with the exception of some small spots and the kicker portion of the rear wheel arch behind the doors.
On the passengers side, I had already begun to remove some of the steel to see how bad it was early on in the project. Since it was worse than I was expecting, I kind of put it off because I knew it was going to be a pain.
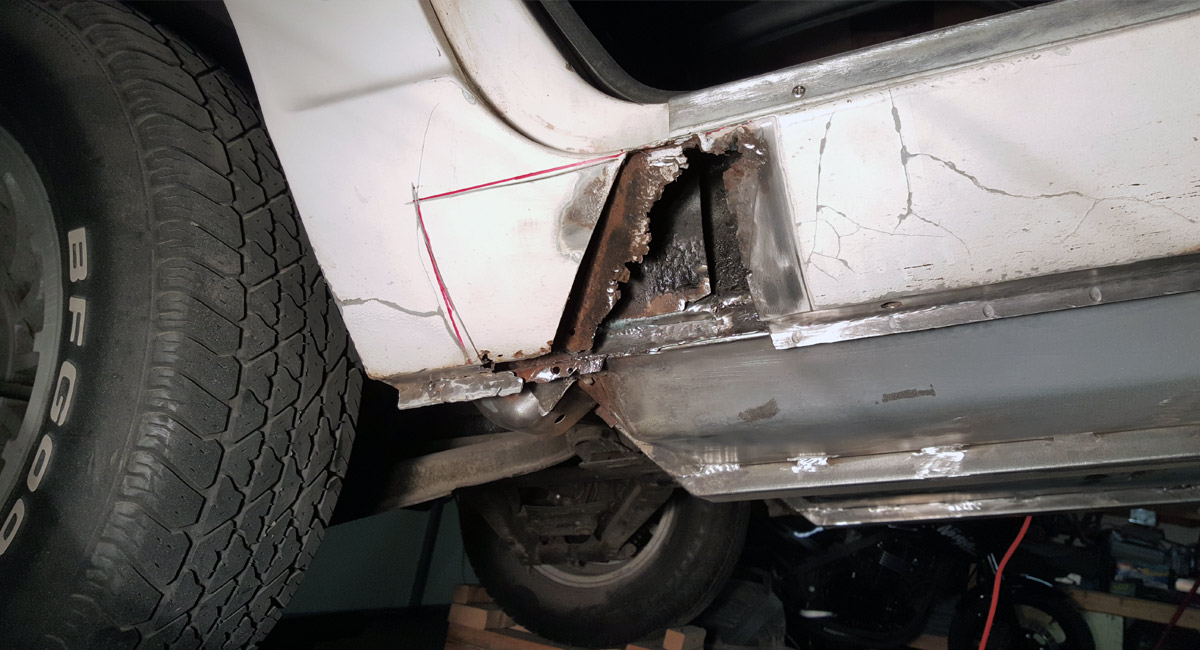
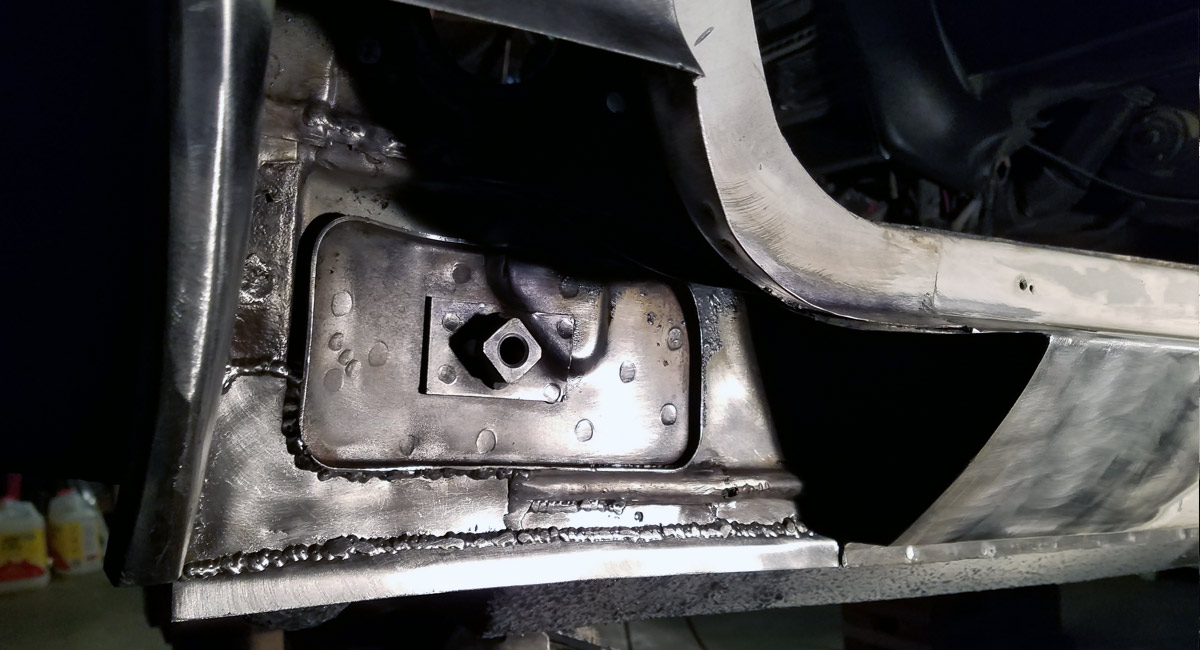
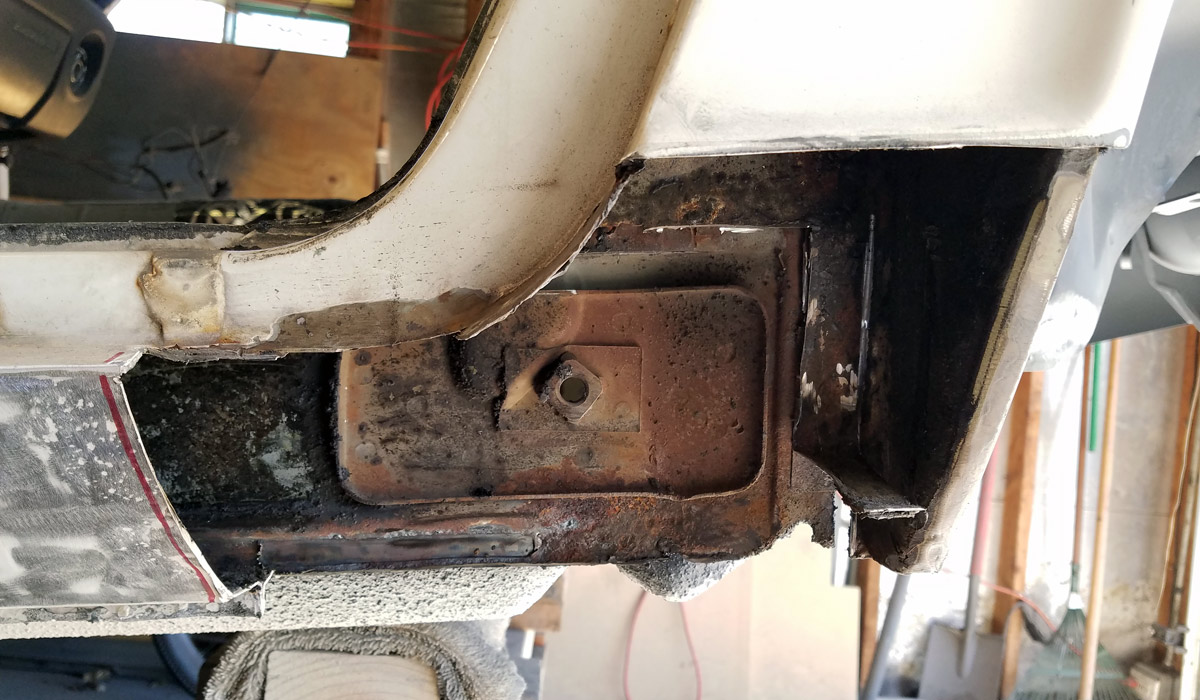
Once I got back around to it, I cut away a larger section of the outside so I could get to what was underneath easier then cut away pretty much all the rust until I was able to start building it back up again.
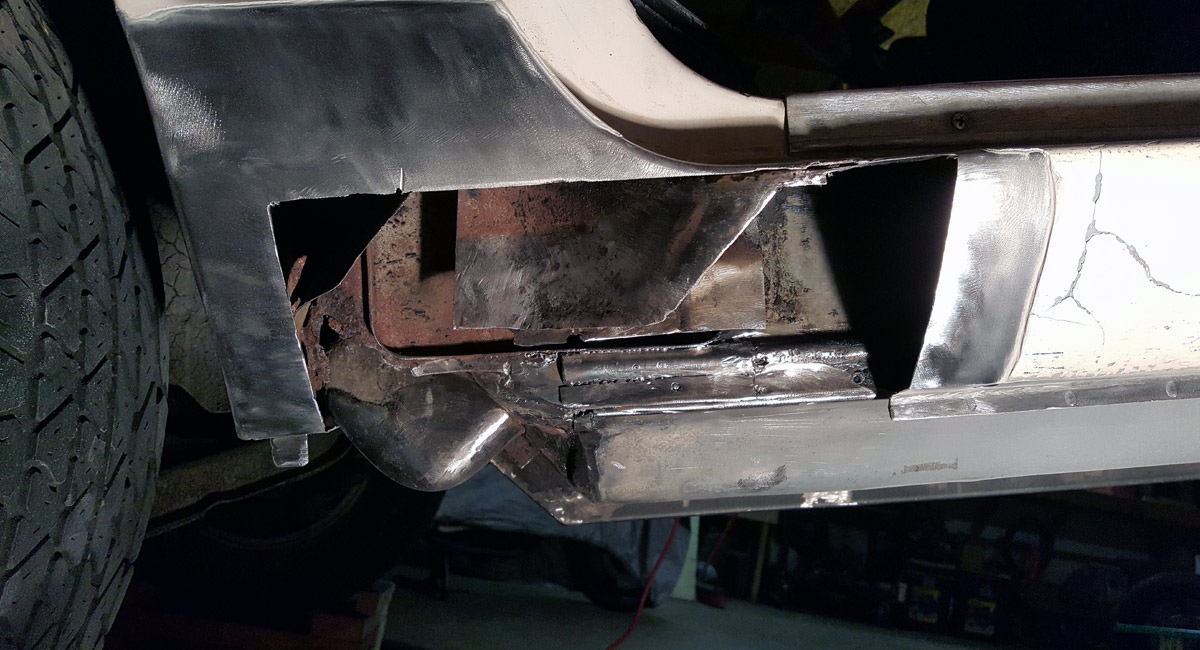
I started with the back section and tried to reproduce a structure that would allow me to weld a new body panel to it.
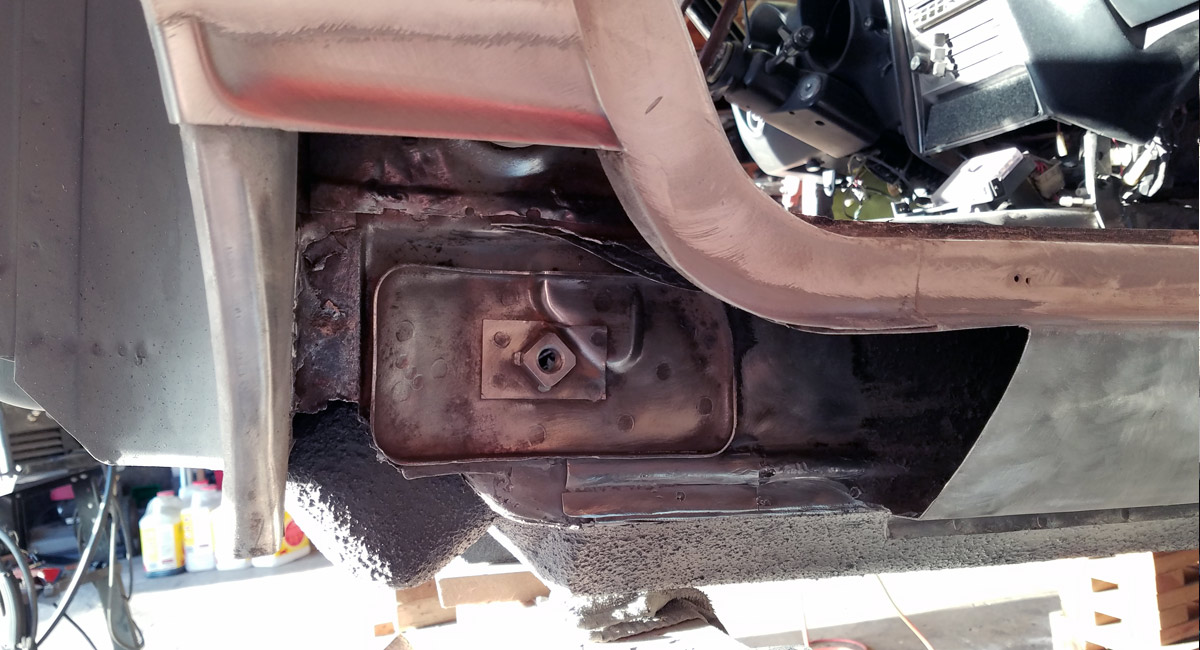
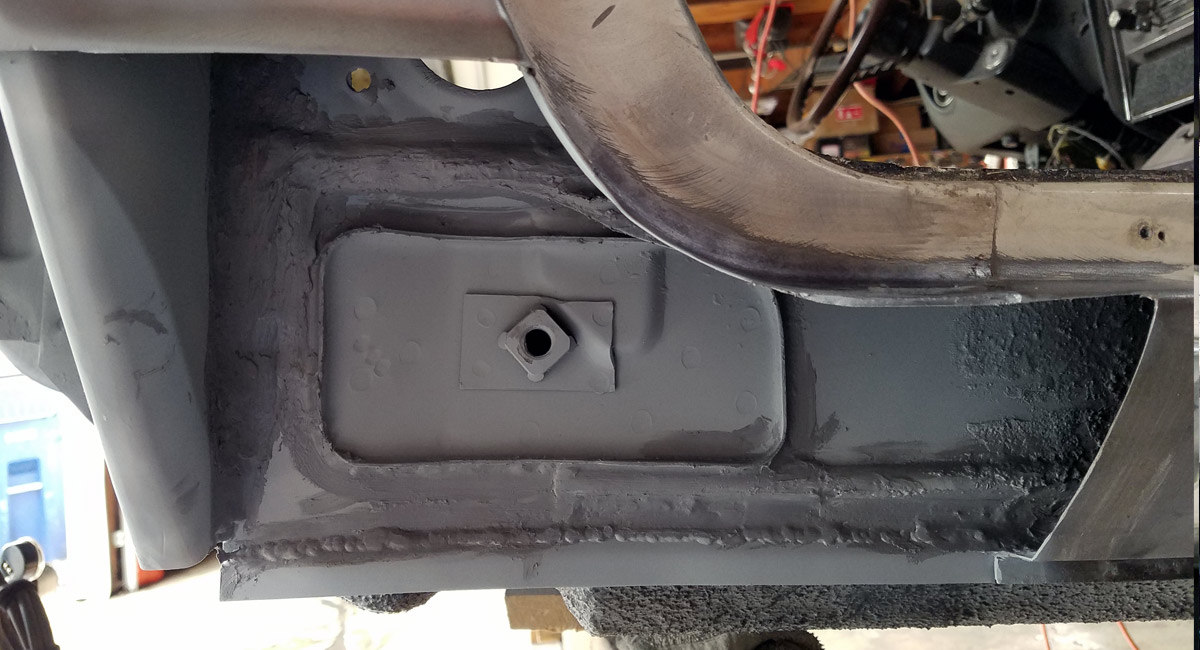
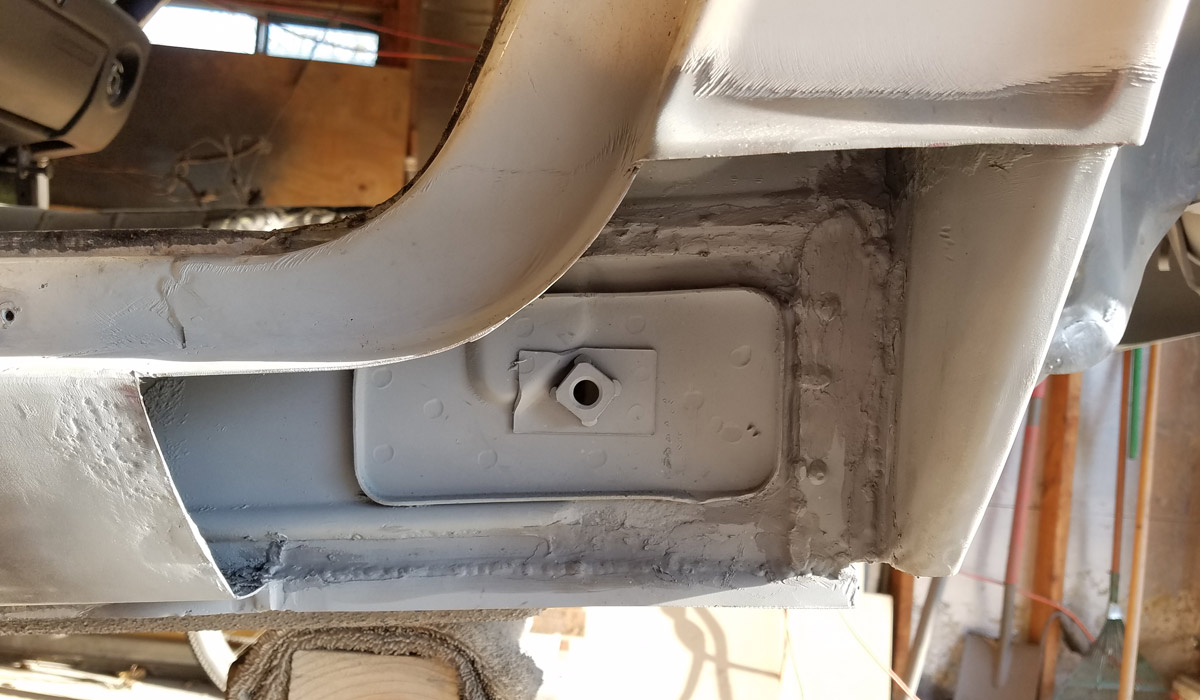
 Once complete, I did the normal rust prevention routine followed by primer and seam sealer.
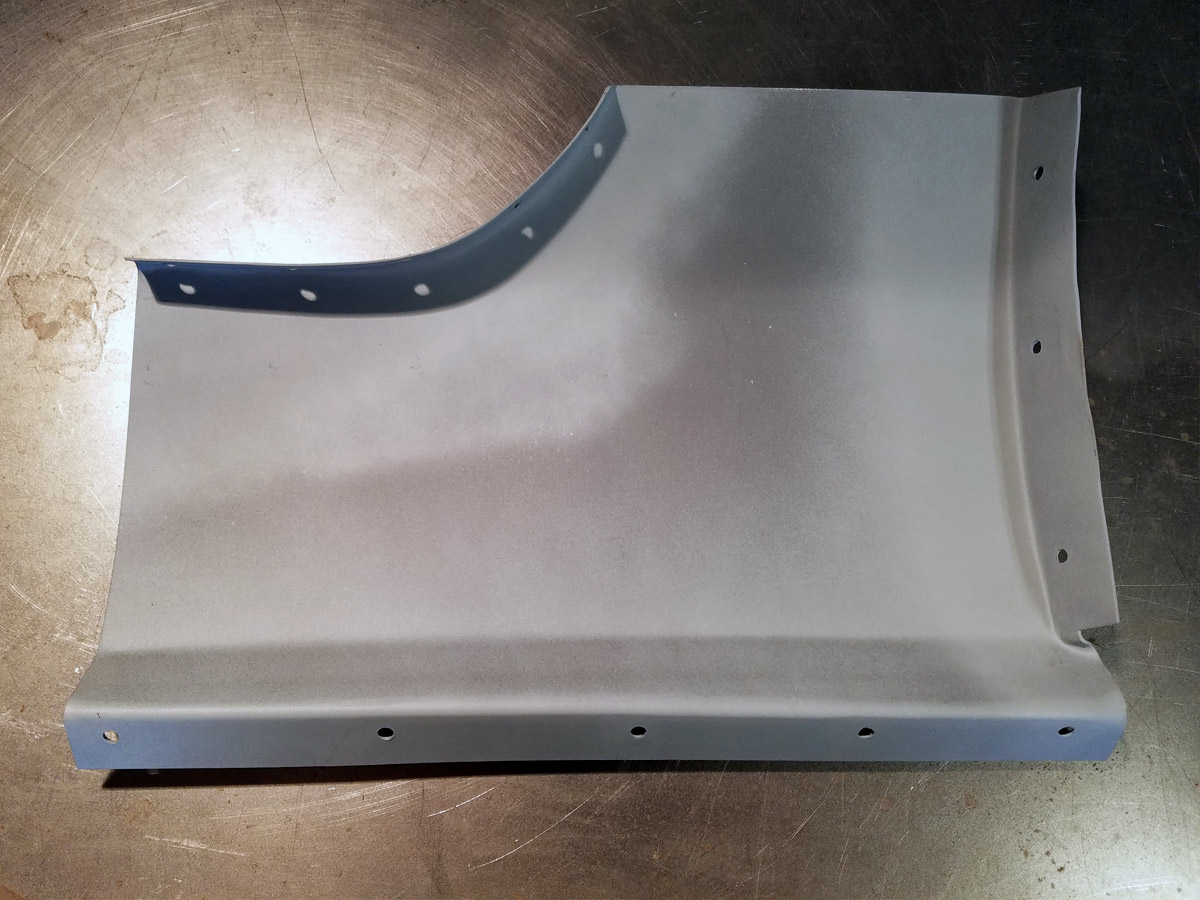
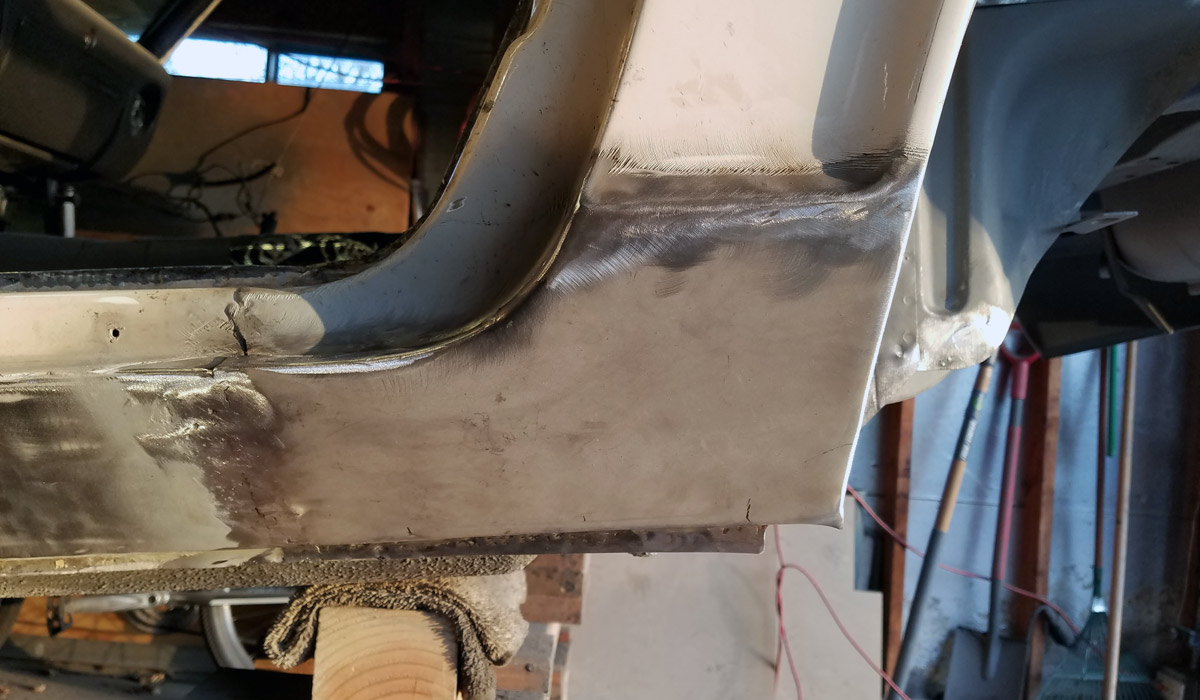
Then I prepared the body panel I had cut from the larger rear quarter I previously used and began welding it to the car.
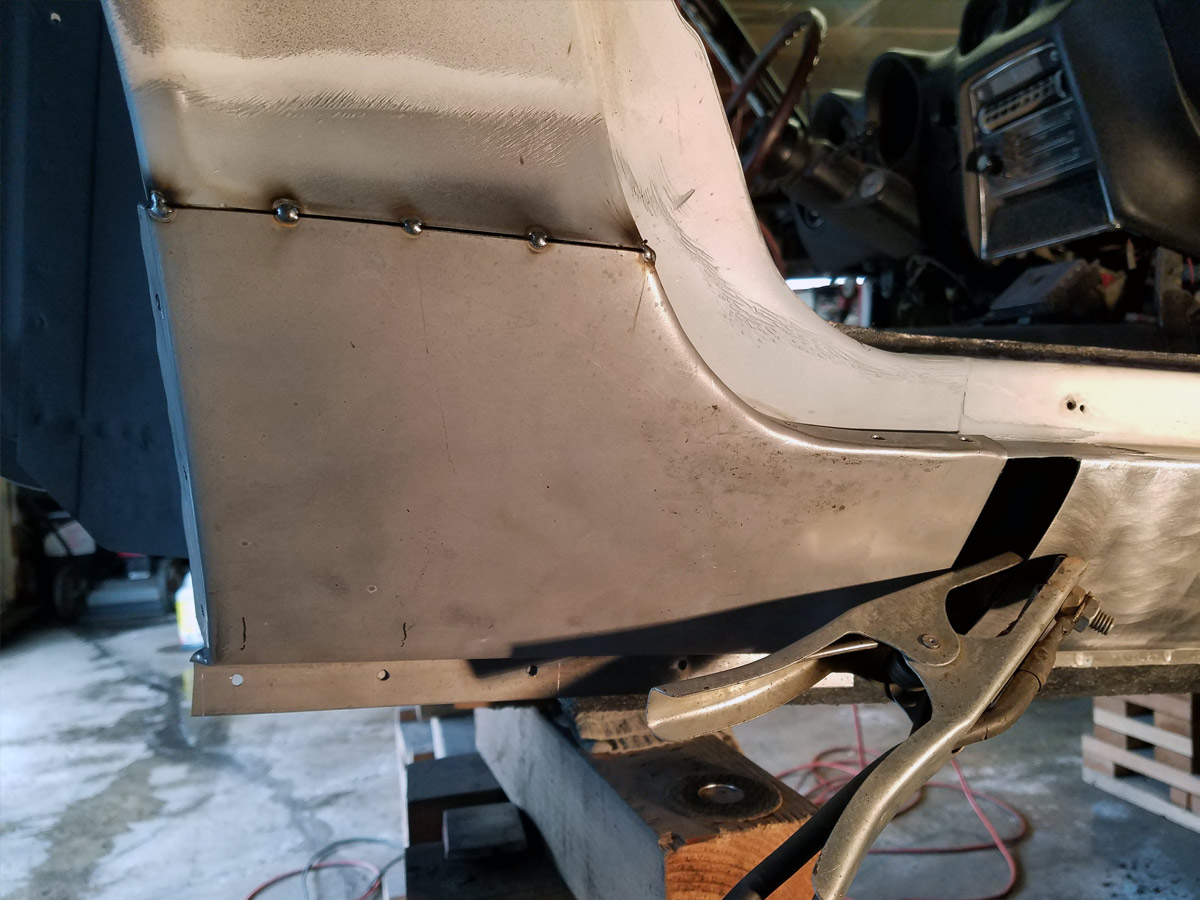
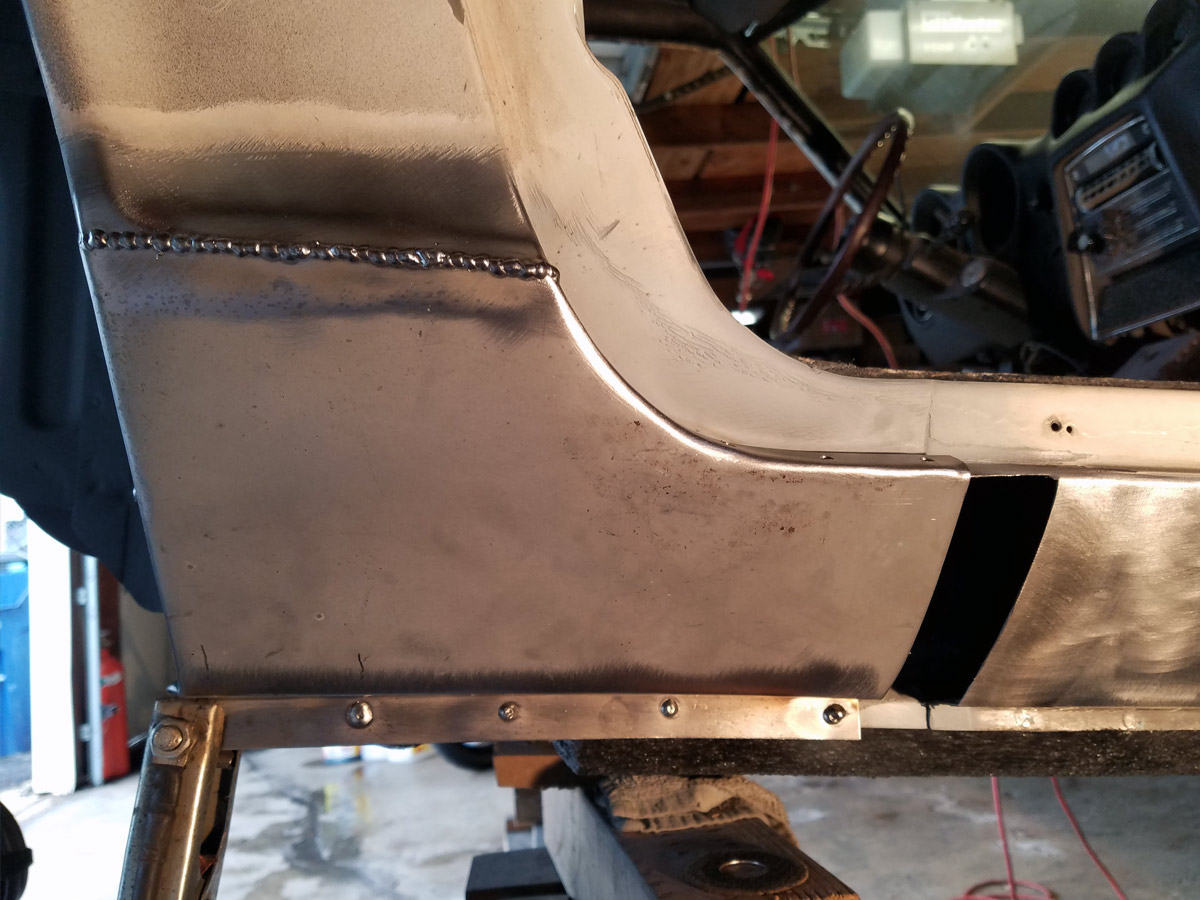
After it was all welded up, I ground down the welds and was happy with how it turned out.
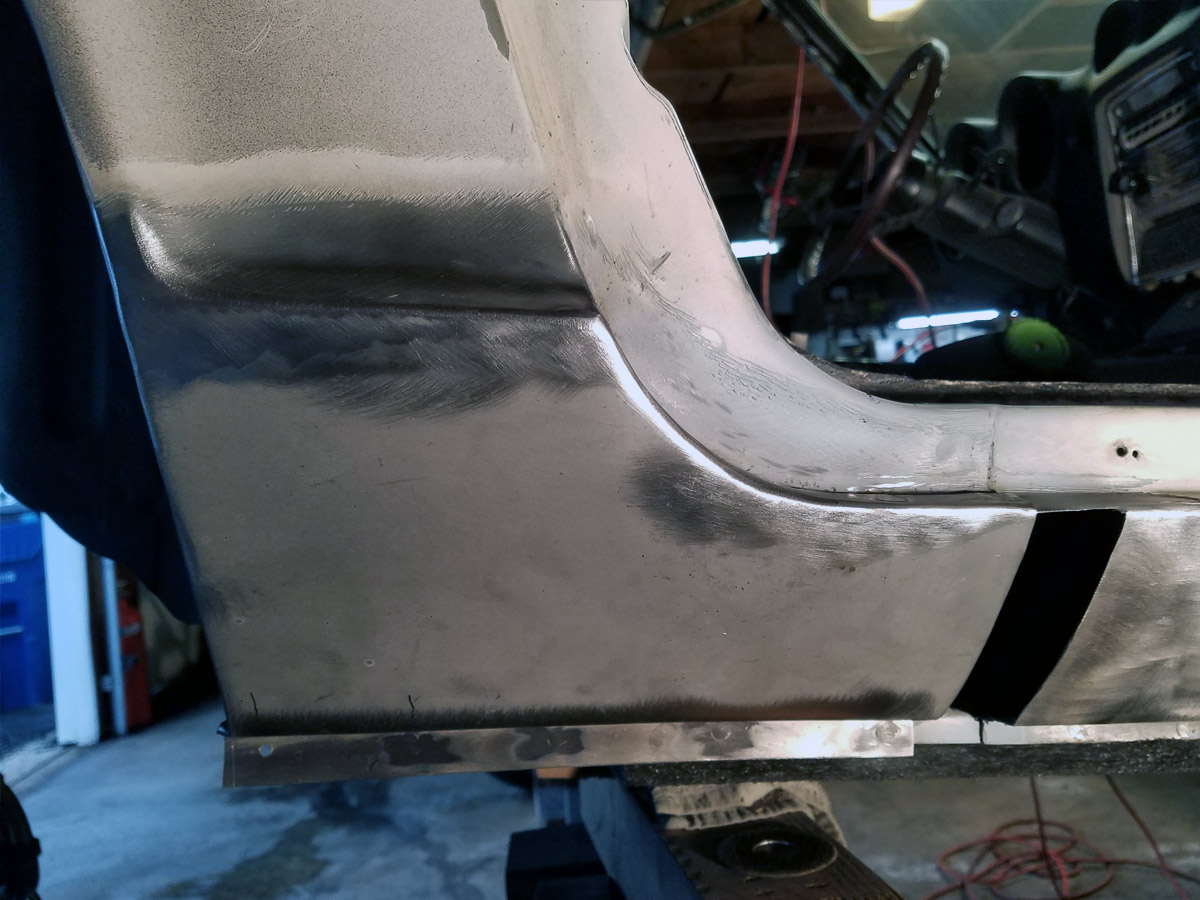
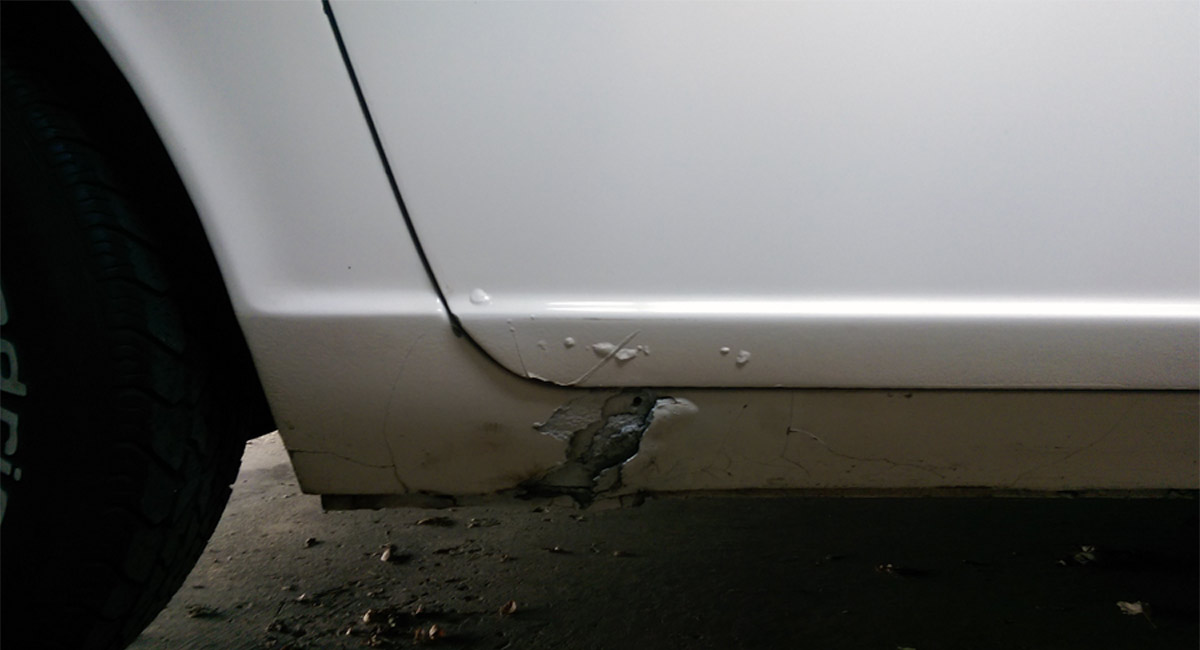
I then just needed to fill the gap between the existing rocker panel and the new body panel I had welded in. From the factory this is actually a seam, where the rocker panel goes under the rear wheel arch panel and is spot welded. I believe this to be a spot prone to rust, because when I got the car, this seam had been welded together, body filler applied over the weld and then completely rusted away from the inside out (see the first picture above – paint had been applied over the rust to make it blend in).
I decided to weld these seams together as well, but hoping to do a better job at both the welding and rust prevention.
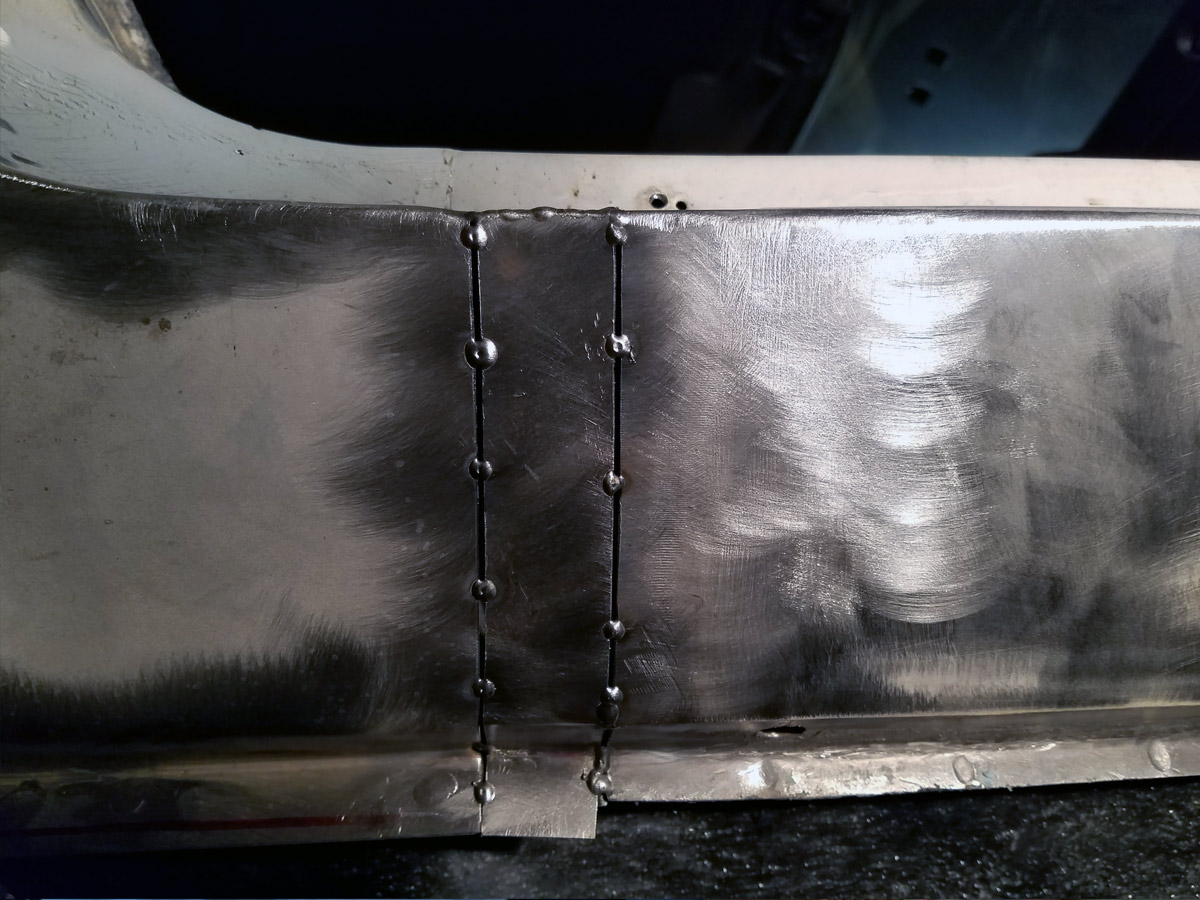
I’ve learned my lesson from grinding my welds down too far in some places, making the metal too thin, so I left a little weld and will apply a thin layer of body filler over it during the bodywork phase of this project.
 With the passengers side done, I moved on to the drivers side. And just like the passenger side, lots of rust removal and steel fabrication.
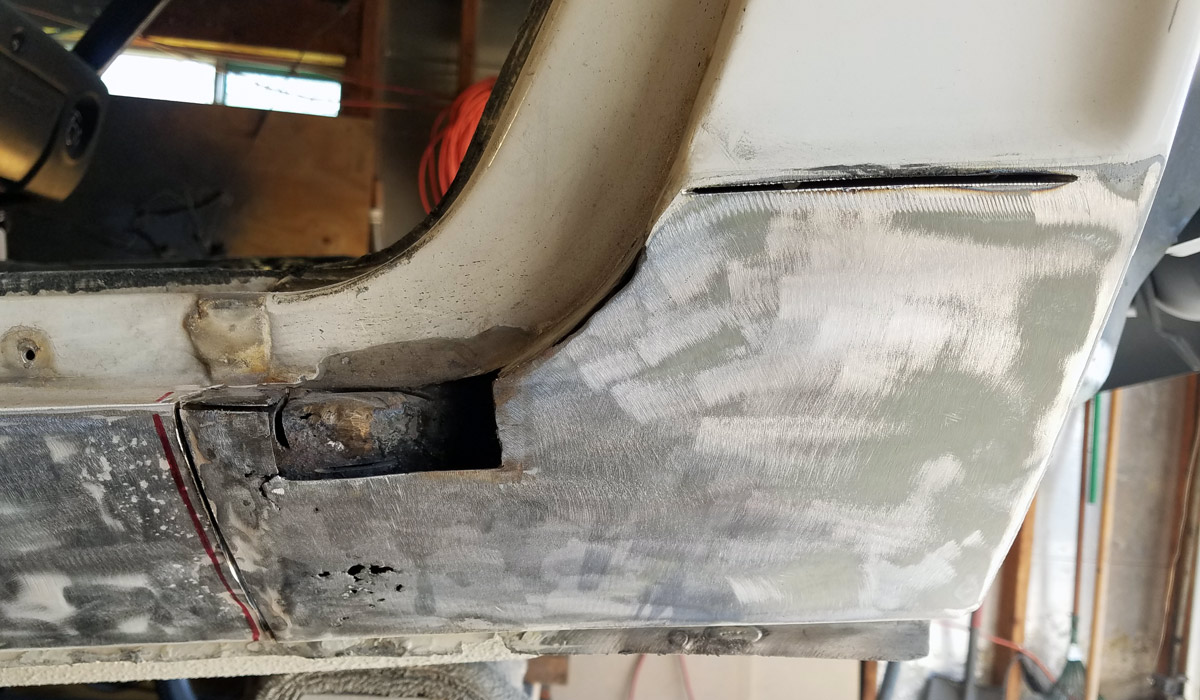
Doesn’t look too bad though, and now I finally get to move on to the undercoating.
To find a particular page, use the search feature or index.