41). Half shafts II

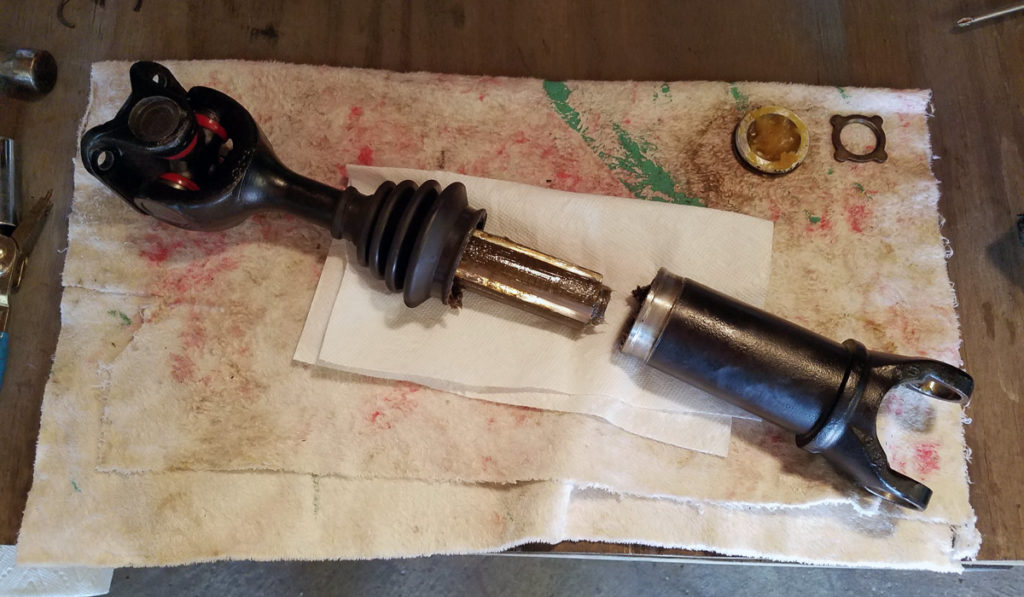
The last piece of rear suspension to wrap up is the half shafts. And while they’ve been cleaned up, I’ve never fully disassembled them and greased the inner bearings. So that’s the goal here.

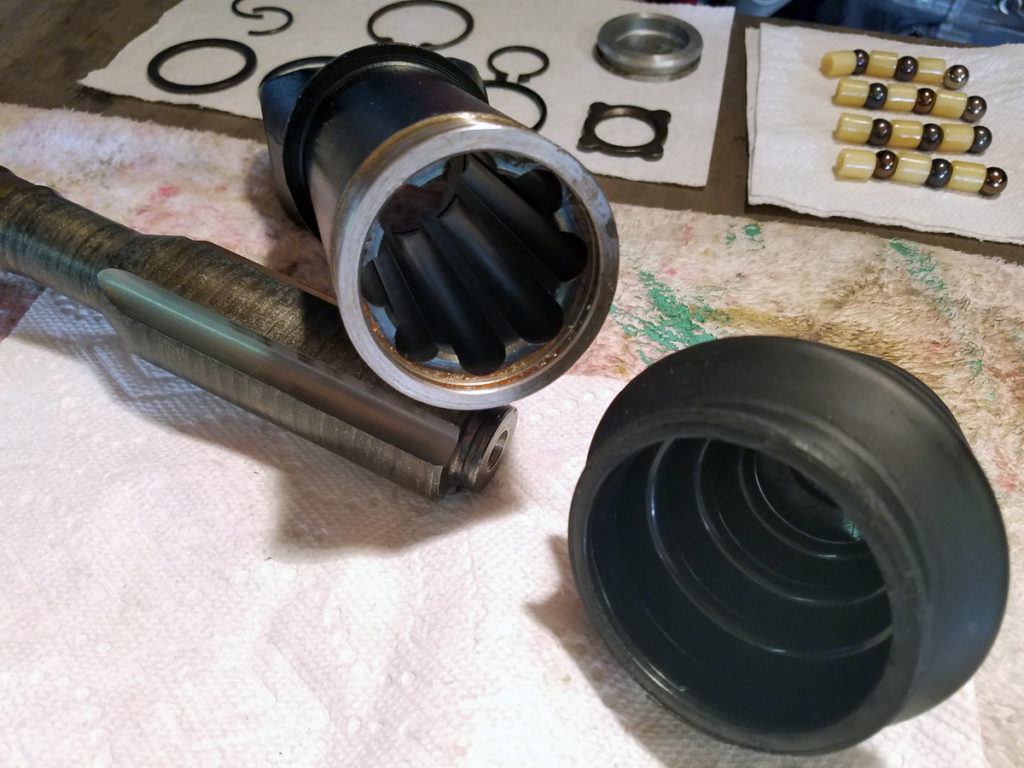
I started by removing the metal clamps that held the boot on, taking the universal joint out of the bottom end, removing the circlip, plug and stopper before separating the two halves.

I’d go into more detail regarding each step, but WoodWorkerB does a good job explaining it more thoroughly.

With the two sides apart, I removed the bearings, spacers and boot, then cleaned up everything to prepare them for a new batch of grease.

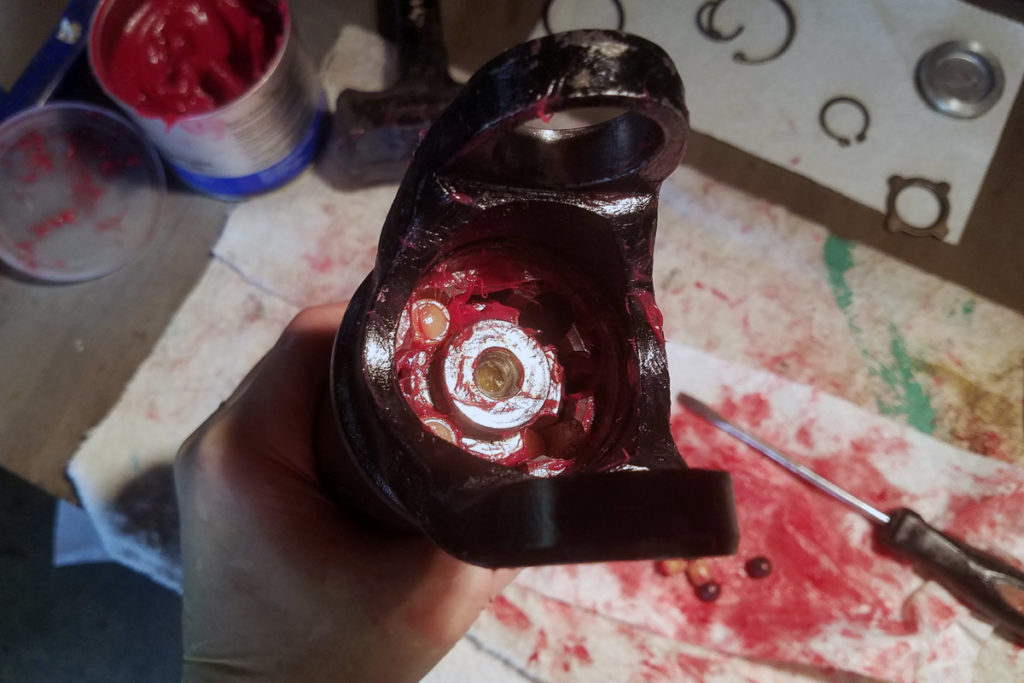
When it came time to re-grease and reassemble, I tried the method suggested by WoodWorkerB, where you pack everything with grease and place the bearings & spacers on the shaft before reinserting it into the outer casing. But that wouldn’t work for me. Maybe because I was assembling it by myself, or maybe because I didn’t have the patience to properly see it through.
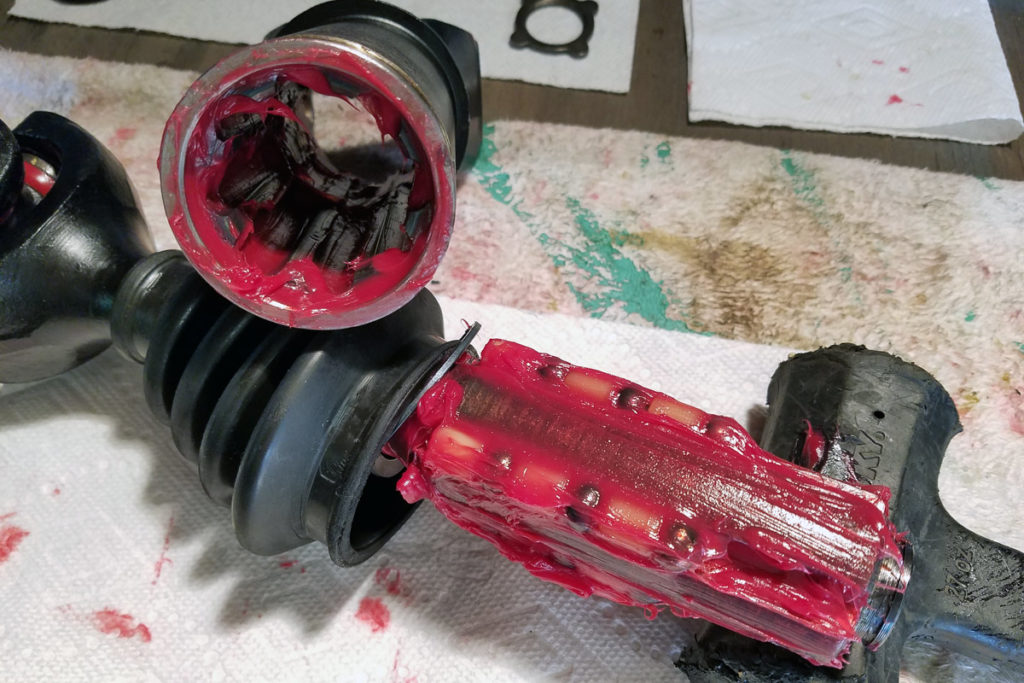
Either way, I resorted to loading the bearings & spacers from the other side, which, while it had its own set of problems, eventually worked and is how I reassembled both shafts.

Once rebuilt and re-greased, I put the whole thing back together and clamped the boots in place with a new set of ear clamps.
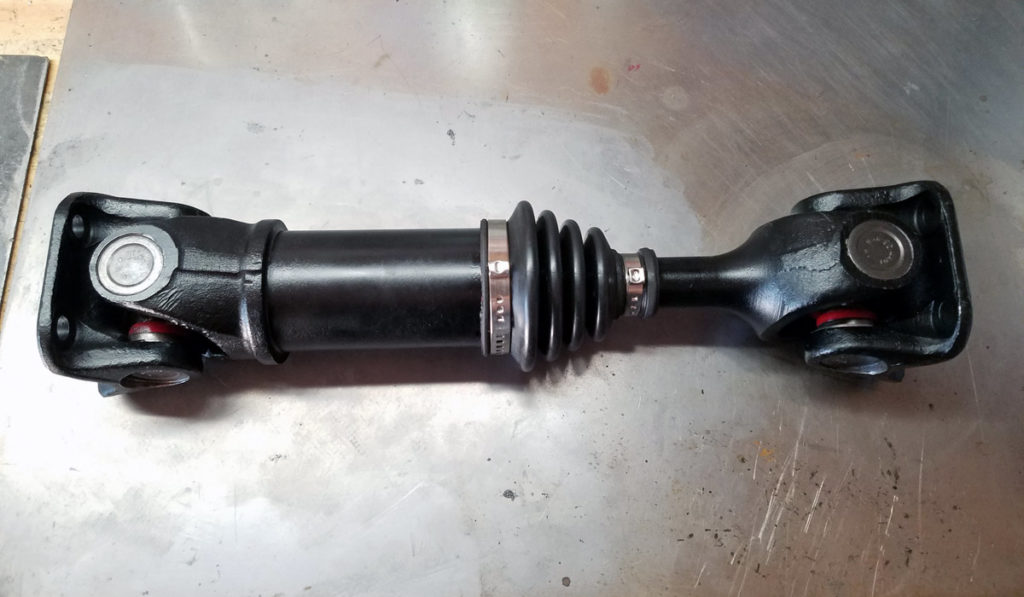
Not going to put them back in the car just yet as I still need to run brake lines and need the space to work above the suspension. But once they’re reinstalled, they’ll be ready for another 50 thousand miles, or 150 thousand, which is more likely.


To find a particular page, use the search feature or index.

40). Rear suspension

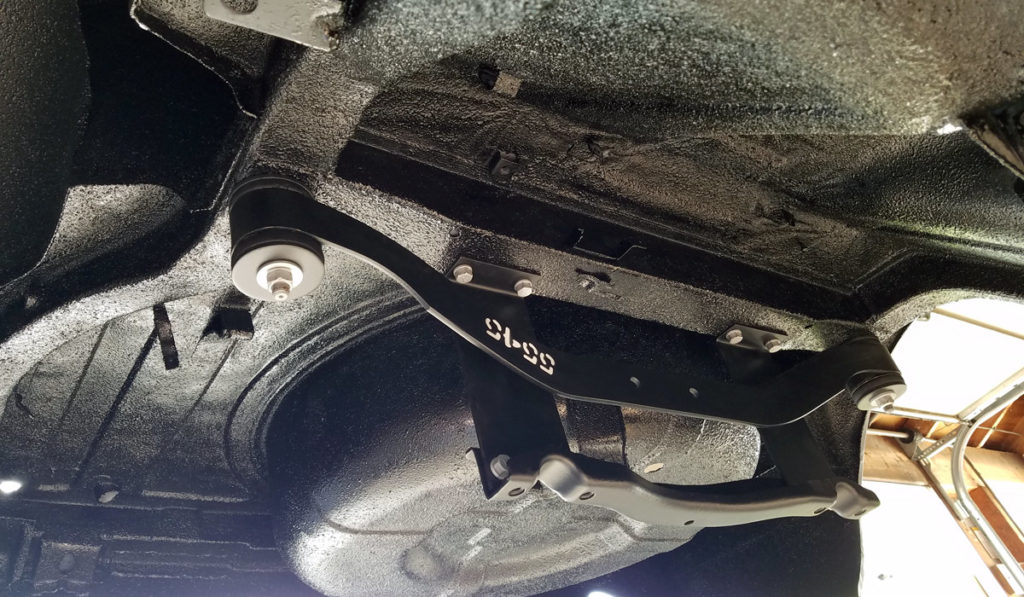
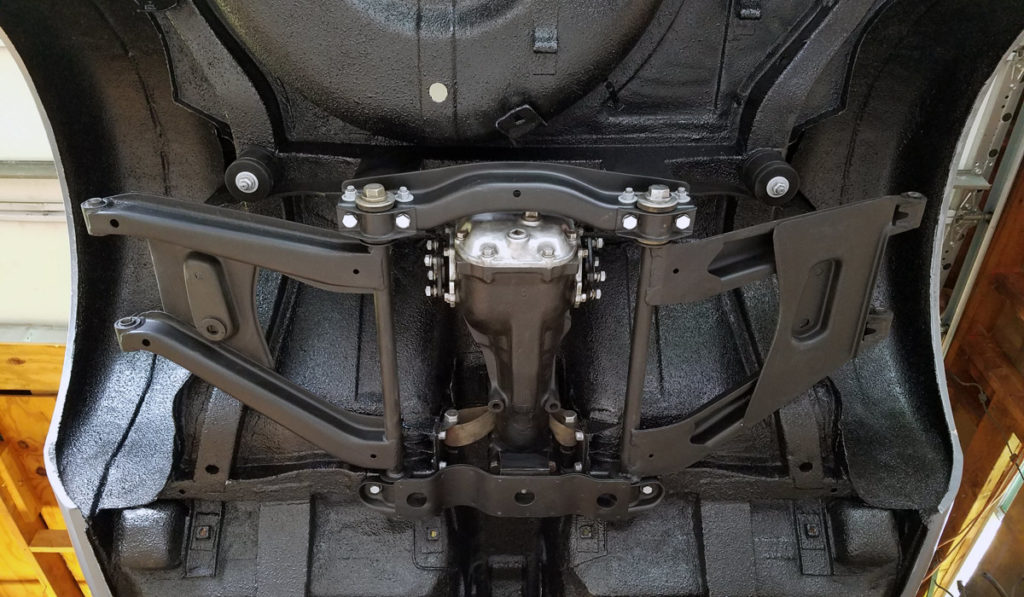
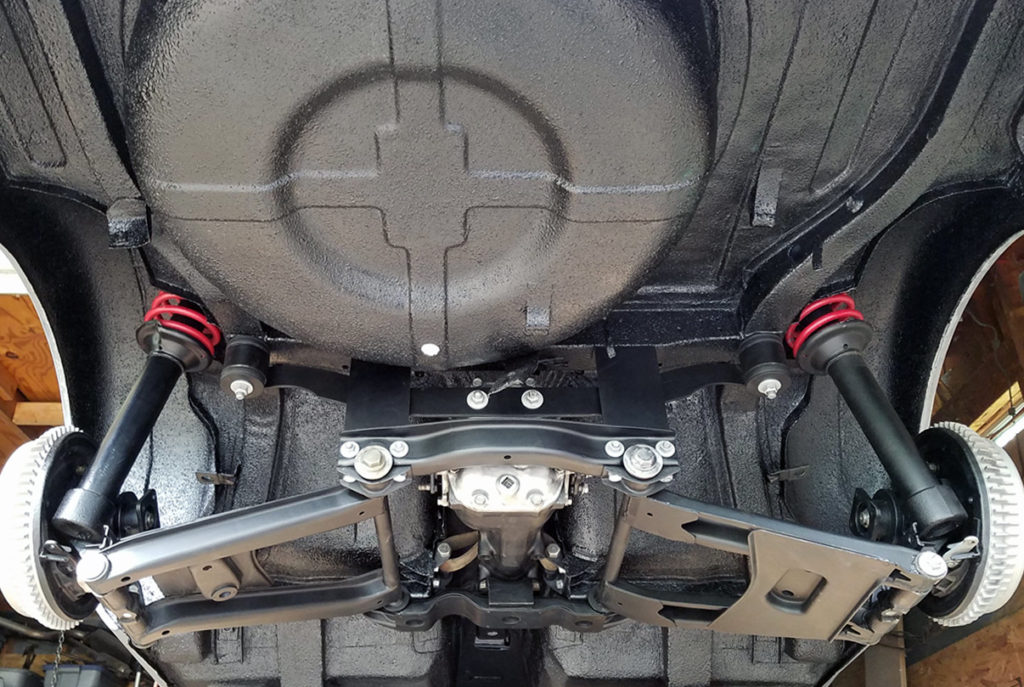
With the undercoating out of the way, I could move on to installing the refurbished rear suspension. The mustache bar and differential braces went on first.

Next came the differential torque arrester strap, the differential itself, followed by the control arms.

Now I’m proud of the fact that no one but me has been involved with the rebuild of this car, but let me tell you, installing the differential and control arms on my own was an interesting task that I should have recorded on video for the entertainment value alone.

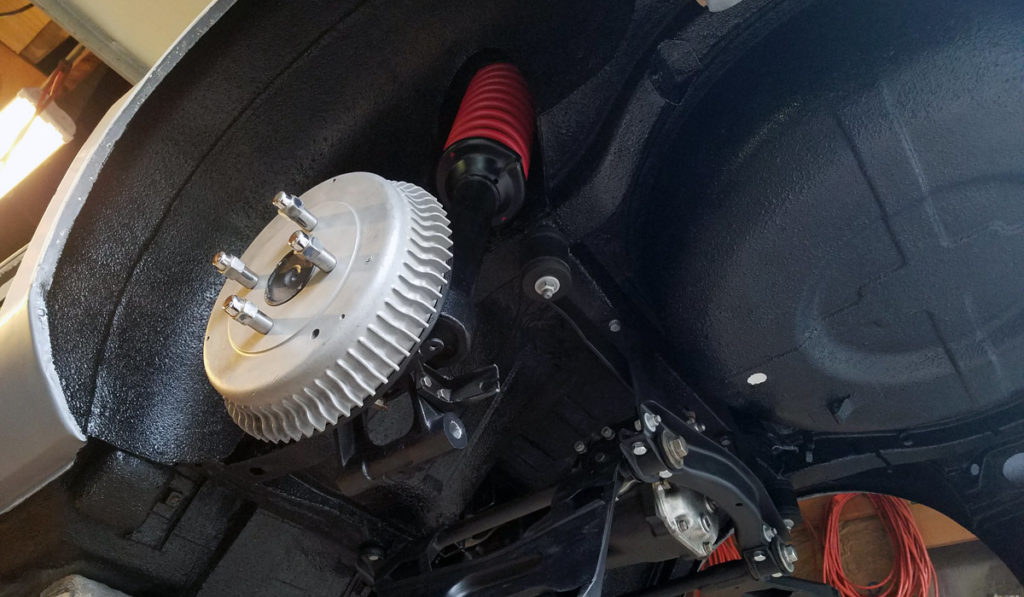
Up next was the strut assembly, which, like the differential, would have been entertaining to a bystander just to see me struggling with it. If it weren’t for mechanics wire, I probably wouldn’t have been able to pull it off at all.

Now all that was left to do, on this side at least, was to repair one of the two spindle pins that held the assembly to the control arm. The other spindle pin was destroyed during removal and will need to be replaced.

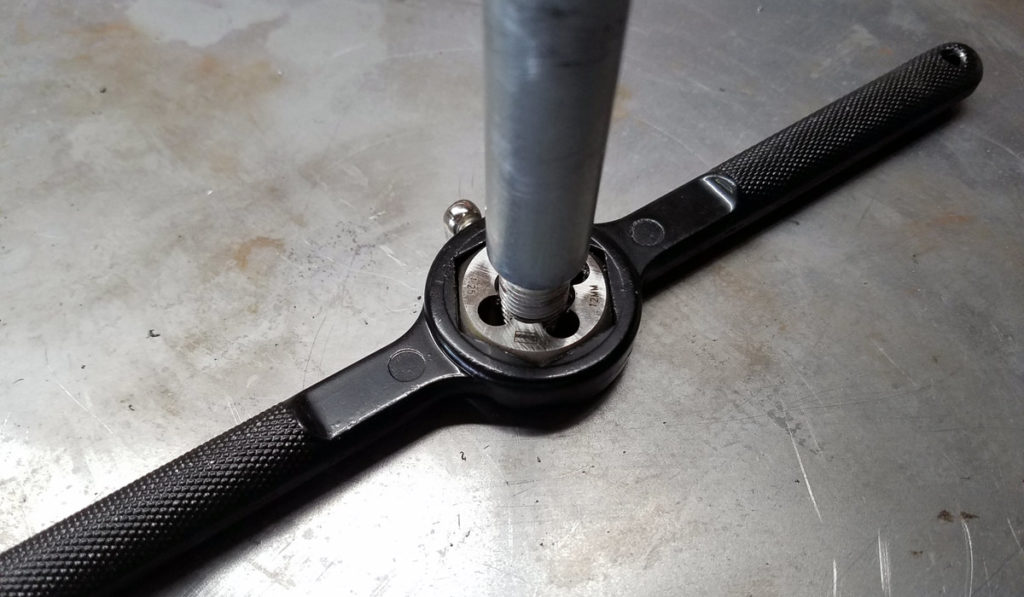
The salvageable spindle pin just had some minor damage to the threads which I repaired with an M12 x 1.25 die from a tap and die set.

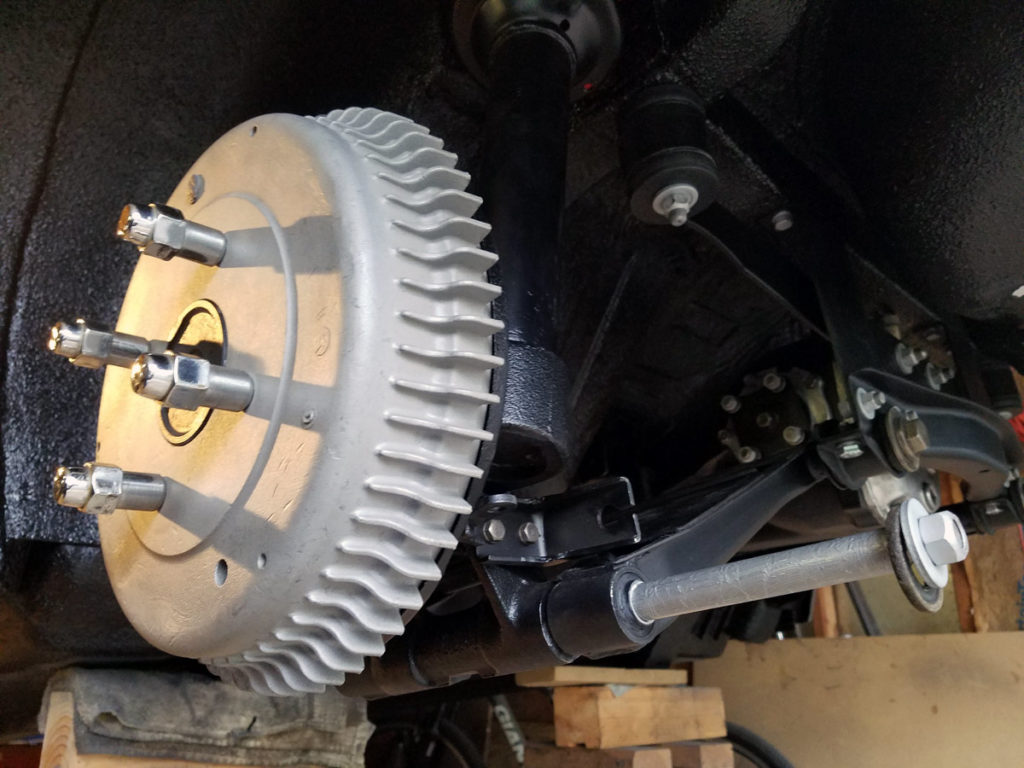
This worked well and I went on to sand and polish the spindle pin and slot in the control arm and strut assembly. Once I was satisfied, I coated everything in anti seize and installed the spindle. I made sure it would still spin freely, up until the moment I wrenched it down and locked it in place with the lock bolt. I would hope that this will allow removal in the future to be completely hassle free.

With the drivers side done, I moved on to the passengers side using the same routine… Installed the strut assembly, repaired the thread on a spindle pin that was so graciously sold to me at a significant discount by @sexyls30 (Thanks Matt), then polished and applied a liberal amount of anti seize to the whole thing before assembling it up.

All that was left now, was the half shafts.


To find a particular page, use the search feature or index.

39). Rear undercoating II

Google, how do you say “about damn time” in Japanese? … Yaku jikan

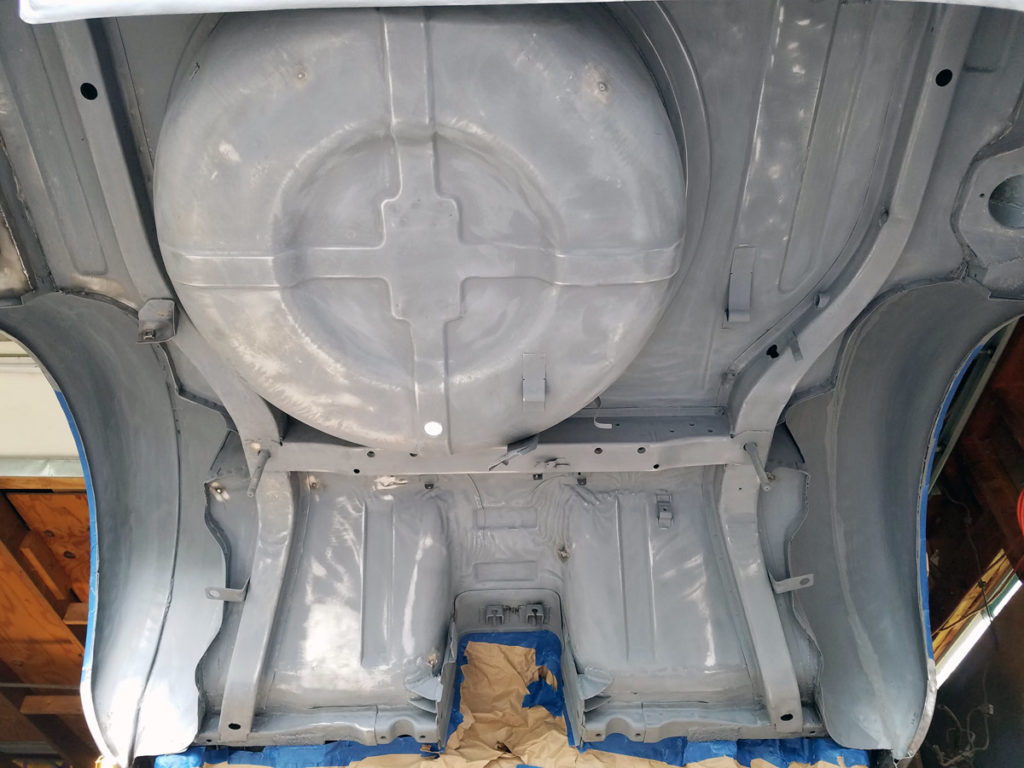
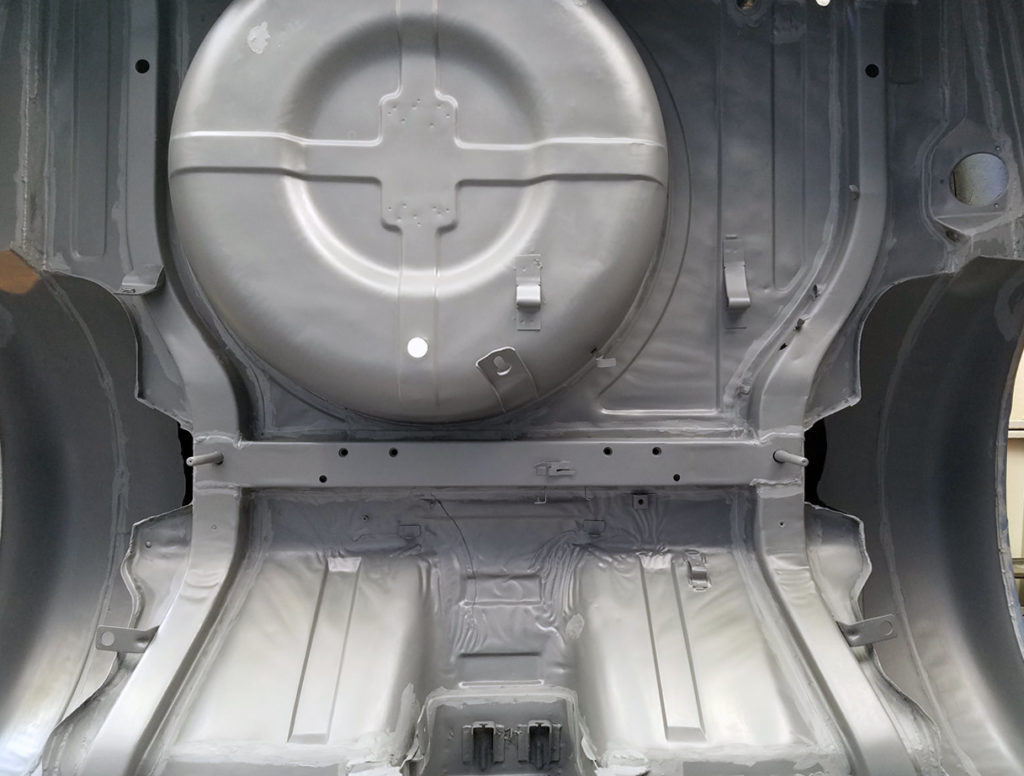
Seems like it’s been forever since I began working on the rear third of the car. And when I did, it took nearly two months to scrape all the old tar undercoating off and wire wheel it down to bare metal. I gave it a coat of epoxy primer around December 2017 just to keep it from rusting over the winter, but it was a rush job as I had to get it coated during one of the last above freezing days we had that month. Due to this, the finish wasn’t that great and I decided to sand the underside before I re-applied another coat of epoxy primer.

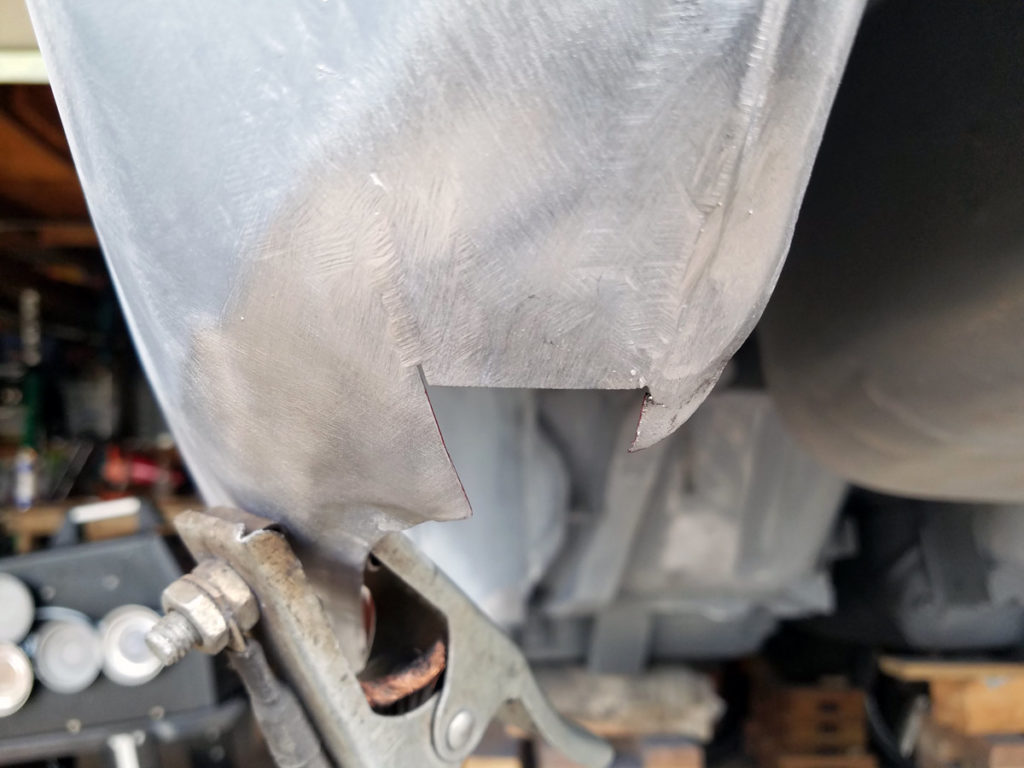
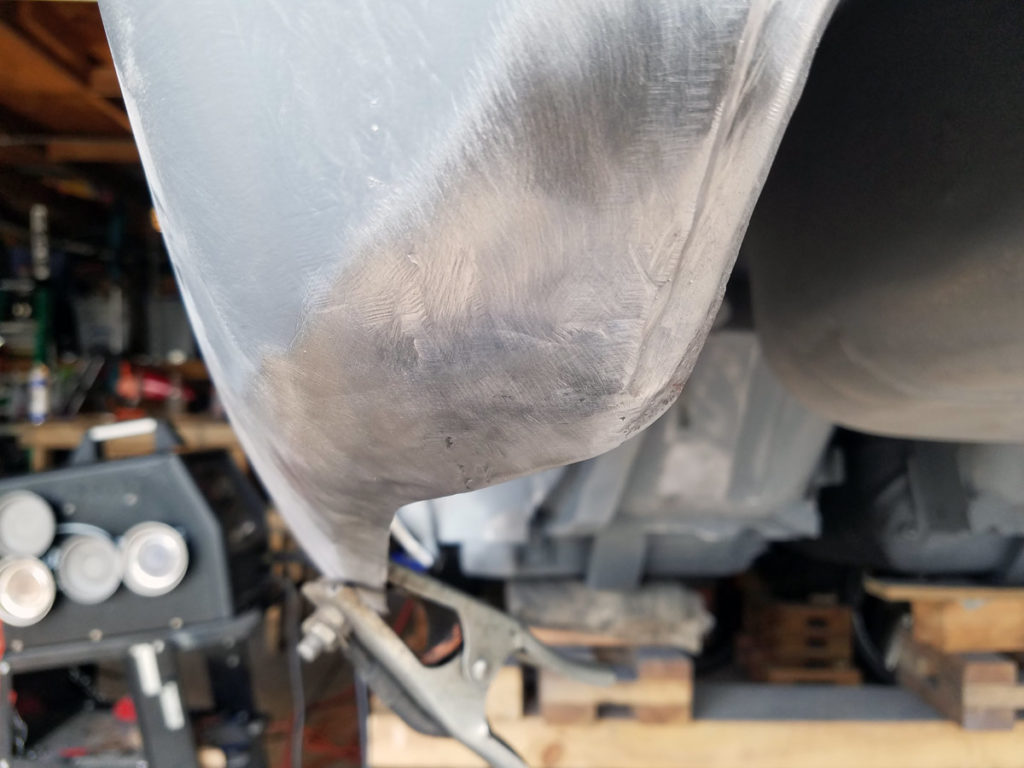
But before I could do that, I needed to take care of a couple spots that I’d just never gotten around too. Like the corners of the rear valence.

Which were simple enough…

Now I could coat the underside in epoxy primer and seam seal all the seams.

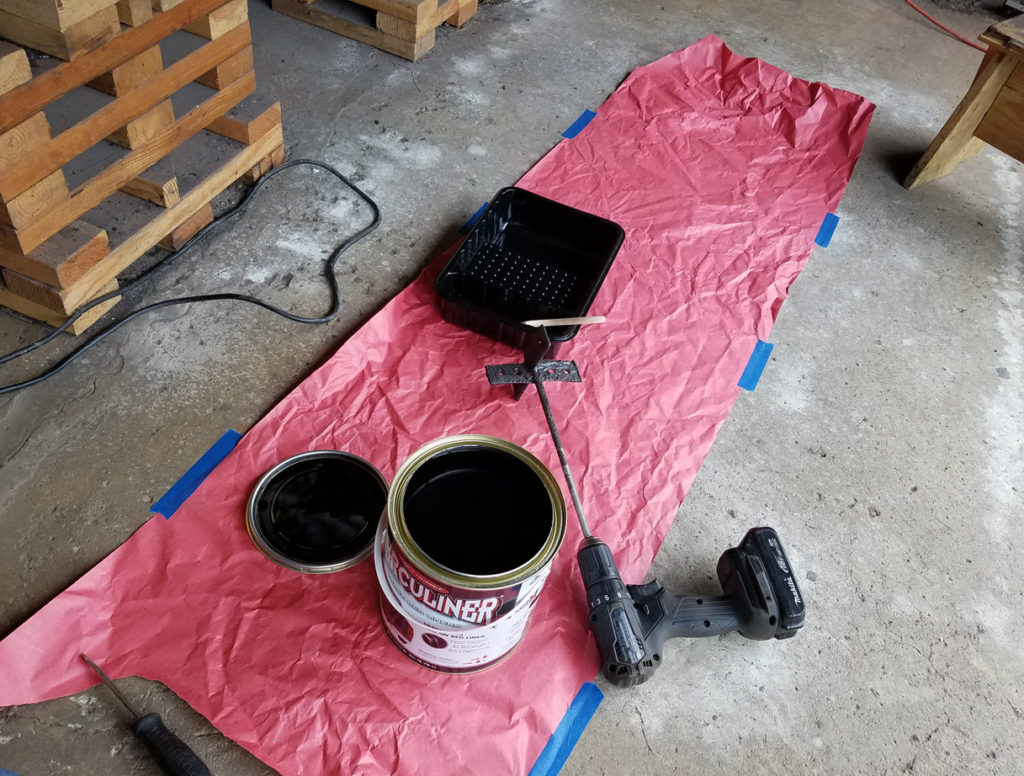
With that out of the way, I waited a couple days for it to cure before I took a Scotch Brite pad to it and mixed up some Herculiner.

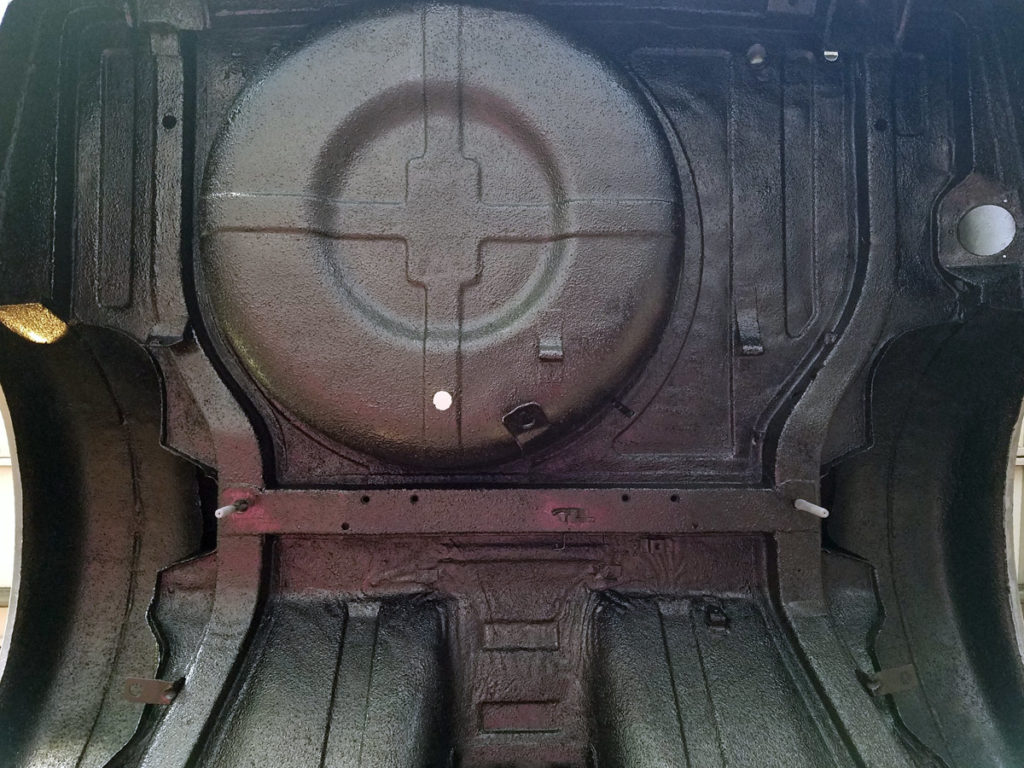
Two days and two coats later, the entire underside of my Datsun was officially coated. Granted there was a massive amount of work left to do on the car, but this was a milestone.

And I was pretty damn exited to move on to installing the rear suspension and other parts too.


To find a particular page, use the search feature or index.