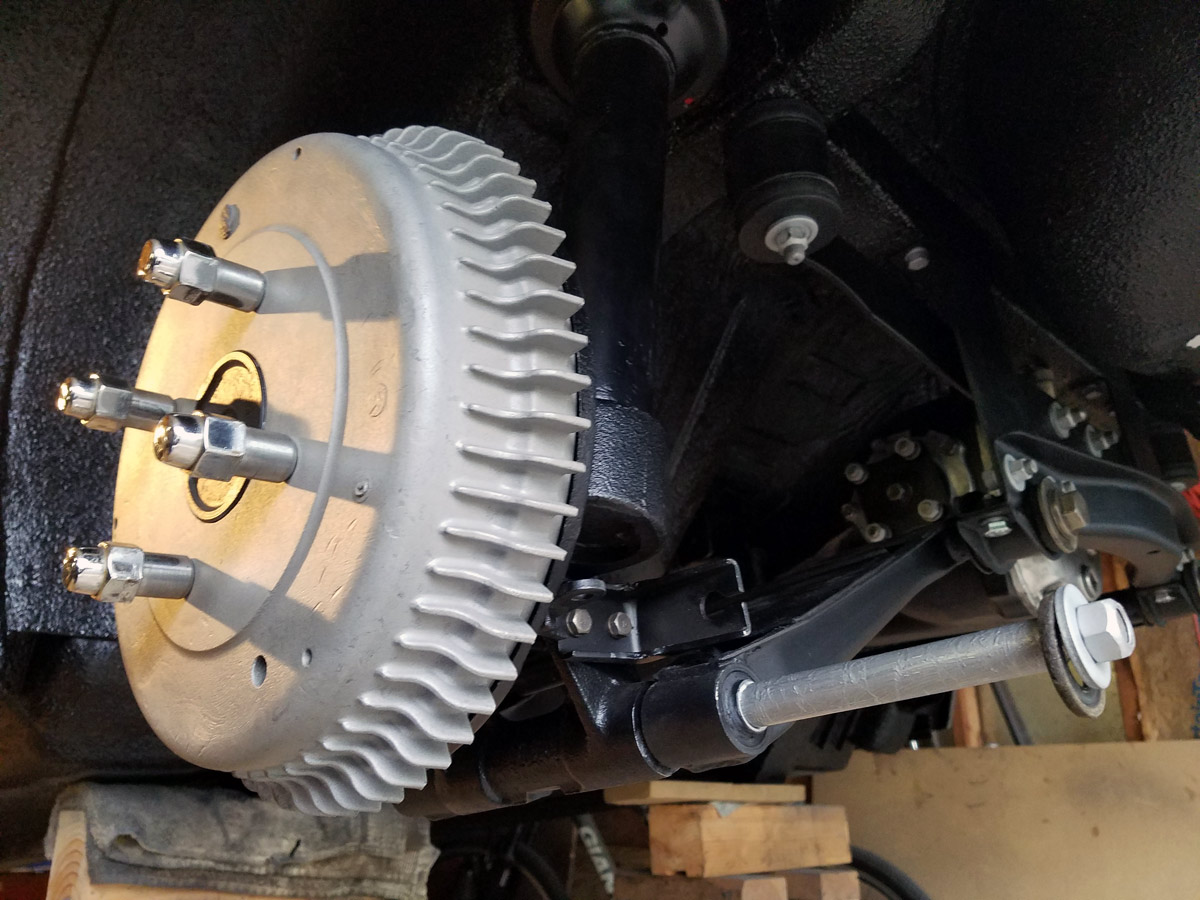
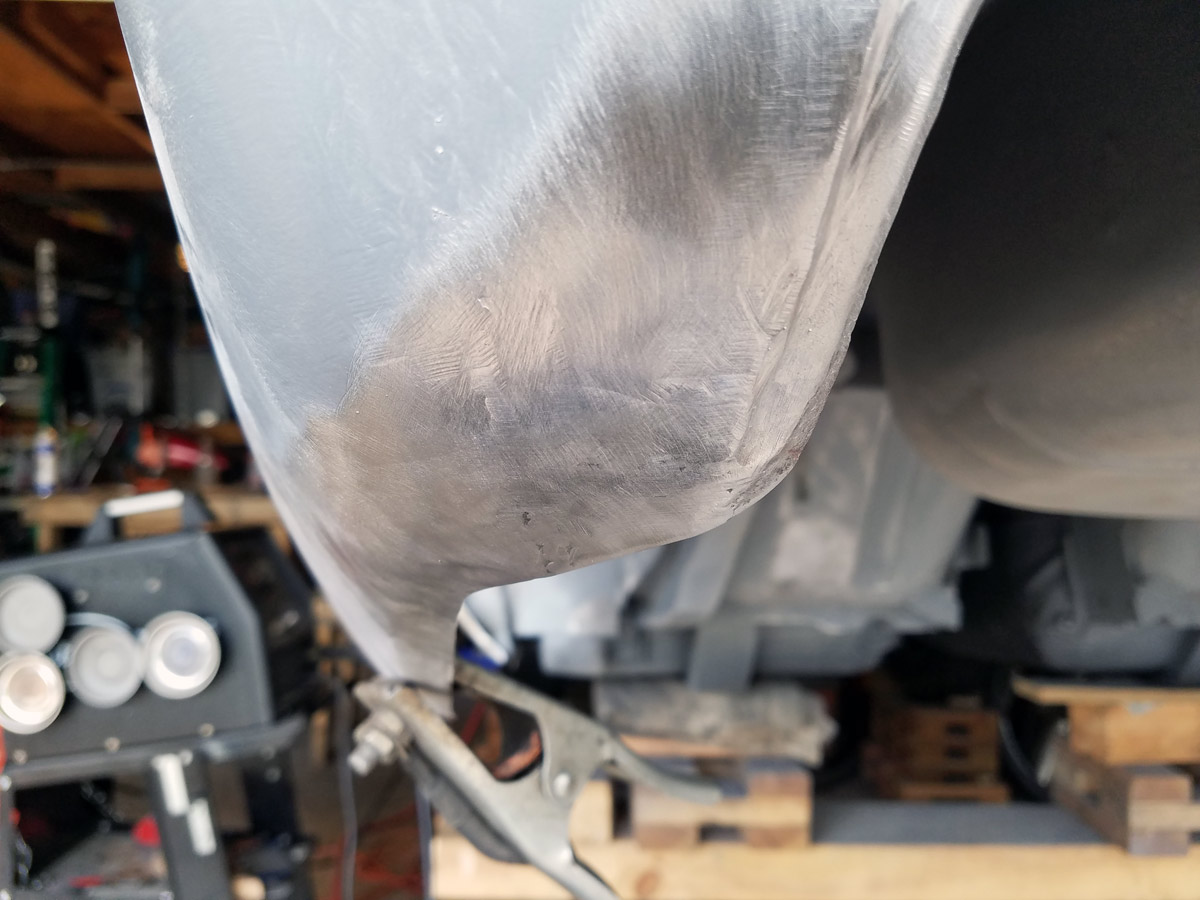
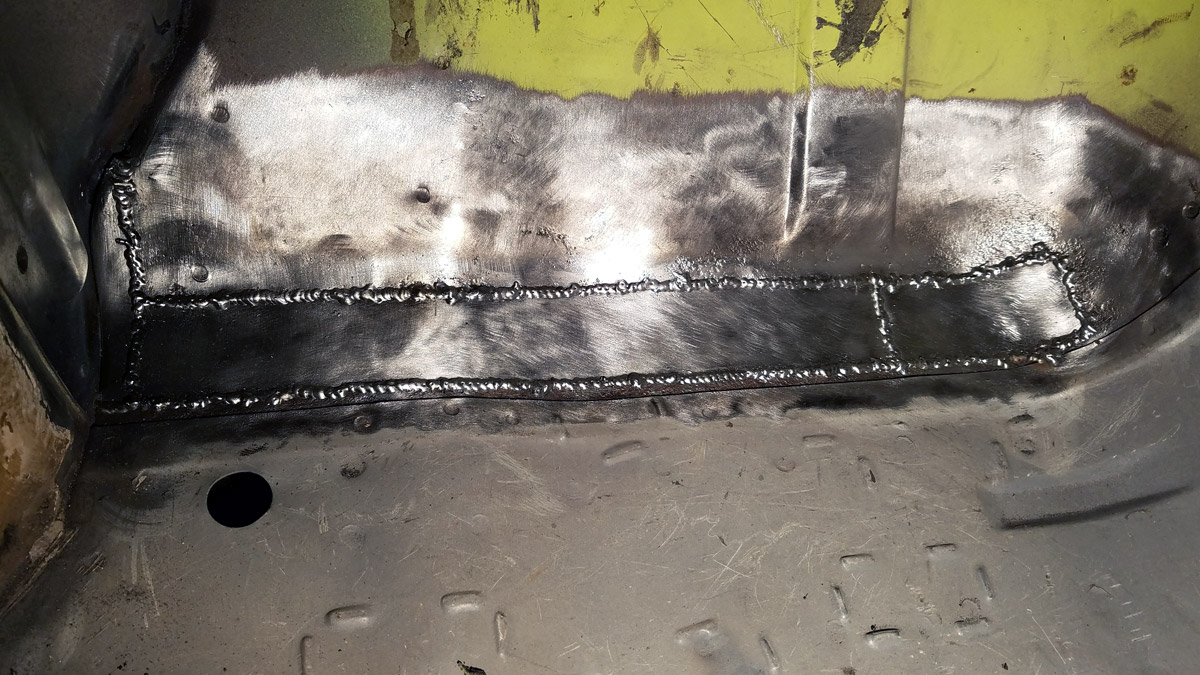
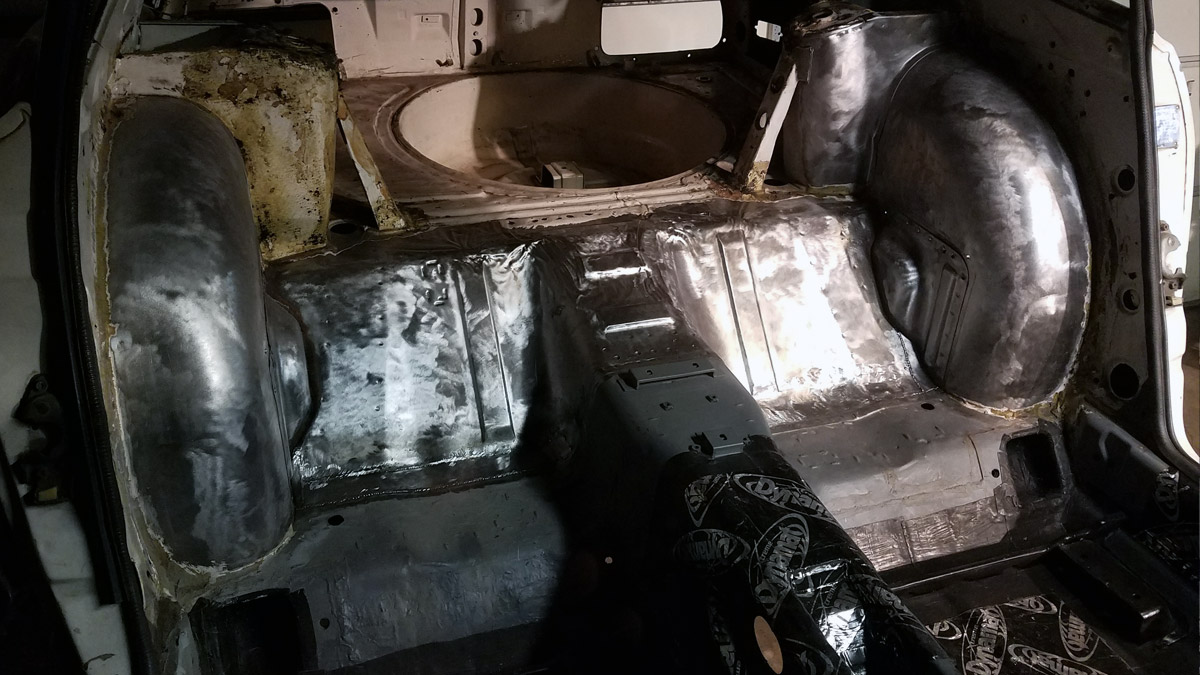
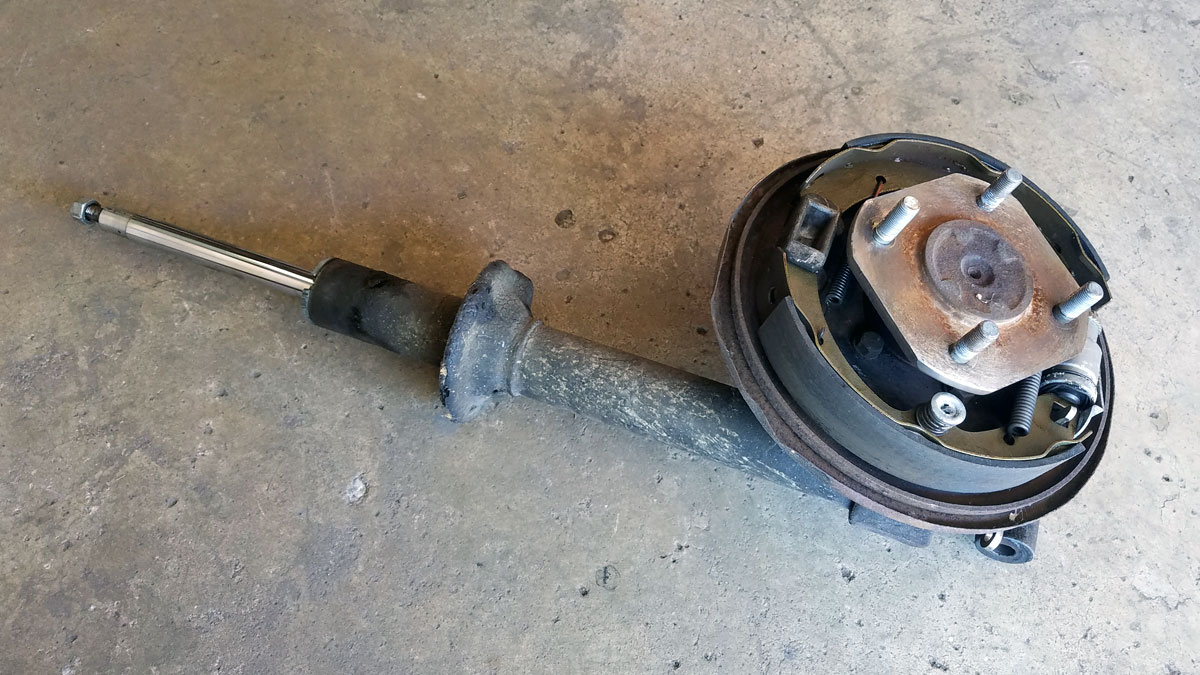
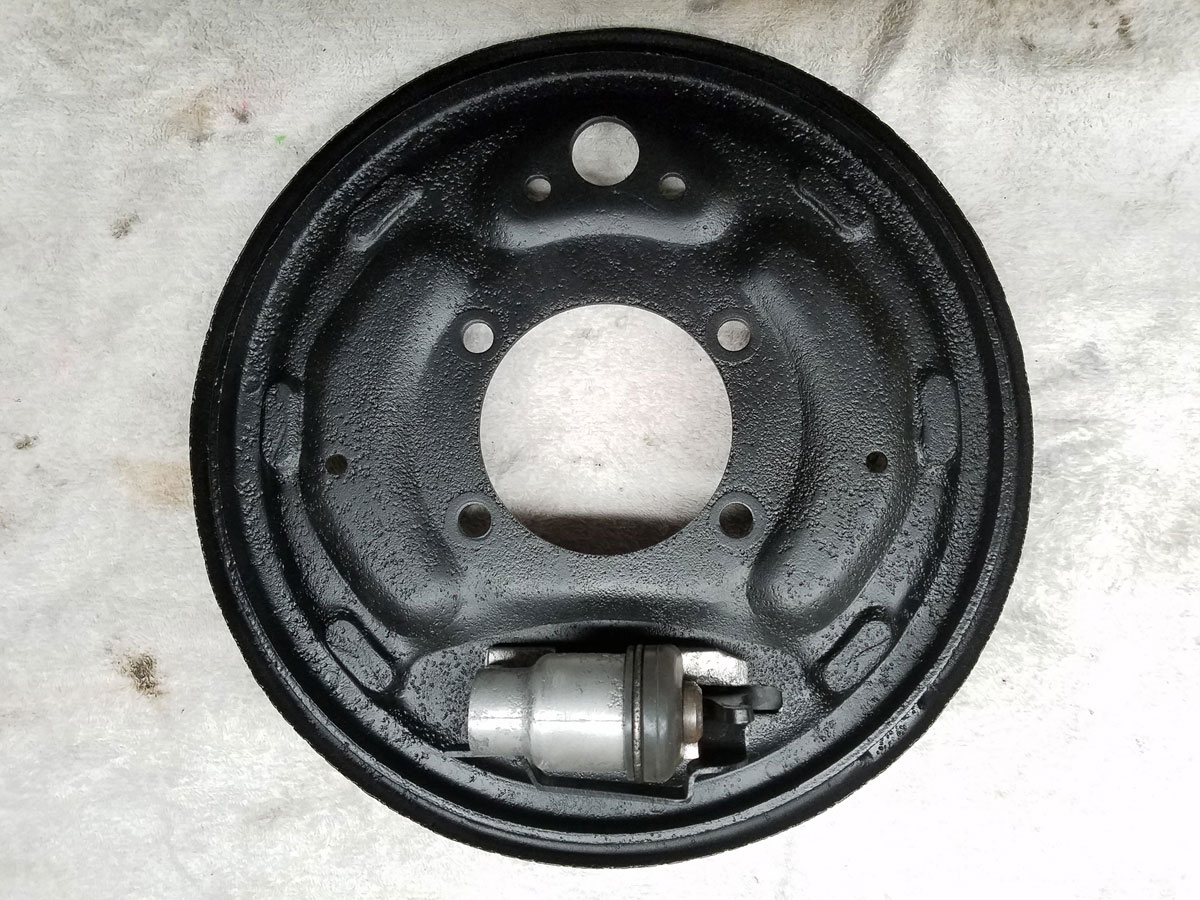
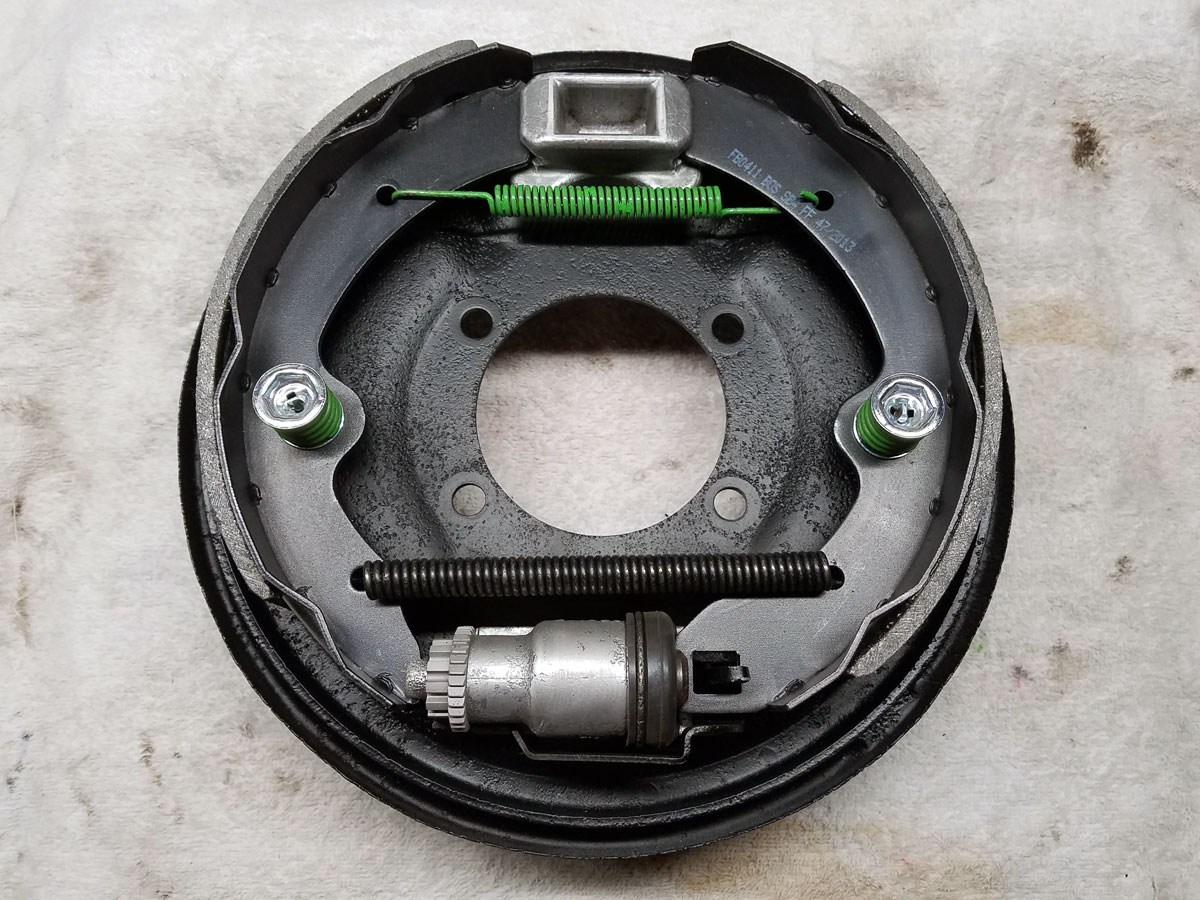
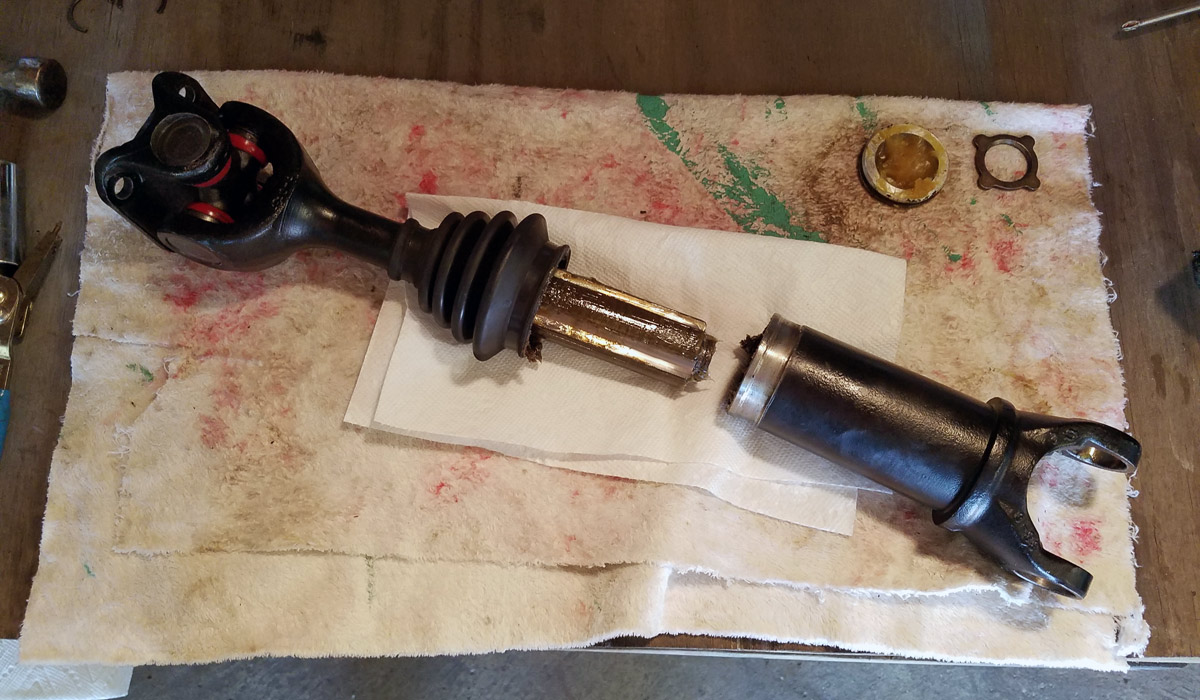
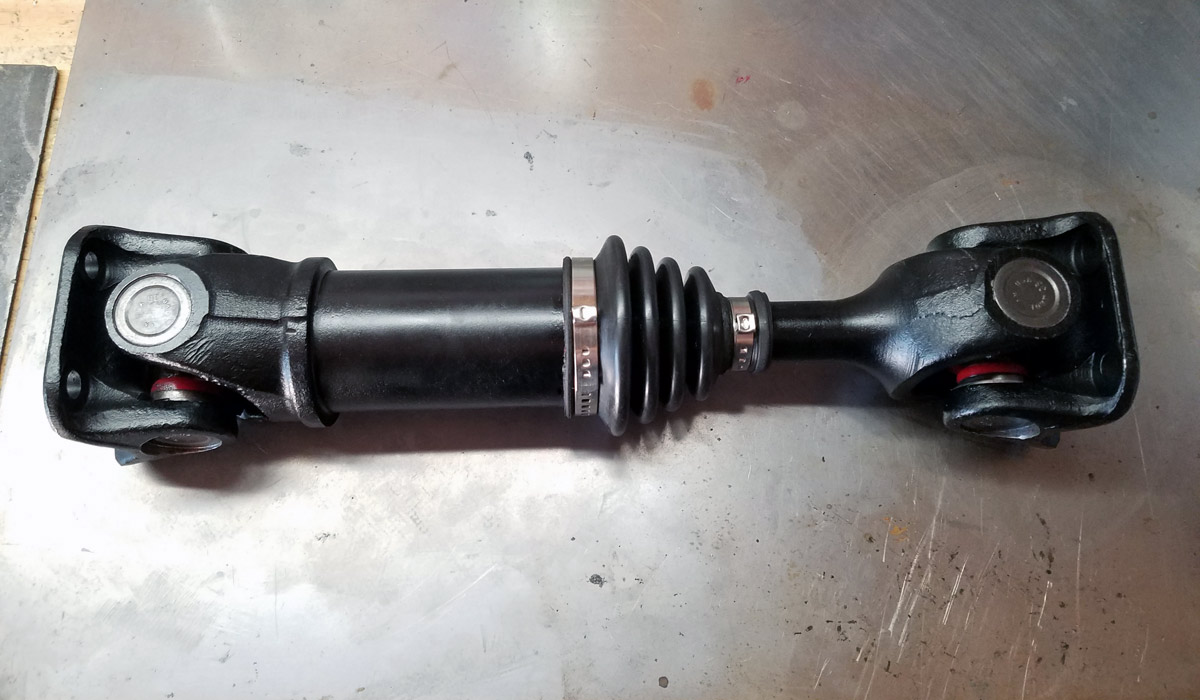
The last piece of rear suspension to wrap up is the half shafts. And while they’ve been cleaned up, I’ve never fully disassembled them and greased the inner bearings. So that’s the goal here.
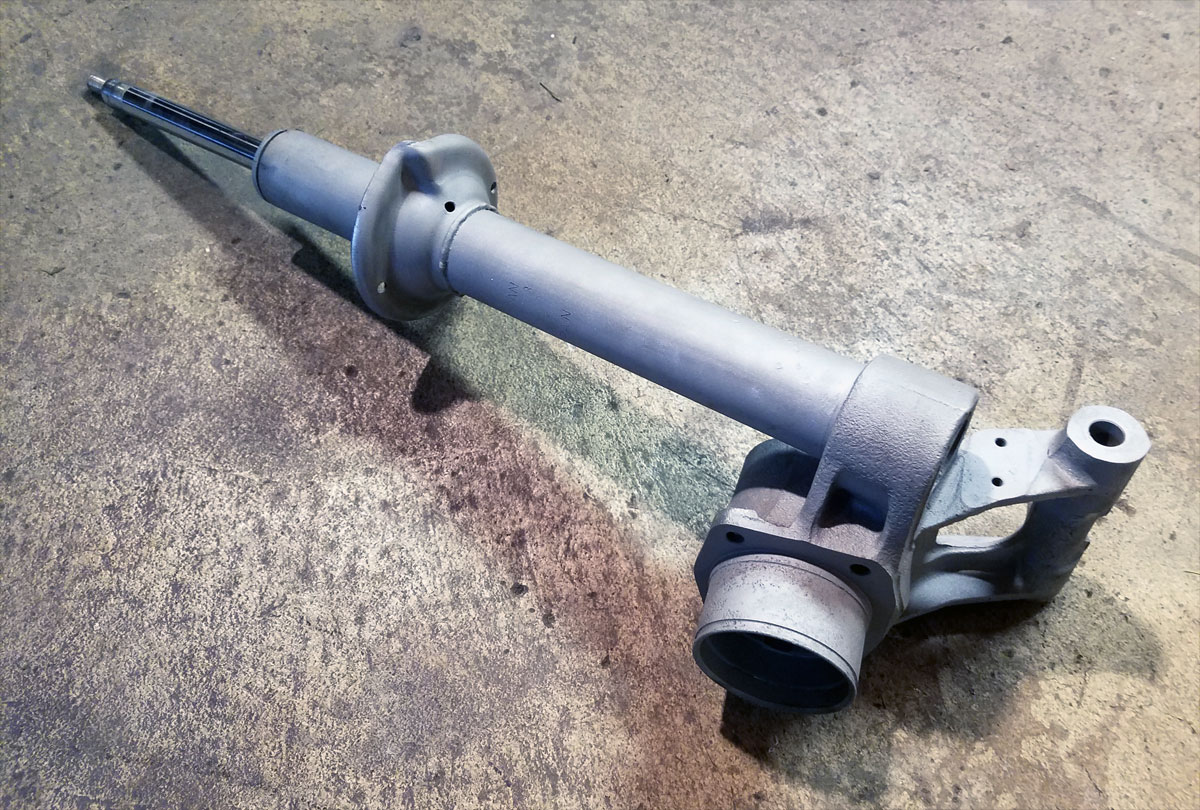
I started by removing the metal clamps that held the boot on, taking the universal joint out of the bottom end, removing the circlip, plug and stopper before separating the two halves.
I’d go into more detail regarding each step, but WoodWorkerB does a good job explaining it more thoroughly.
With the two sides apart, I removed the bearings, spacers and boot, then cleaned up everything to prepare them for a new batch of grease.
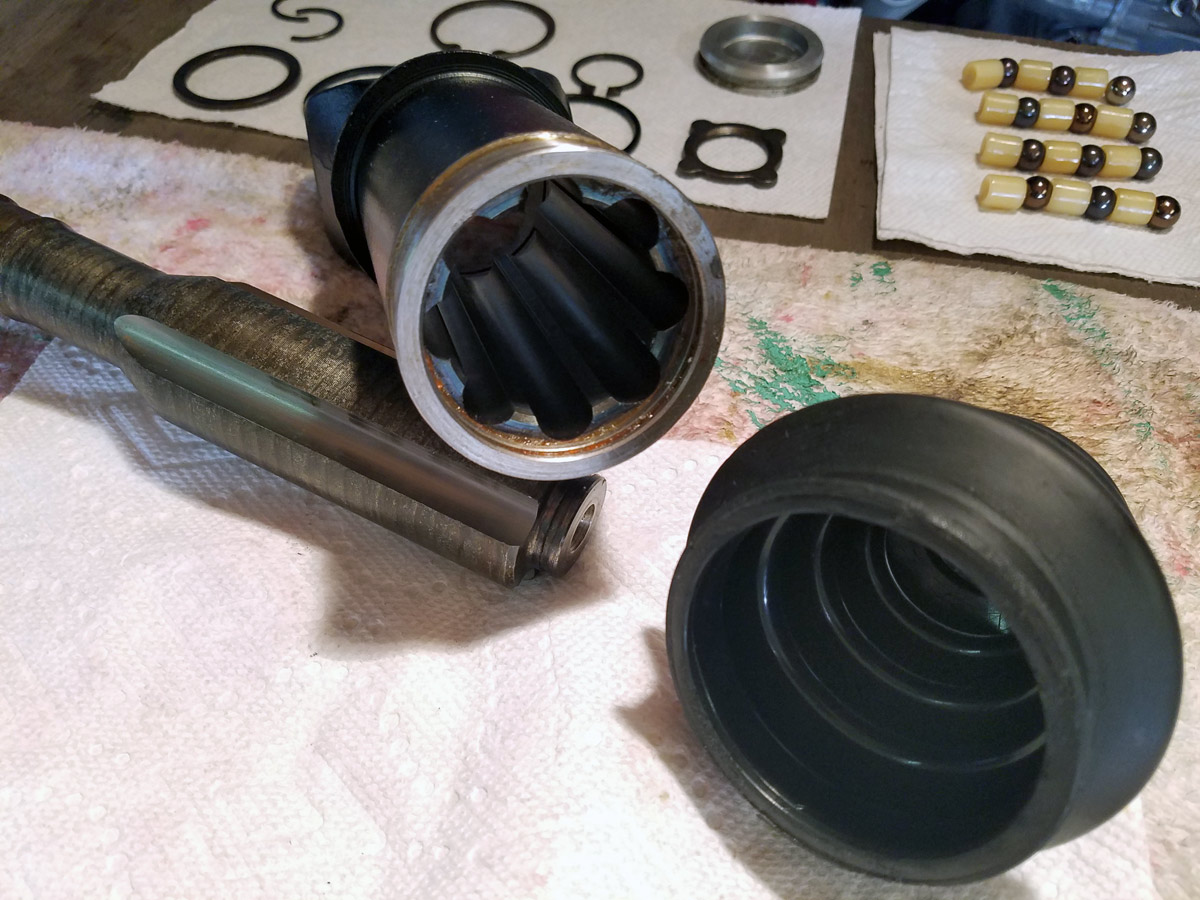
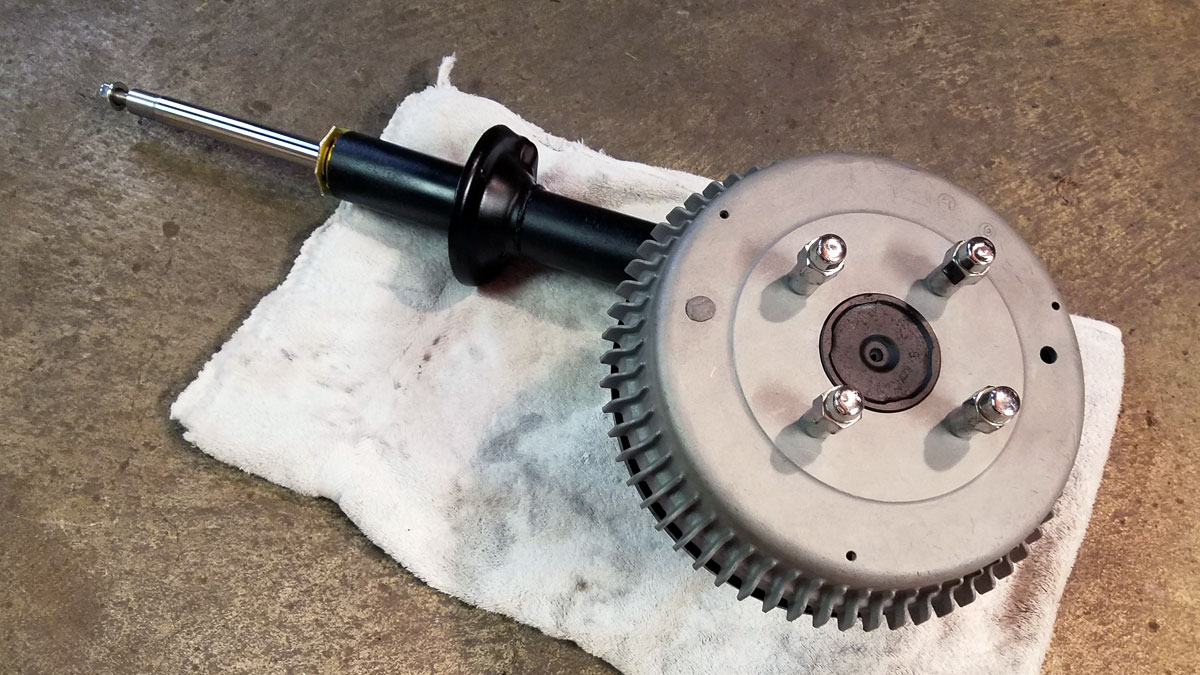
When it came time to re-grease and reassemble, I tried the method suggested by WoodWorkerB, where you pack everything with grease and place the bearings & spacers on the shaft before reinserting it into the outer casing. But that wouldn’t work for me. Maybe because I was assembling it by myself, or maybe because I didn’t have the patience to properly see it through.
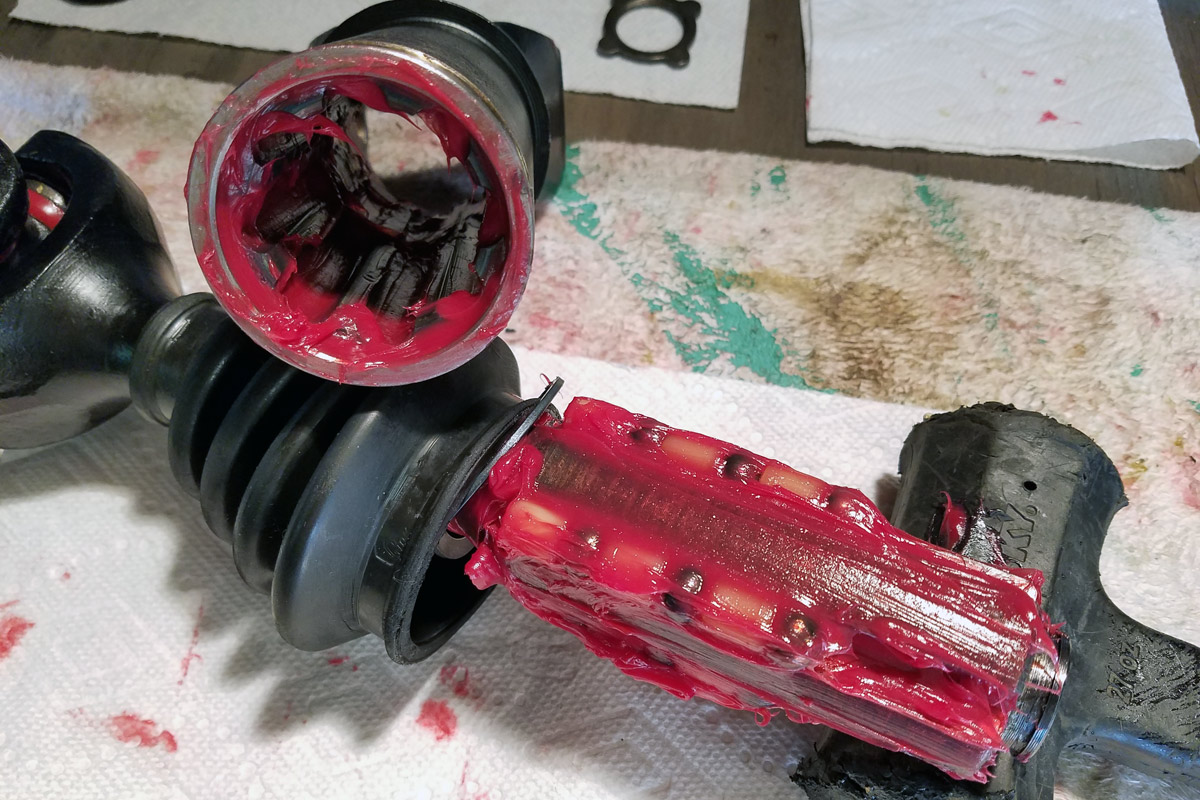 Either way, I resorted to loading the bearings & spacers from the other side, which, while it had its own set of problems, eventually worked and is how I reassembled both shafts.
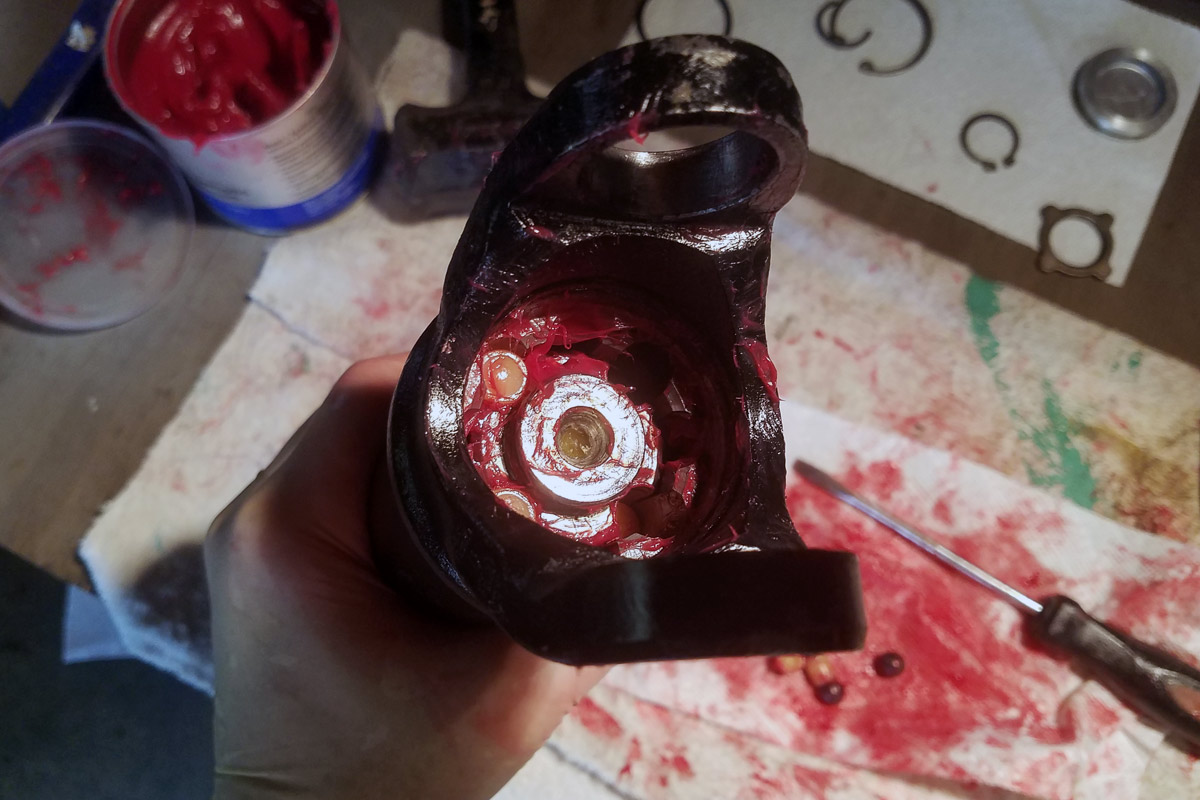
Once rebuilt and re-greased, I put the whole thing back together and clamped the boots in place with a new set of ear clamps.
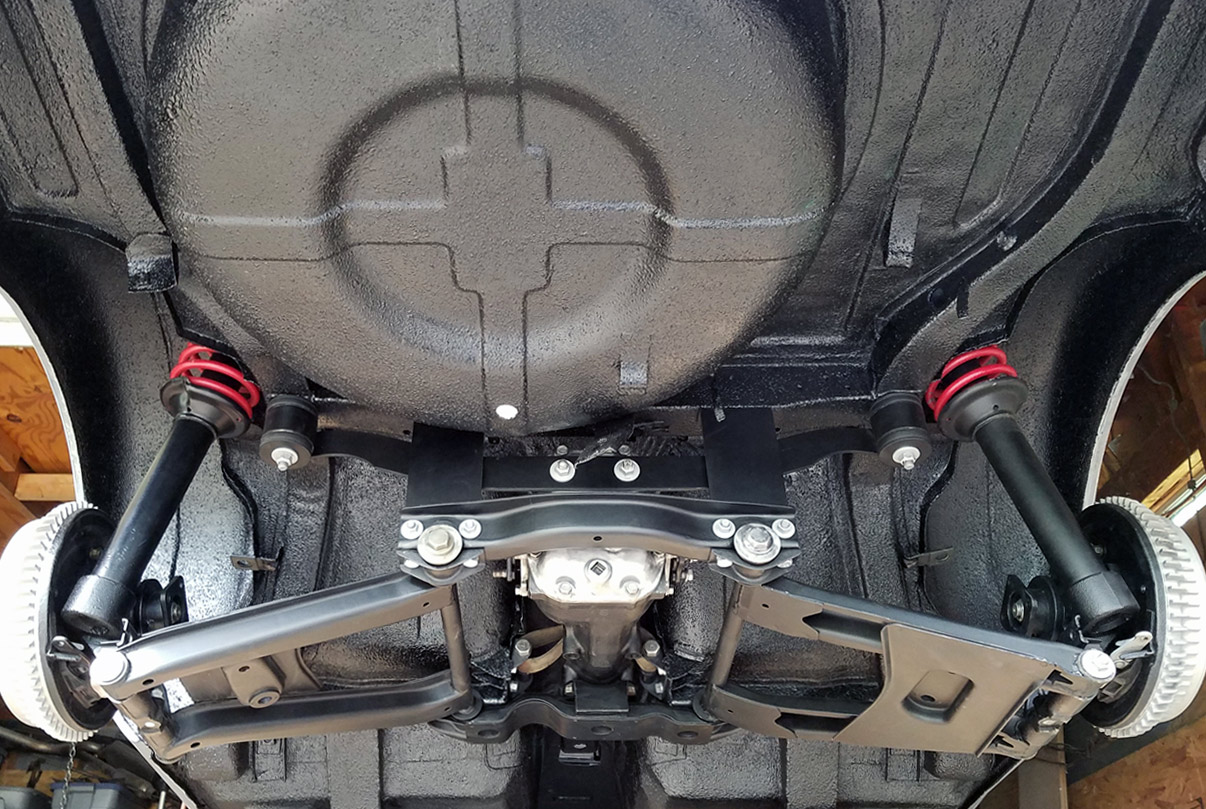
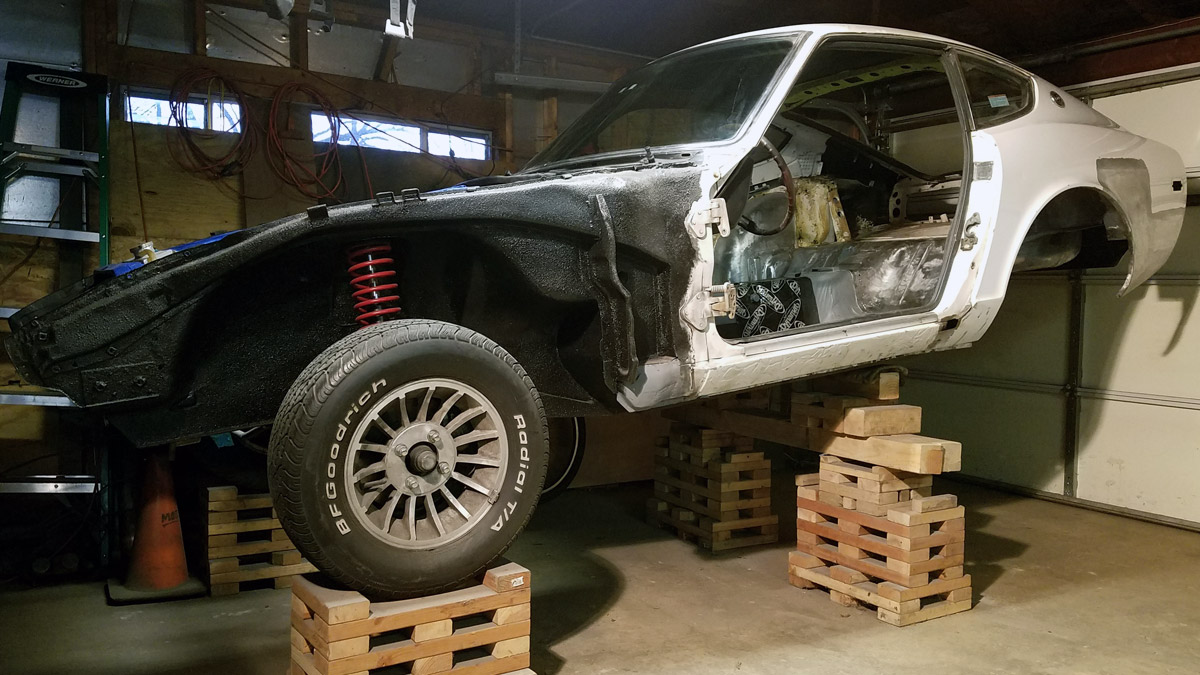
 Not going to put them back in the car just yet as I still need to run brake lines and need the space to work above the suspension. But once they’re reinstalled, they’ll be ready for another 50 thousand miles, or 150 thousand, which is more likely.
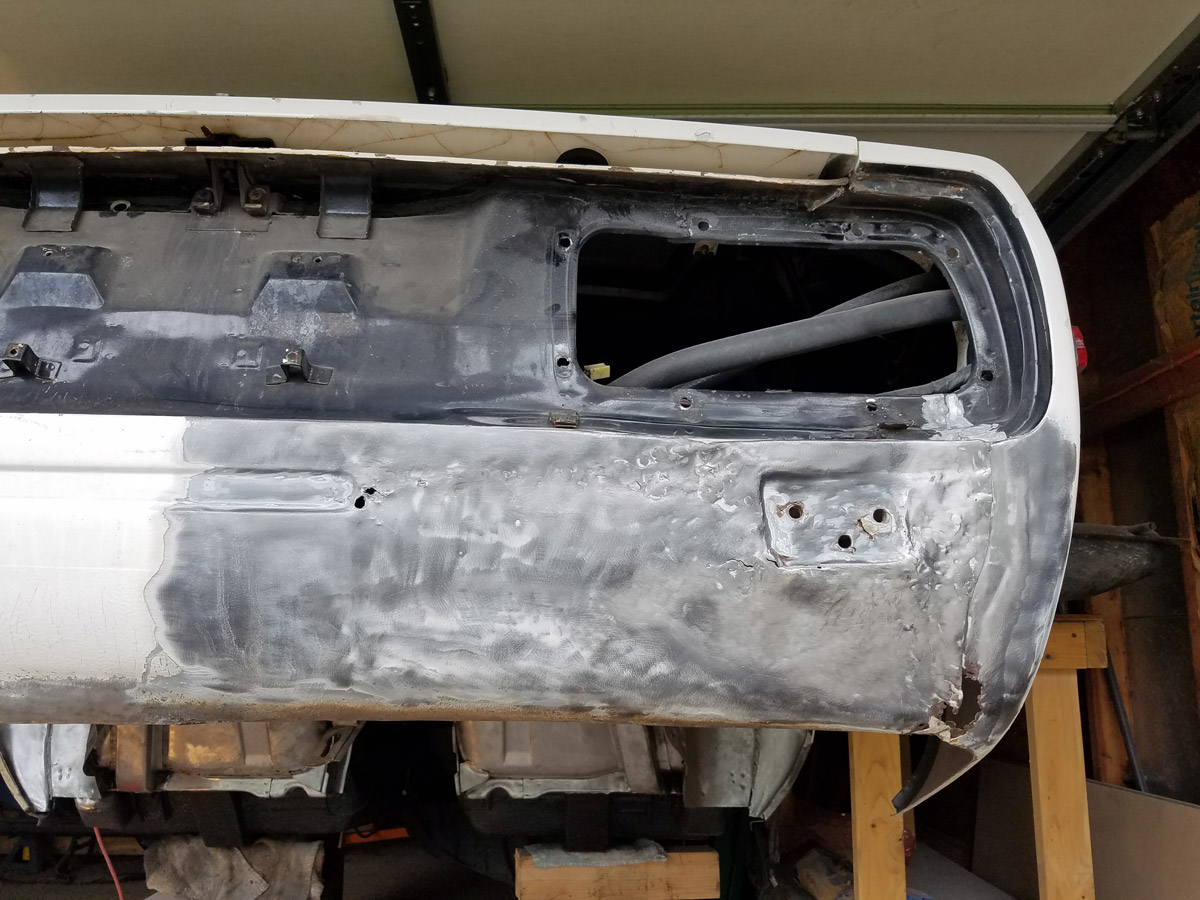
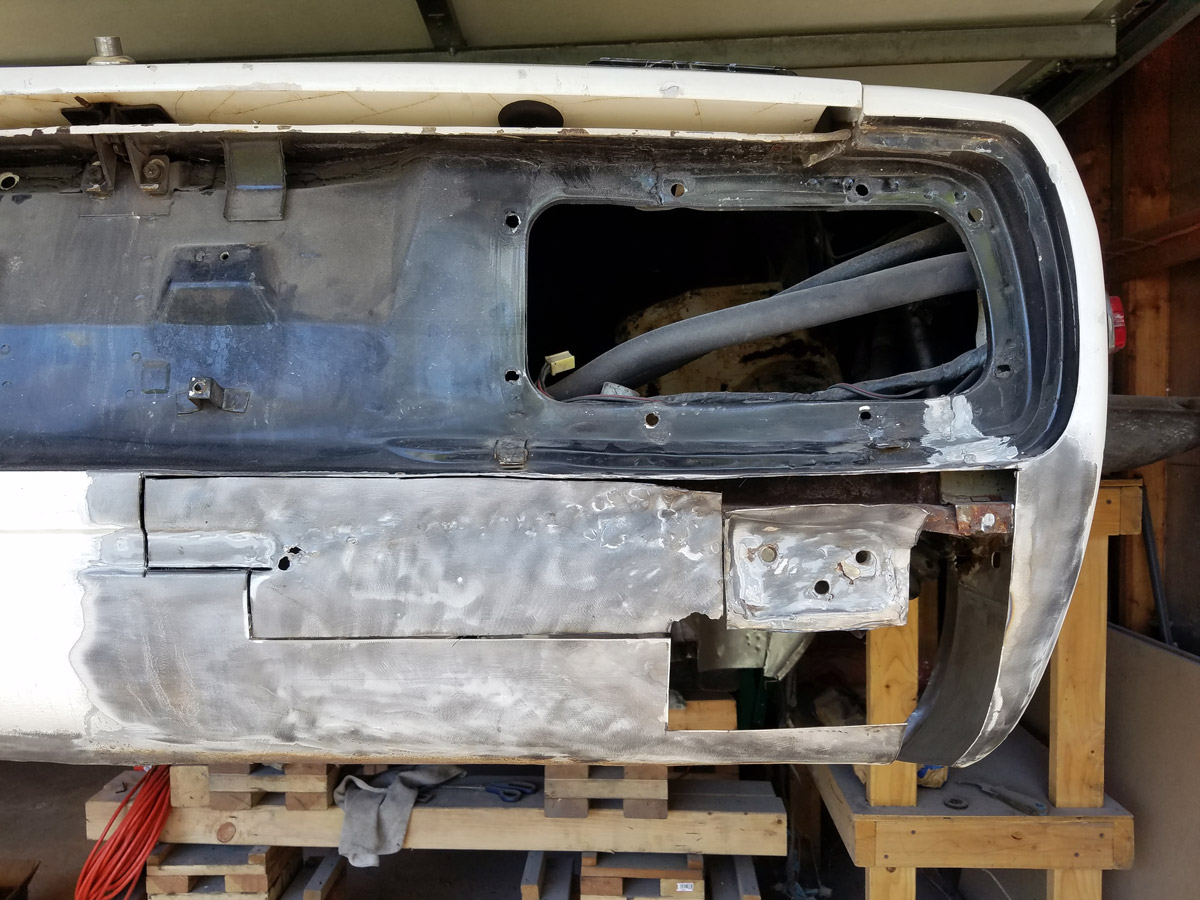
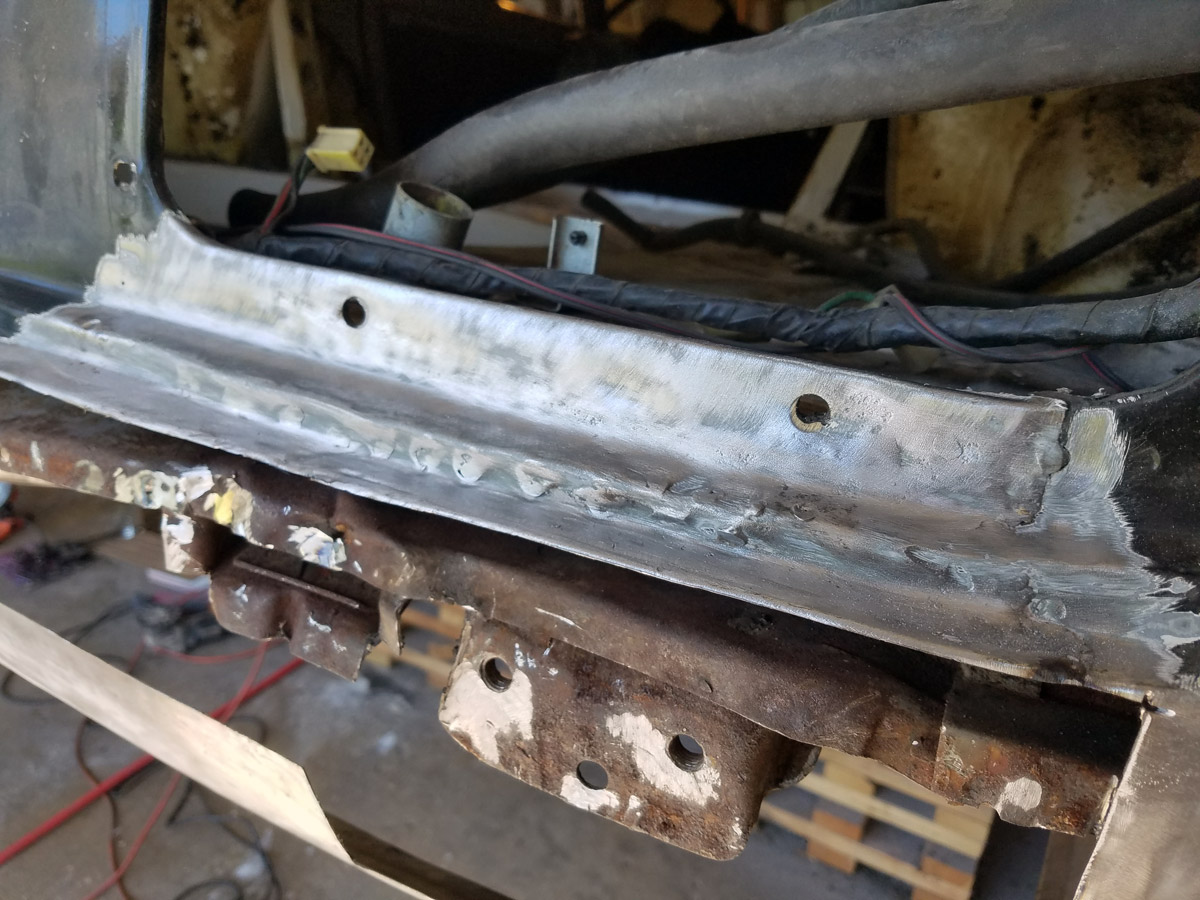
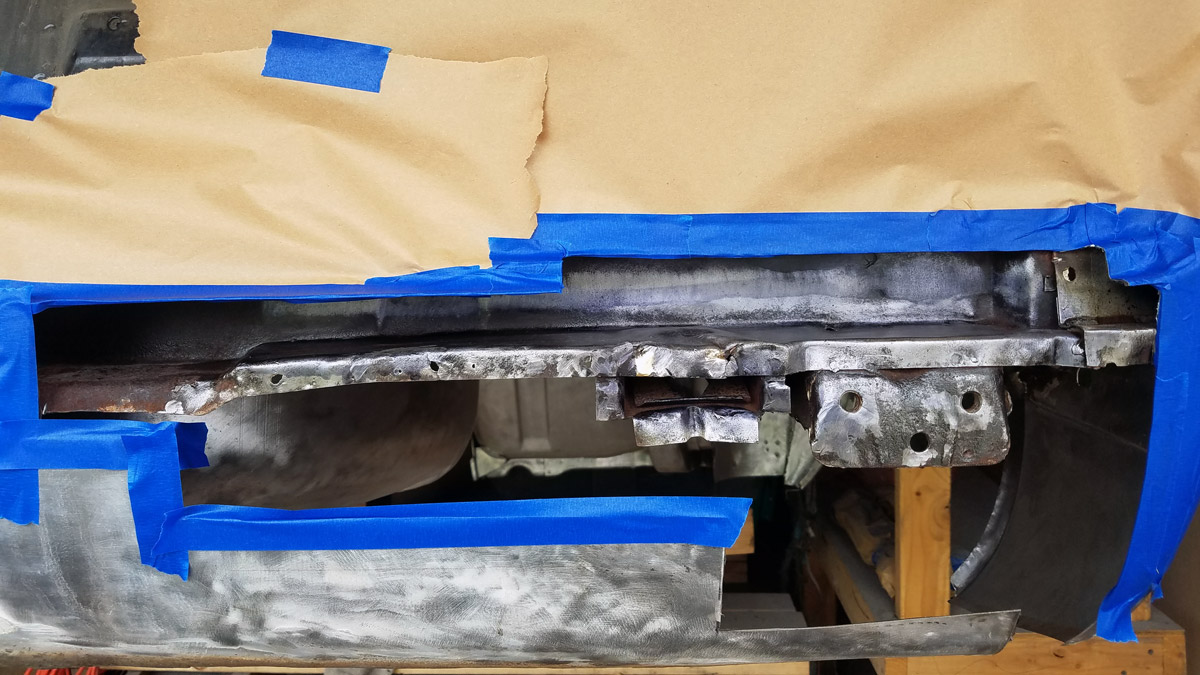
To find a particular page, use the search feature or index.