31). Stub axle

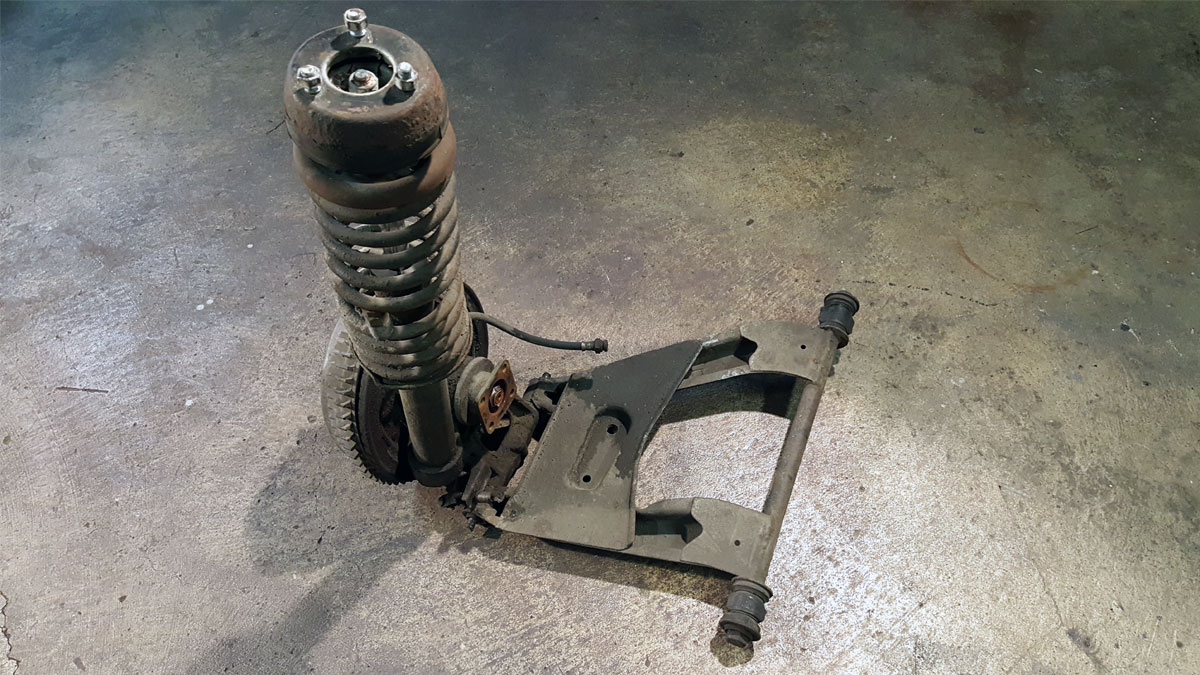
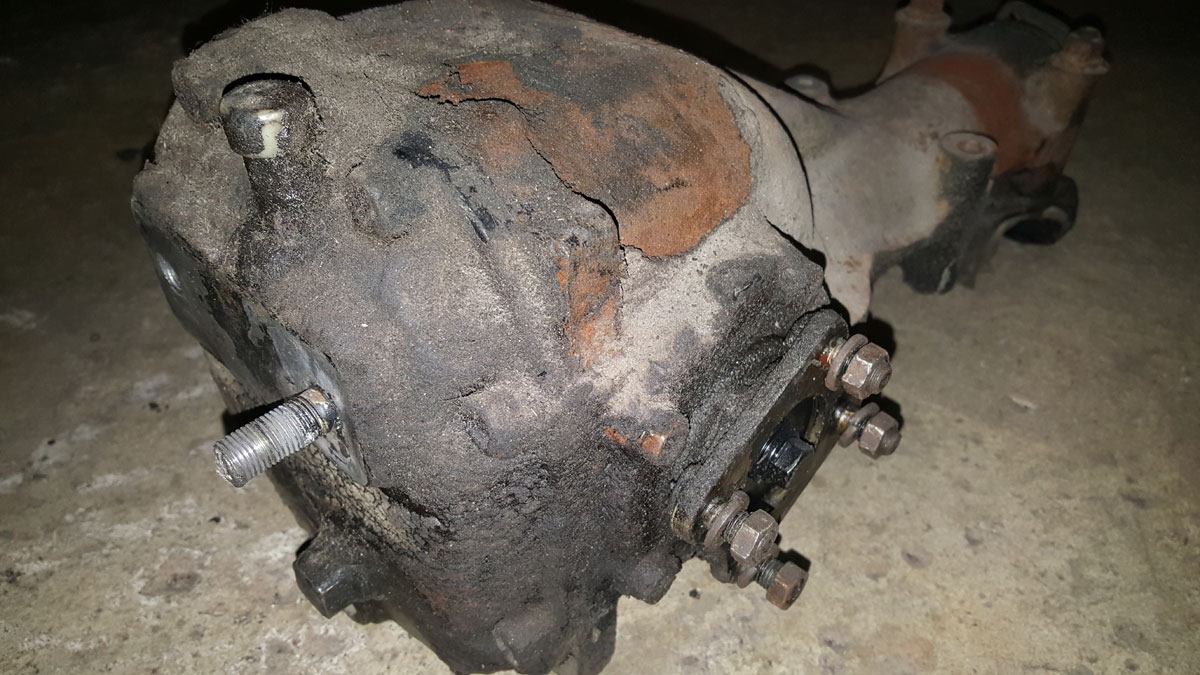
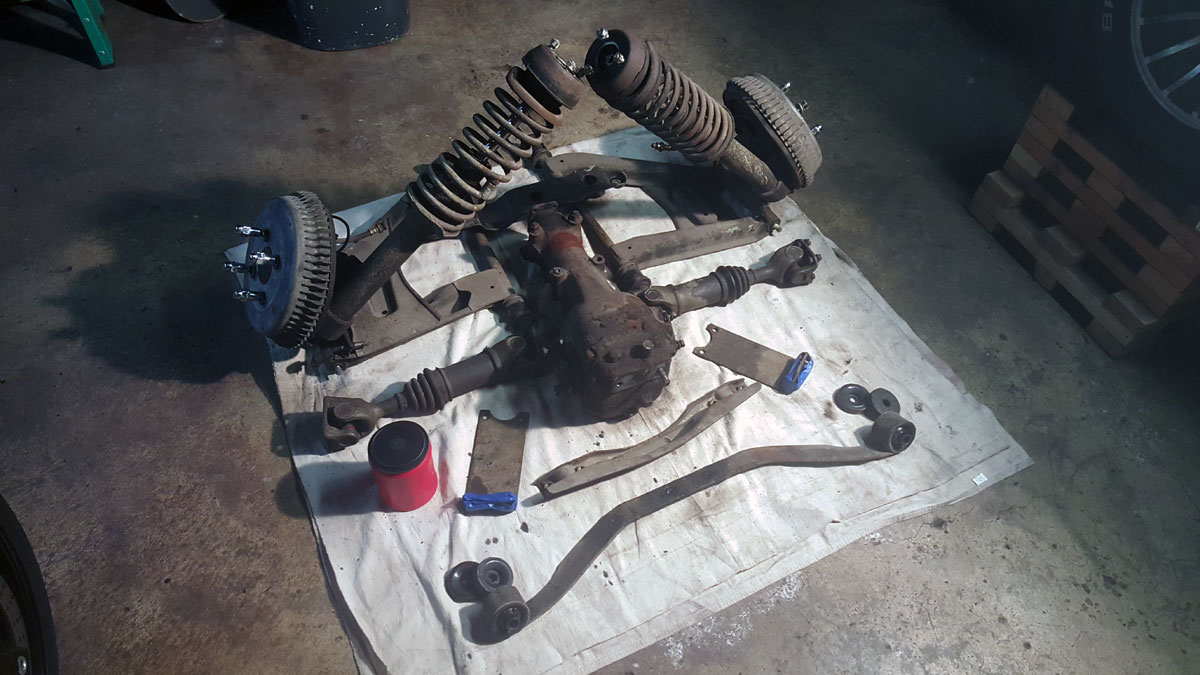
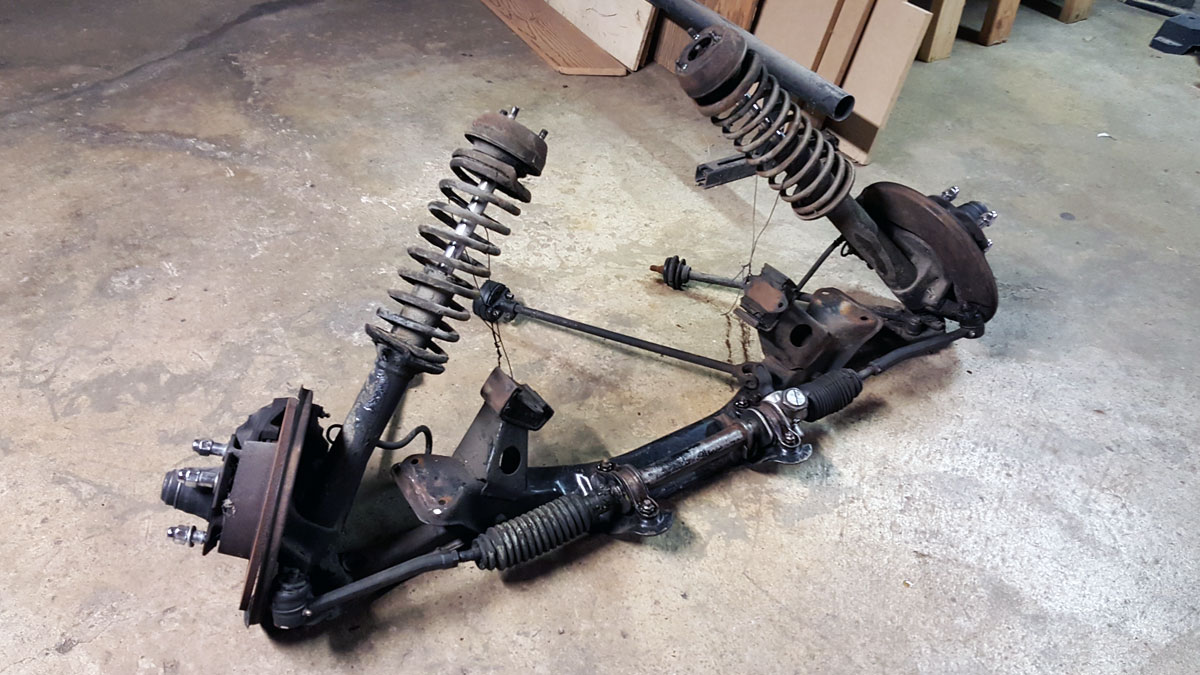
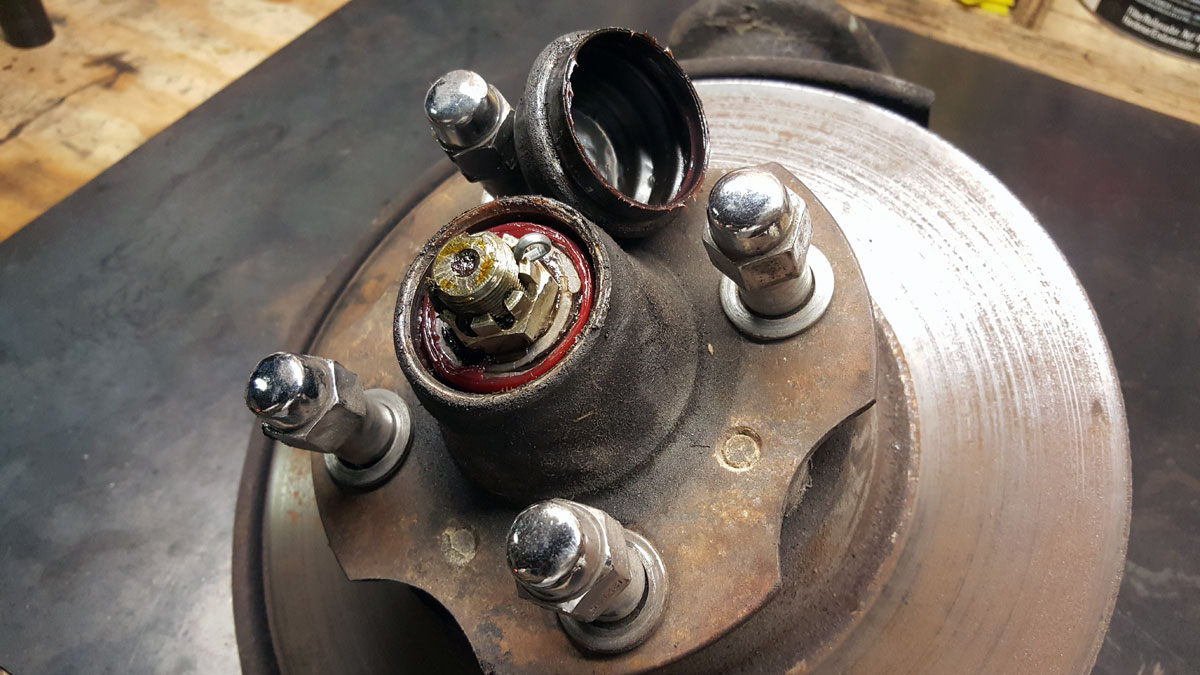
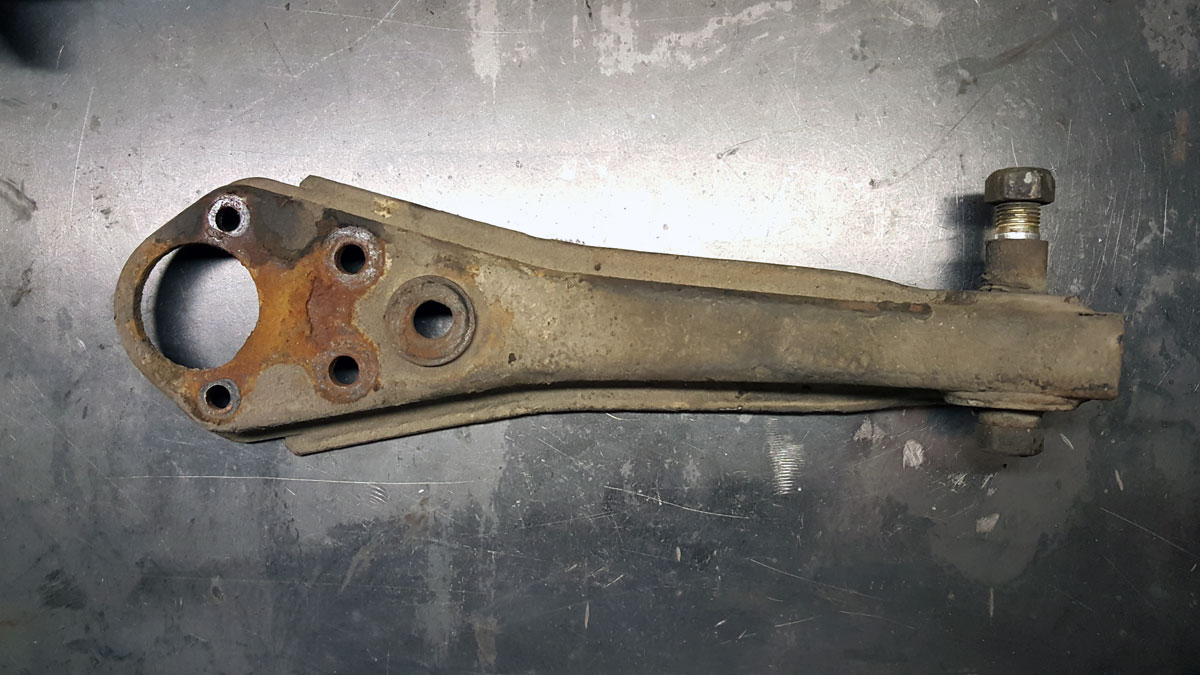
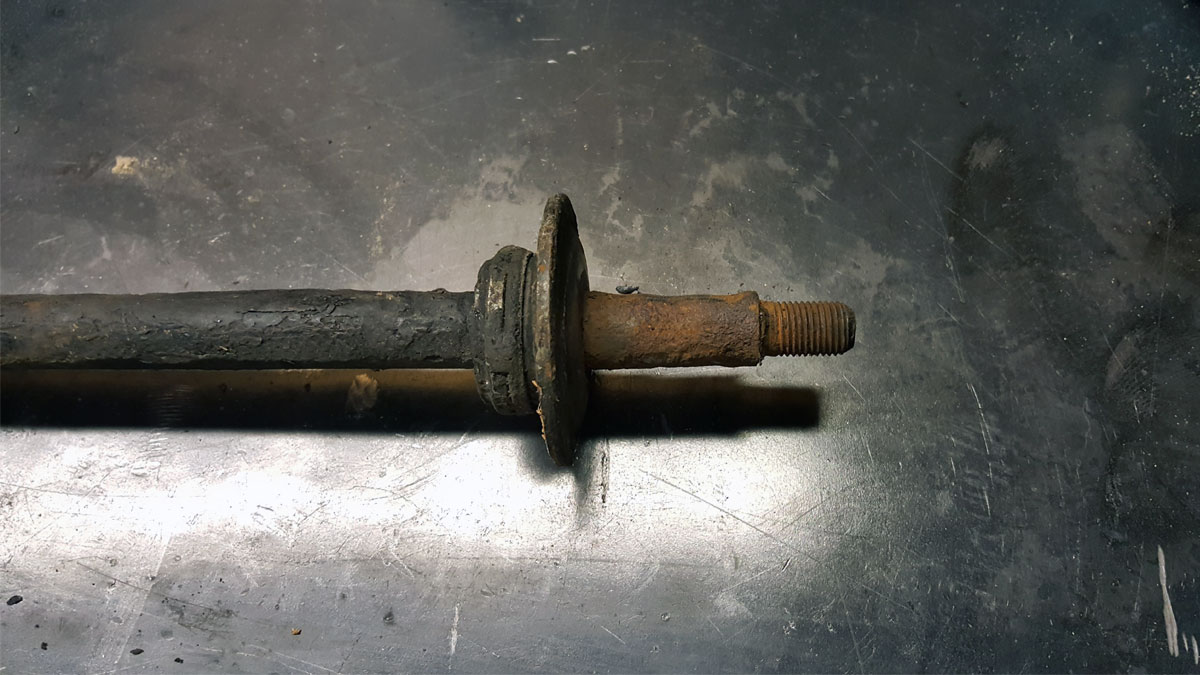
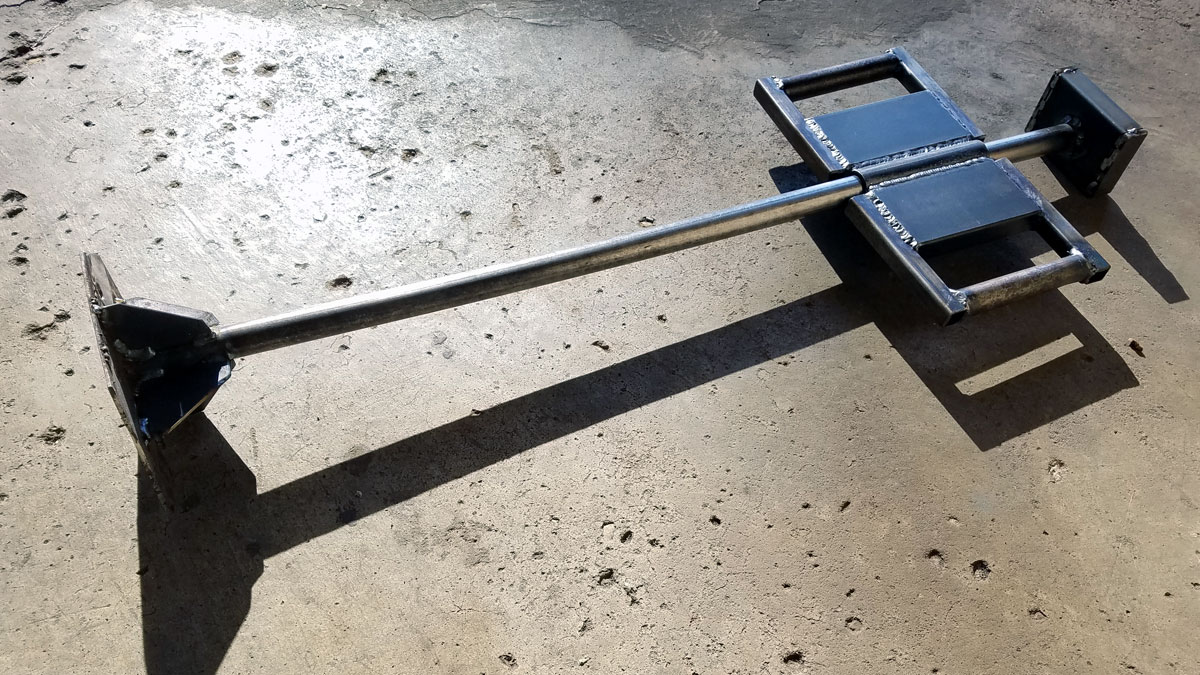
I figured my first few attempts to remove the stub axle from the wheel hub failed because the strut assembly wasn’t attached to the car and I couldn’t get a good enough yank on the axle to pull it free. So I pretty much bolted the strut to my workbench. When that didn’t work, I realized that my little slide hammer just wasn’t up to the task. So I built my own.

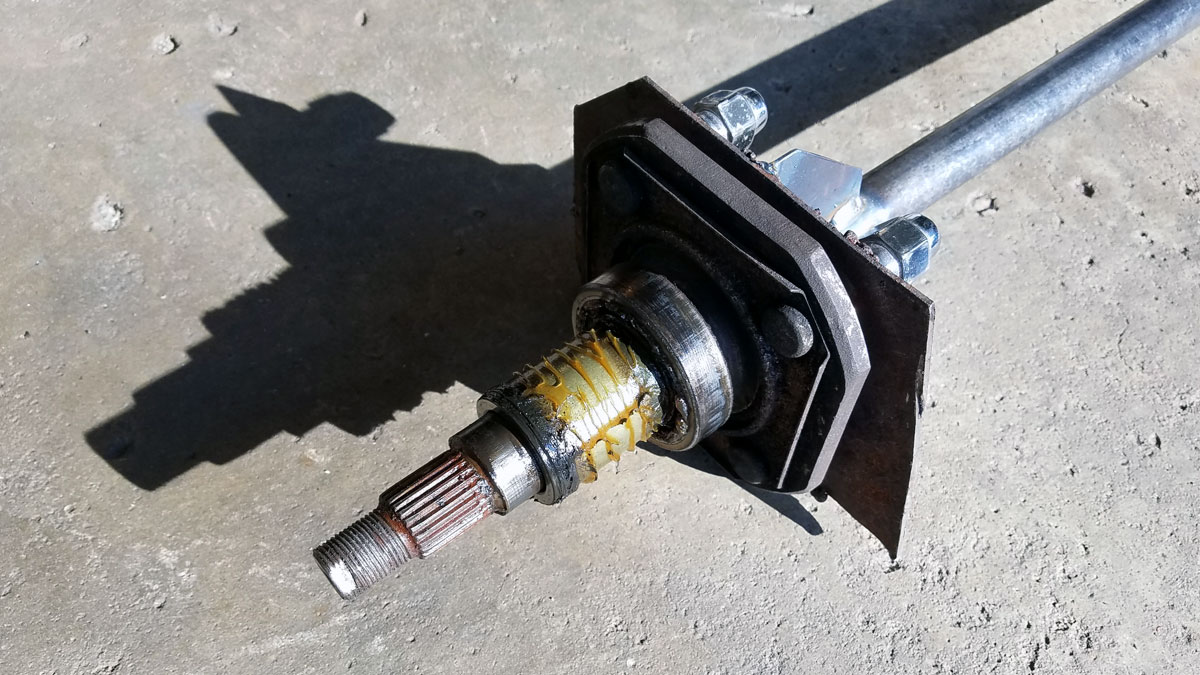
This bad boy is 3 feet long, weighs in at nearly 20 pounds and bolted directly to the axle shaft.

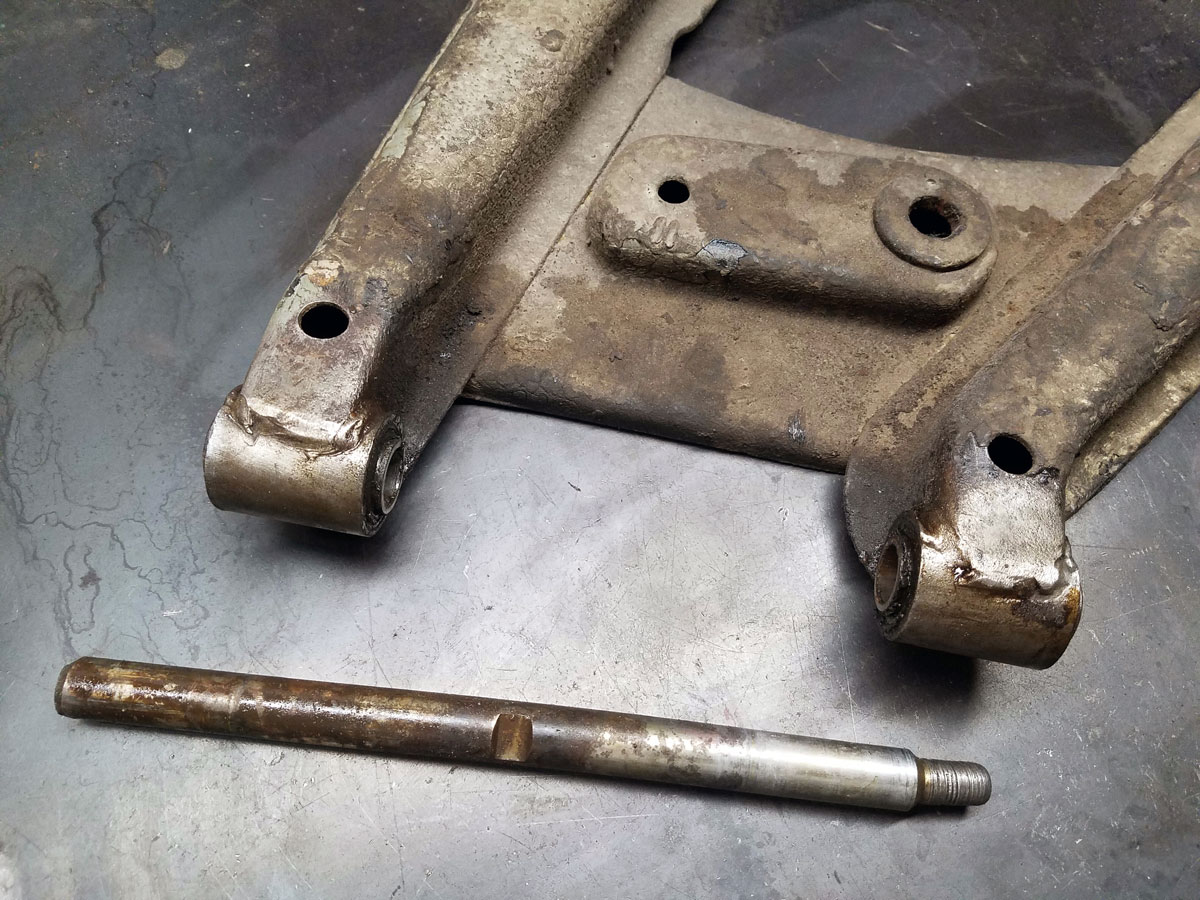
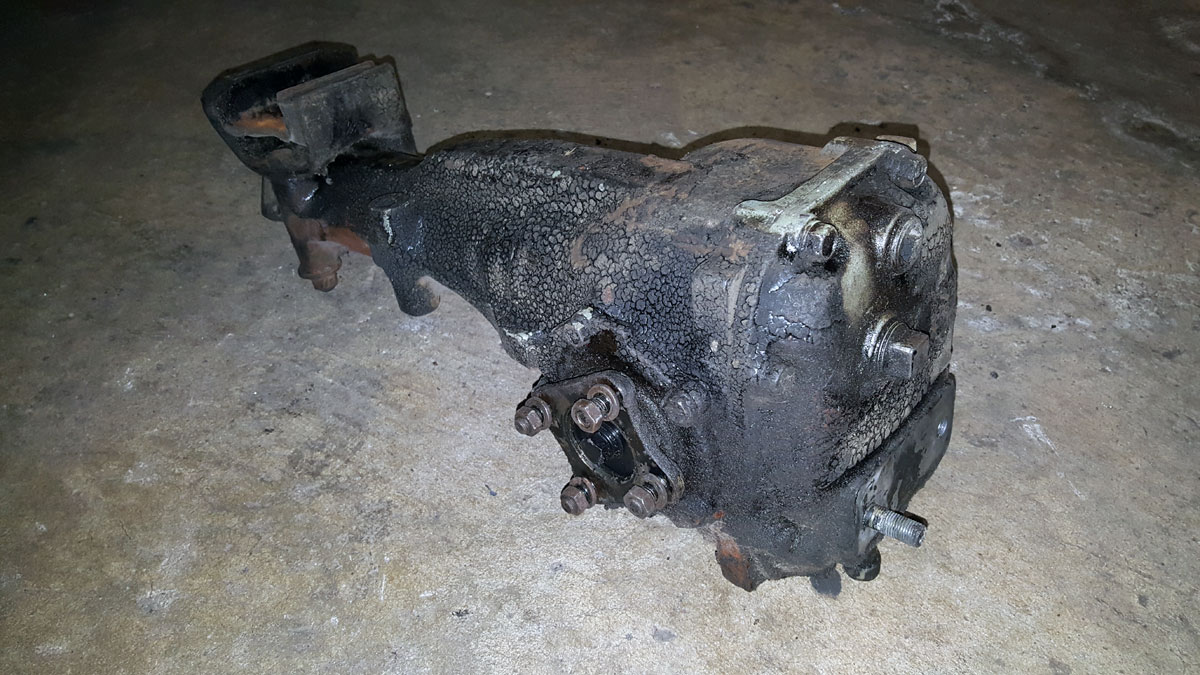
Three or four good thwacks later and the axle had no choice but to pop right out of the hub. I proceeded to do the other side as well. After the struggle I originally faced, this was so easy it almost felt like cheating.

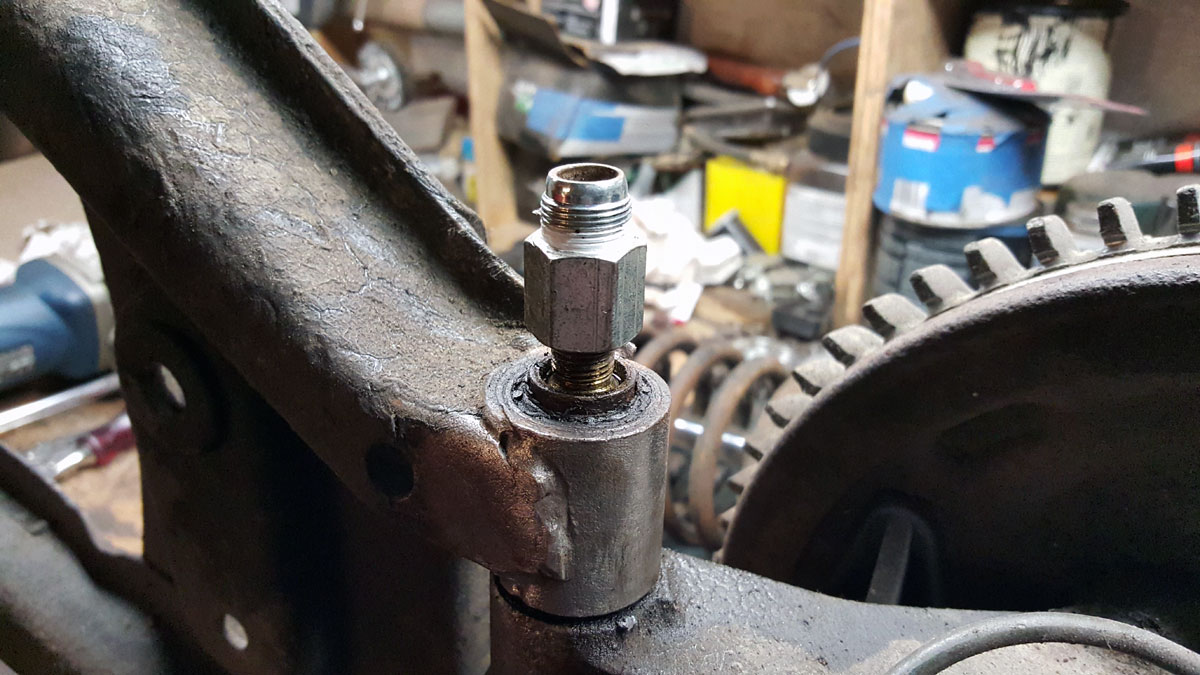
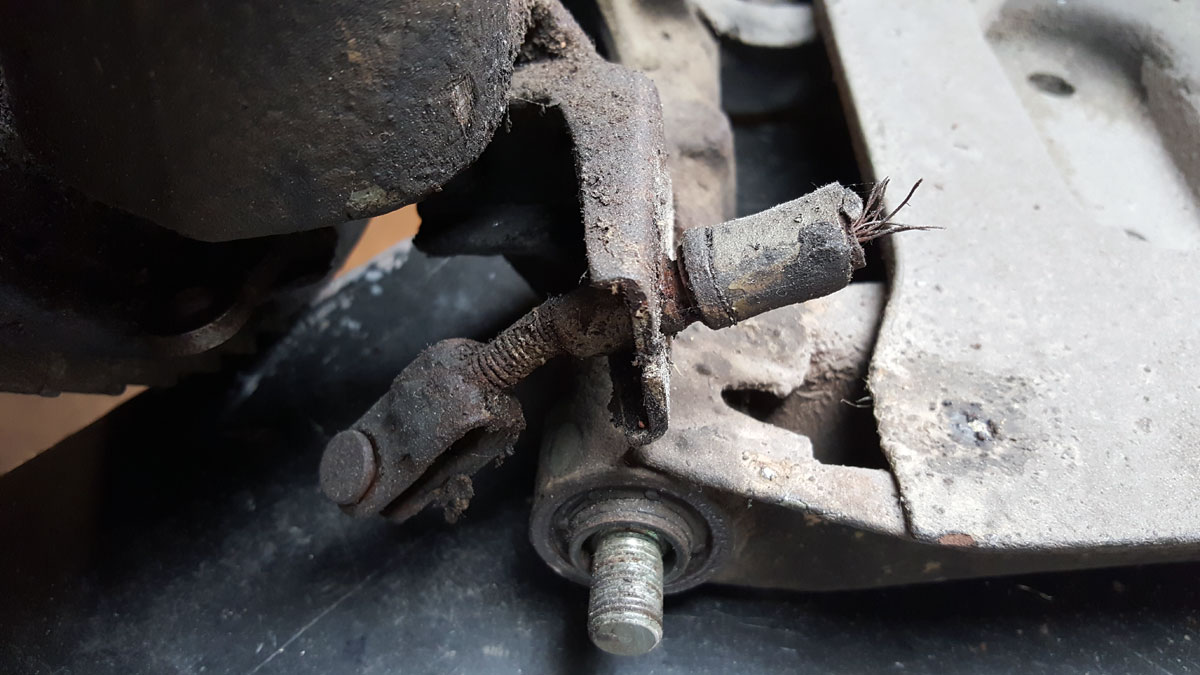
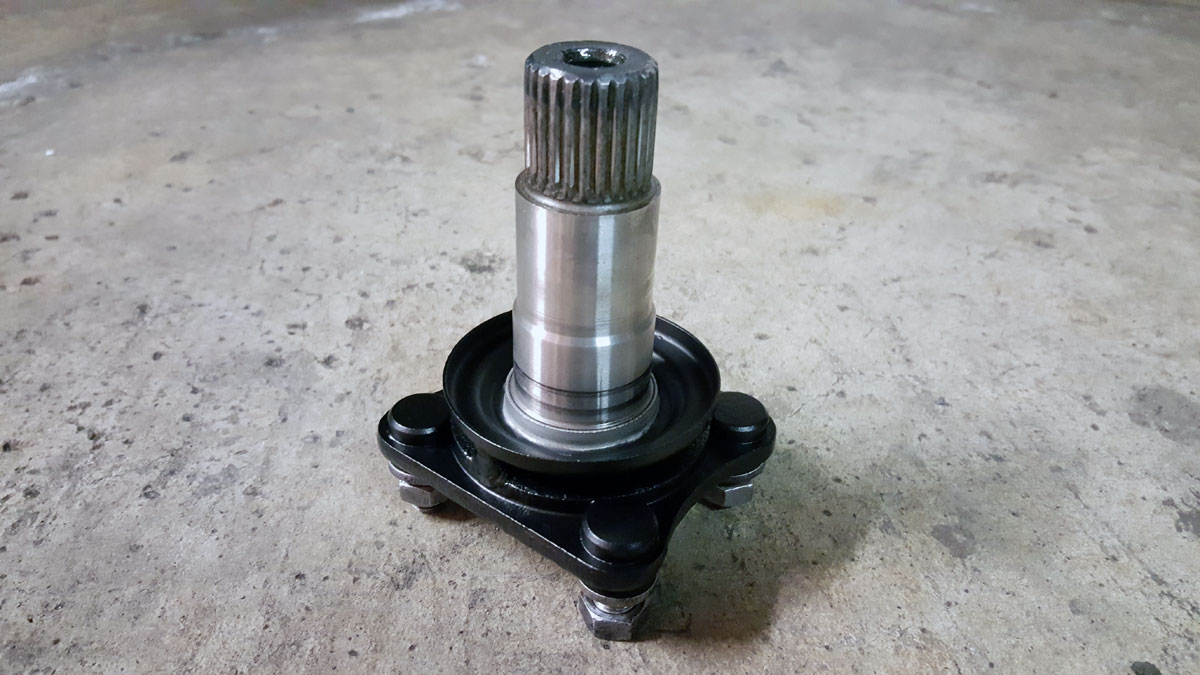
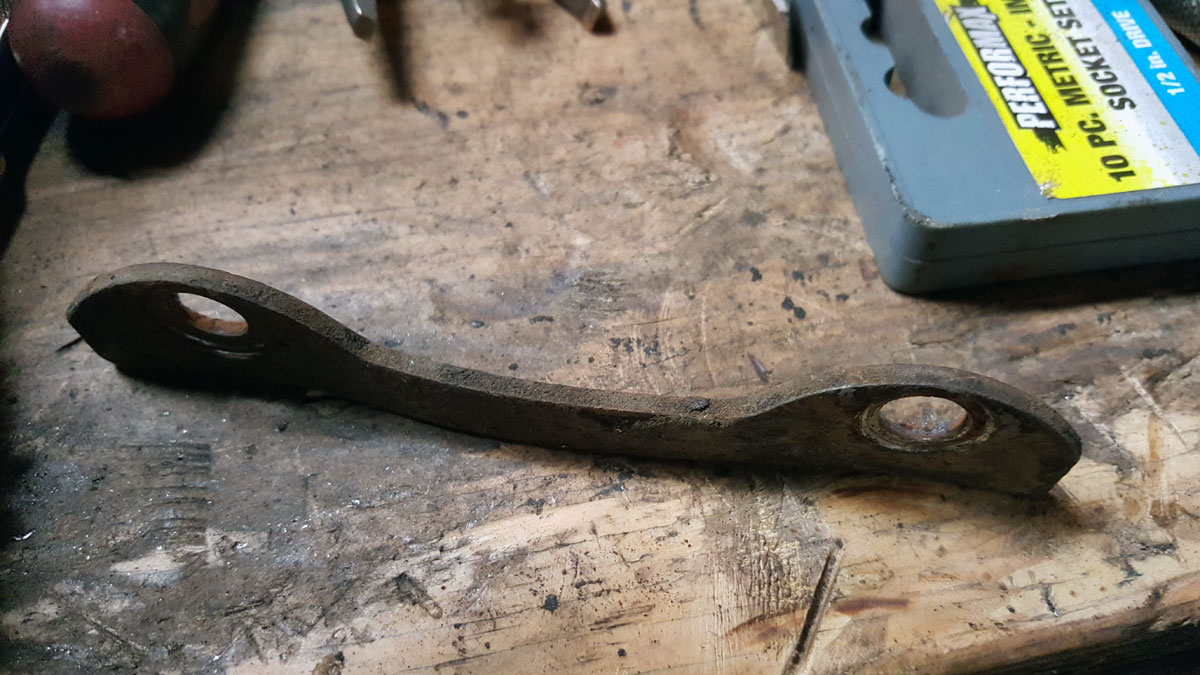
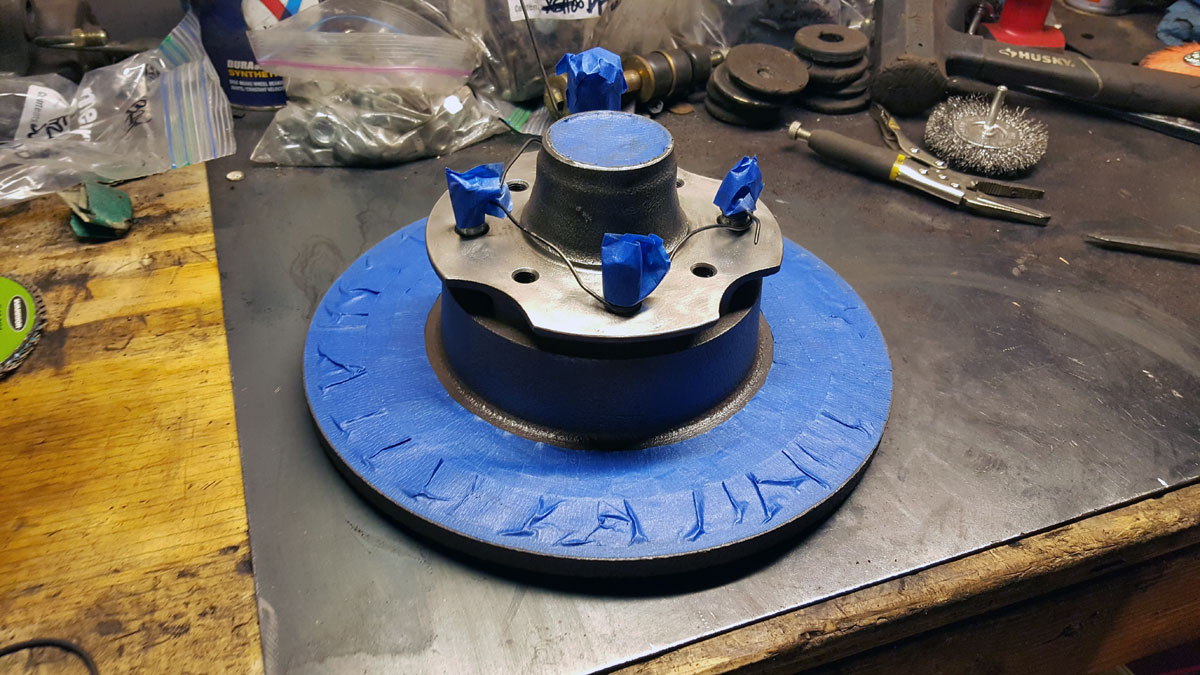
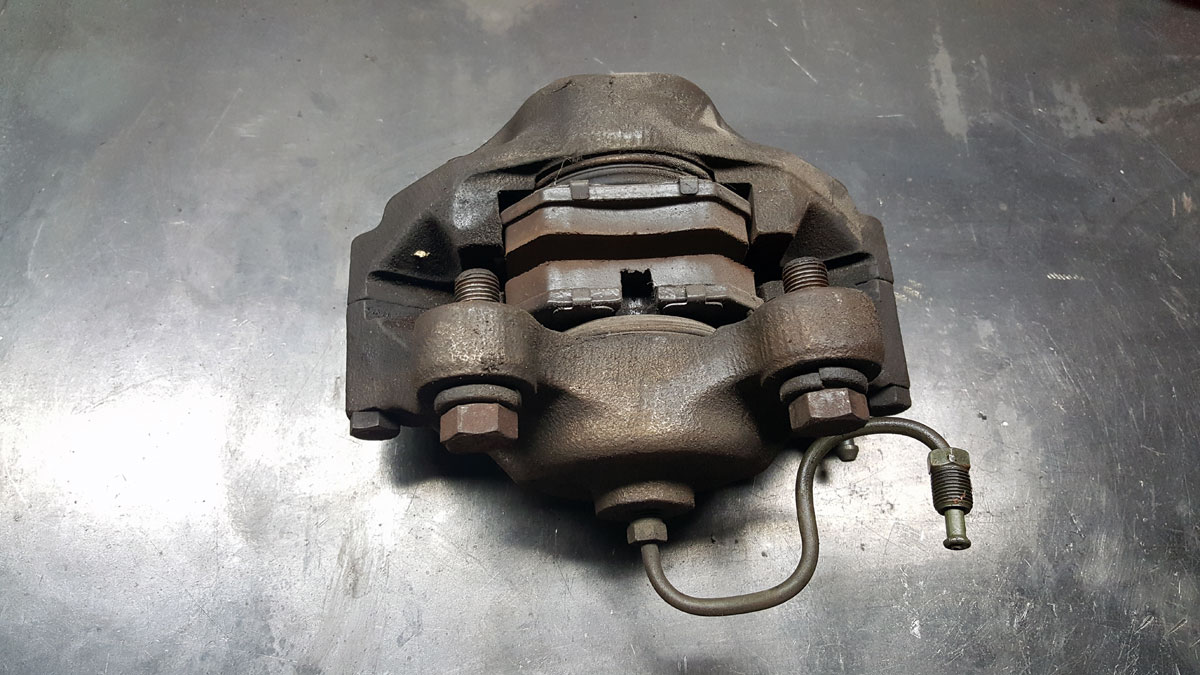
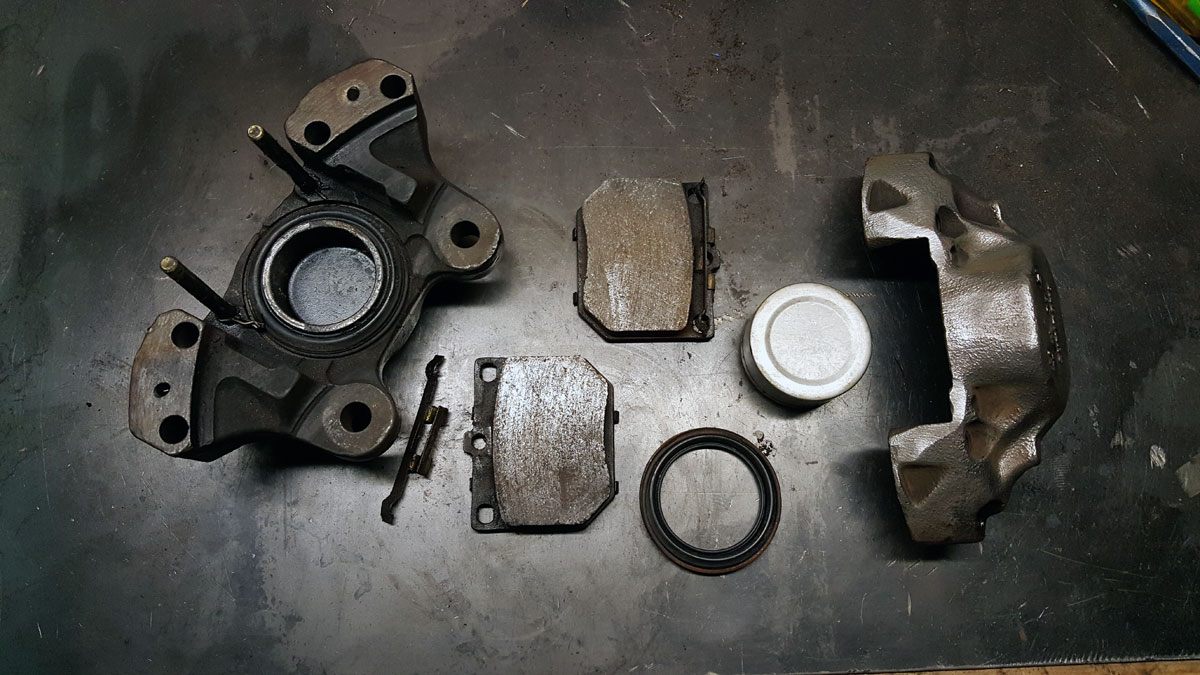
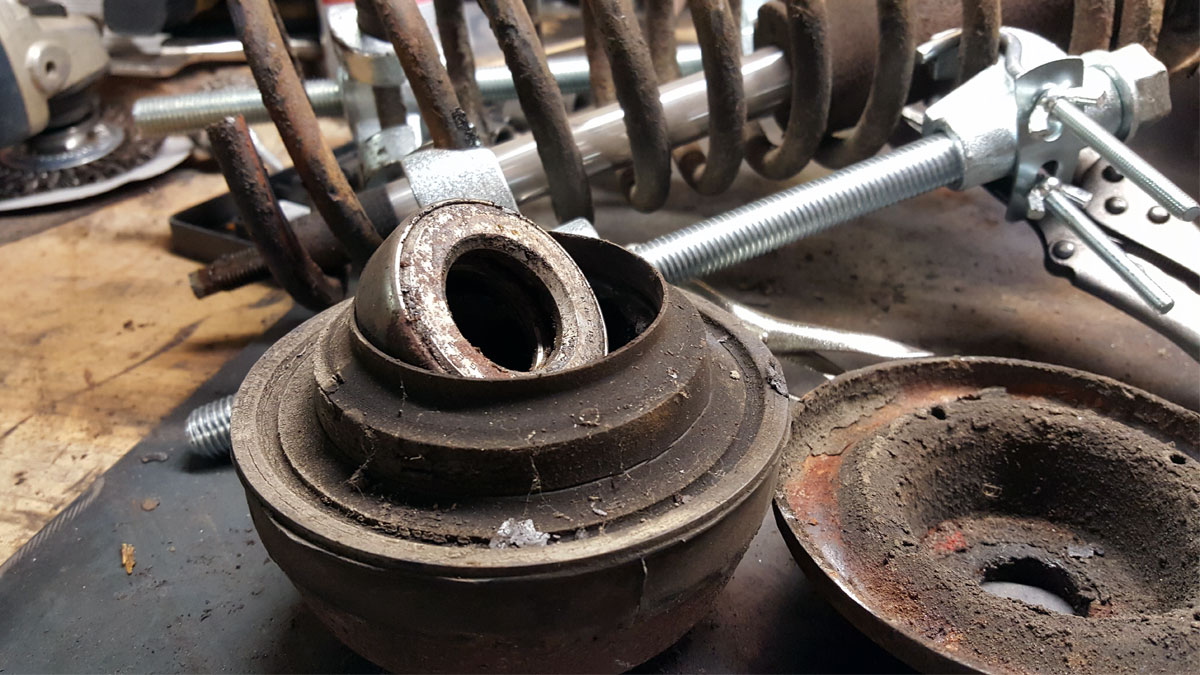
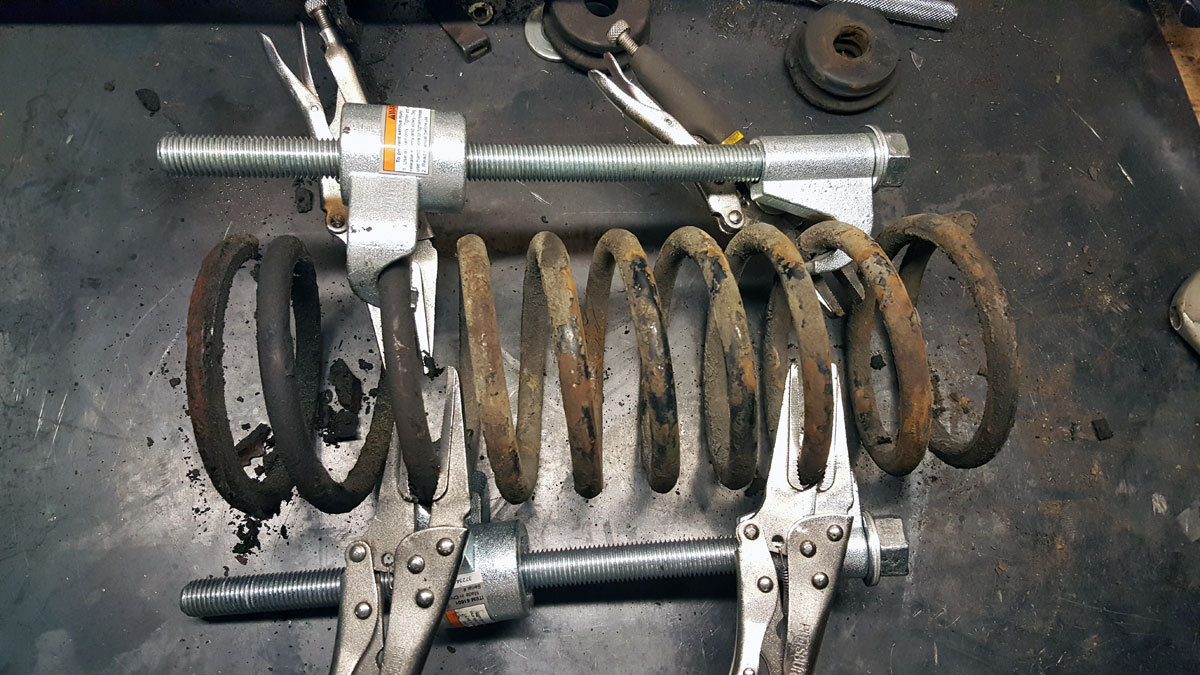
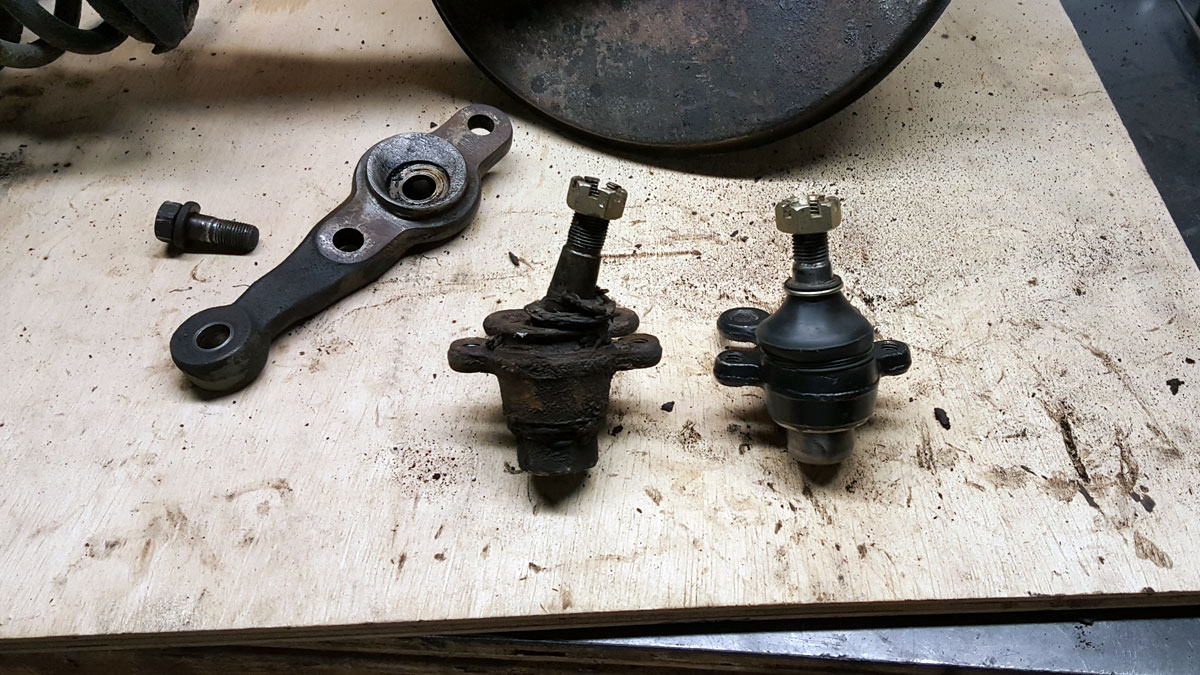
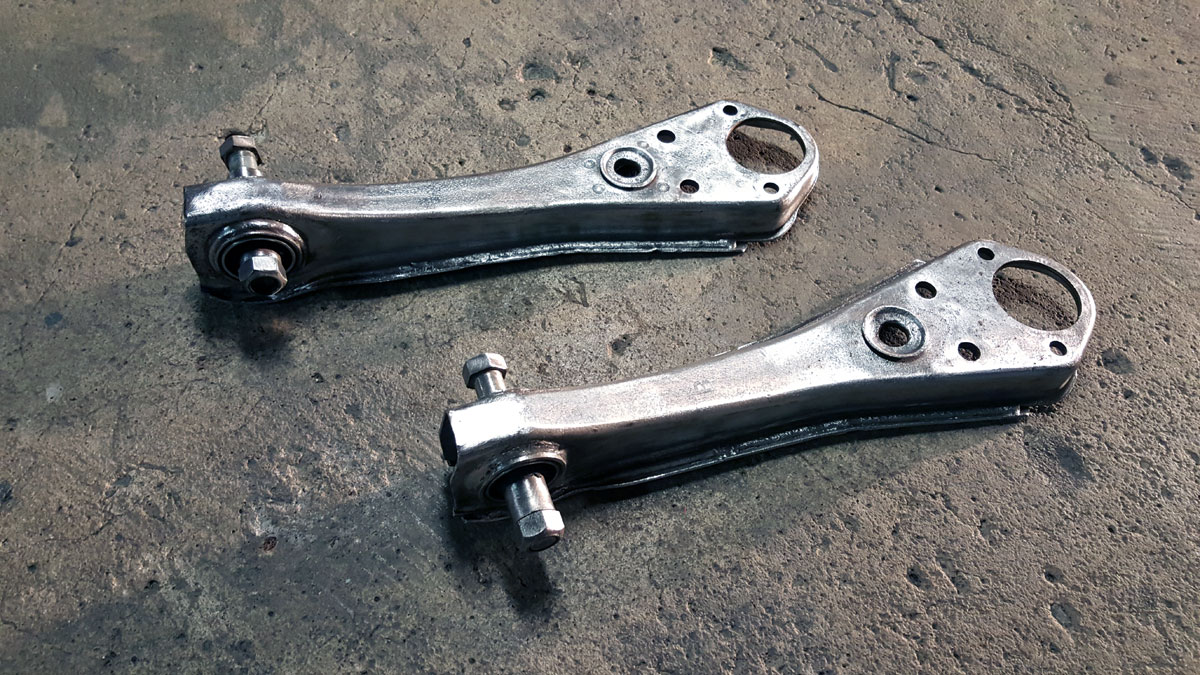
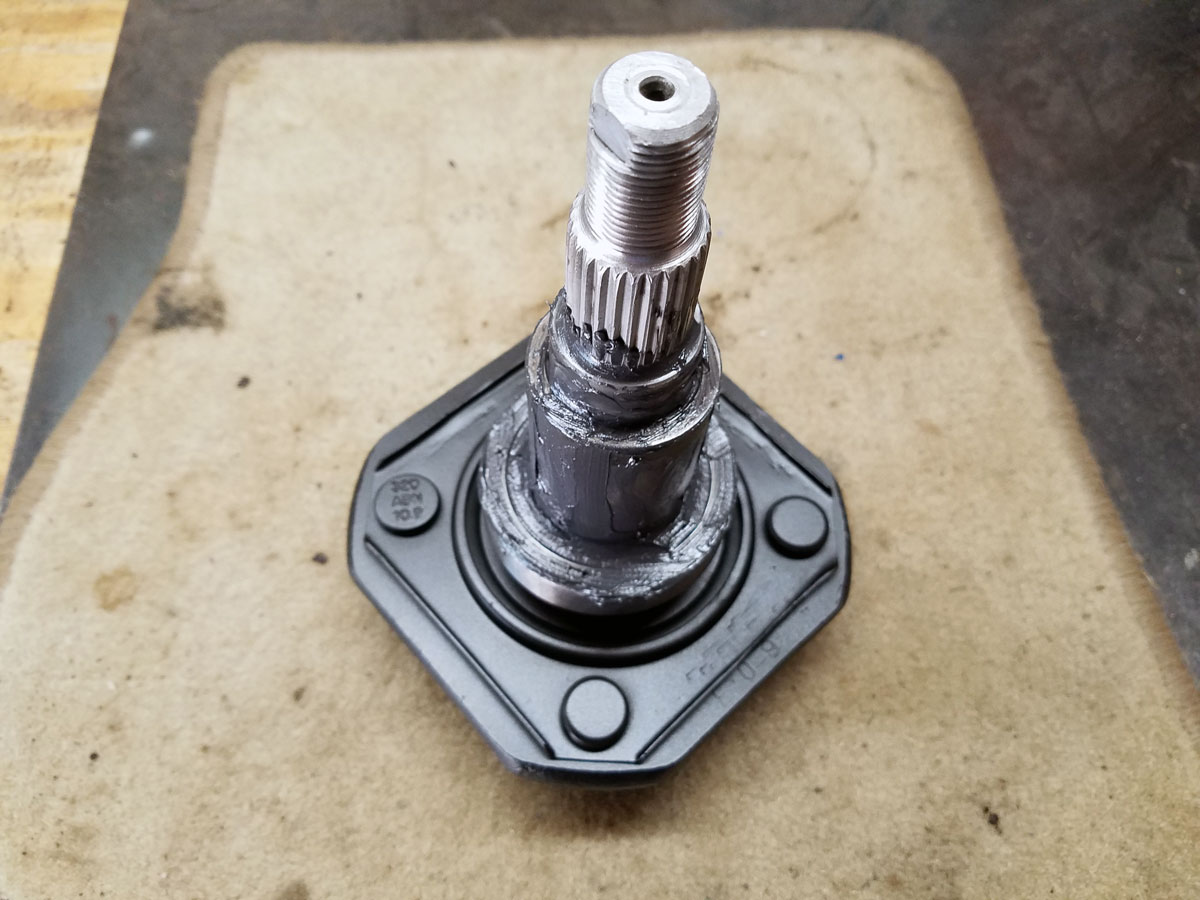
Next I attached a bearing puller to the axle and had them fully disassembled and ready to rebuild.

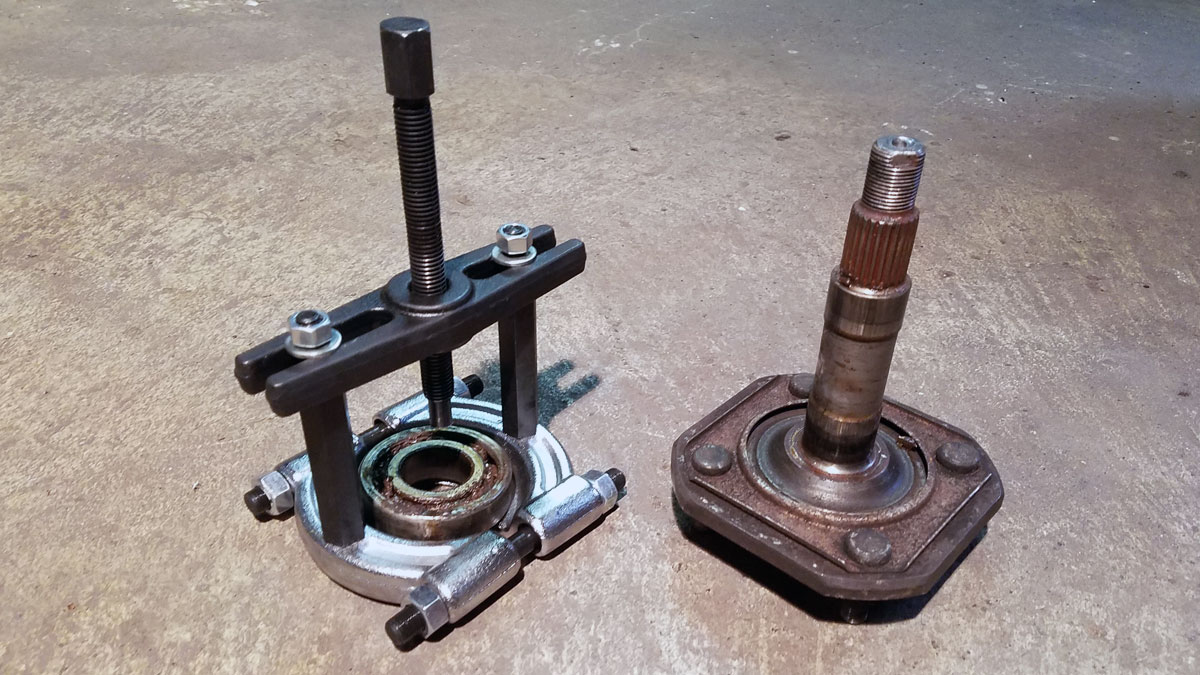
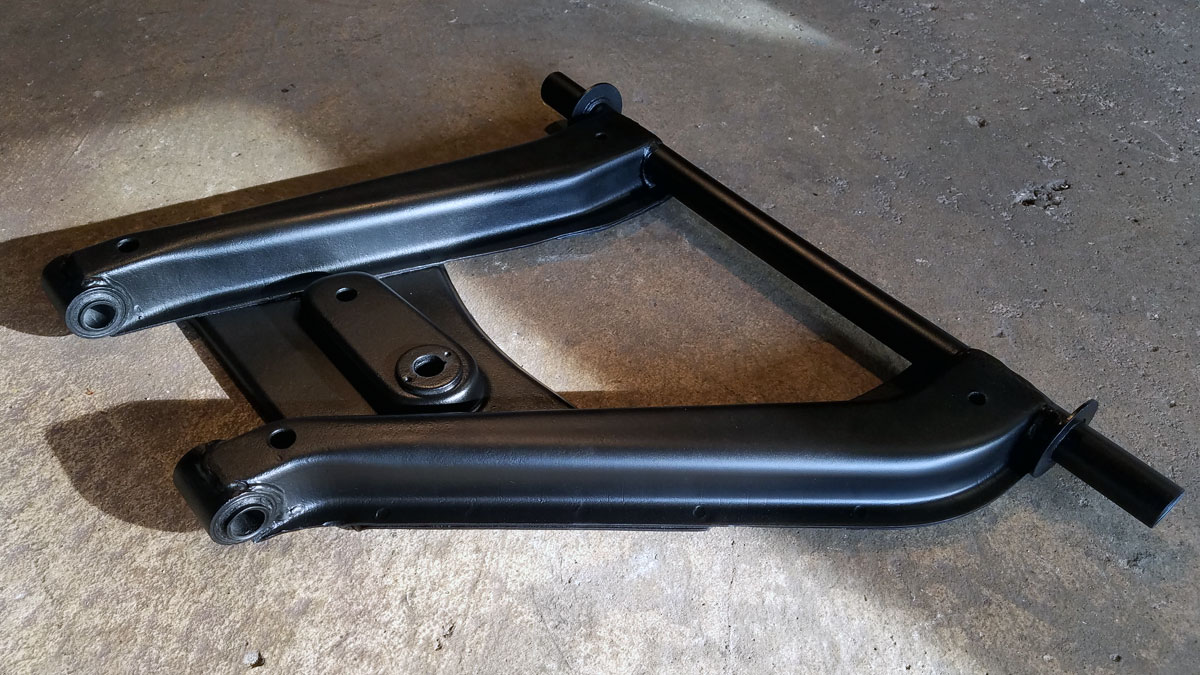
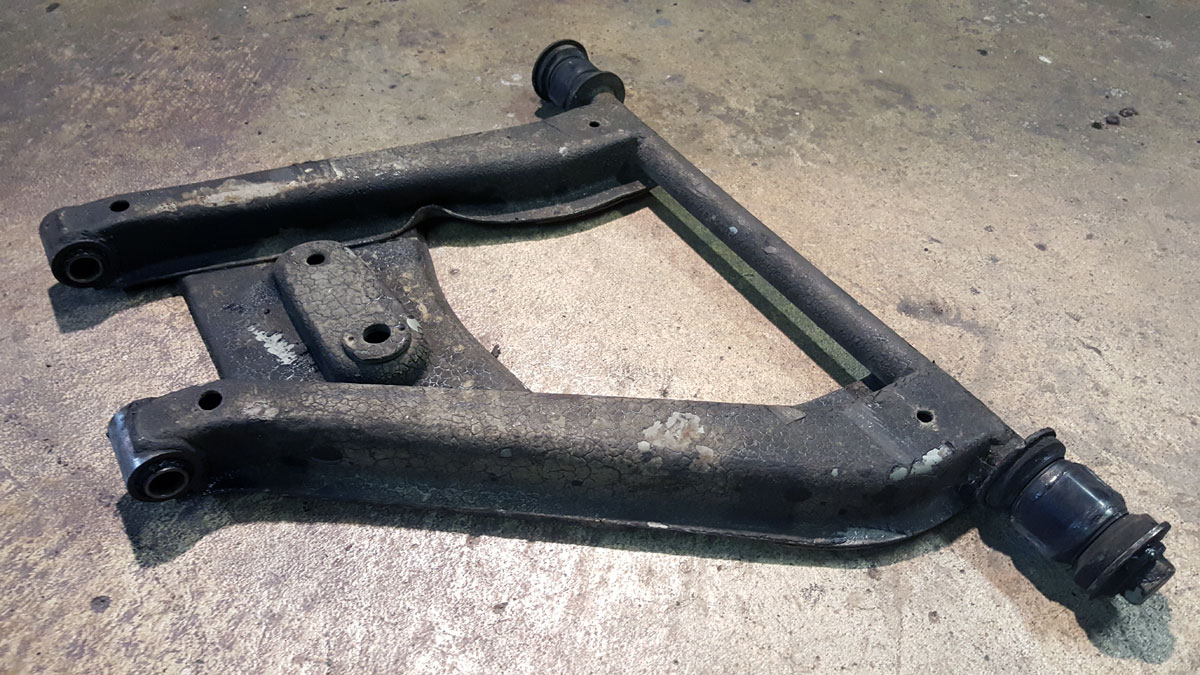
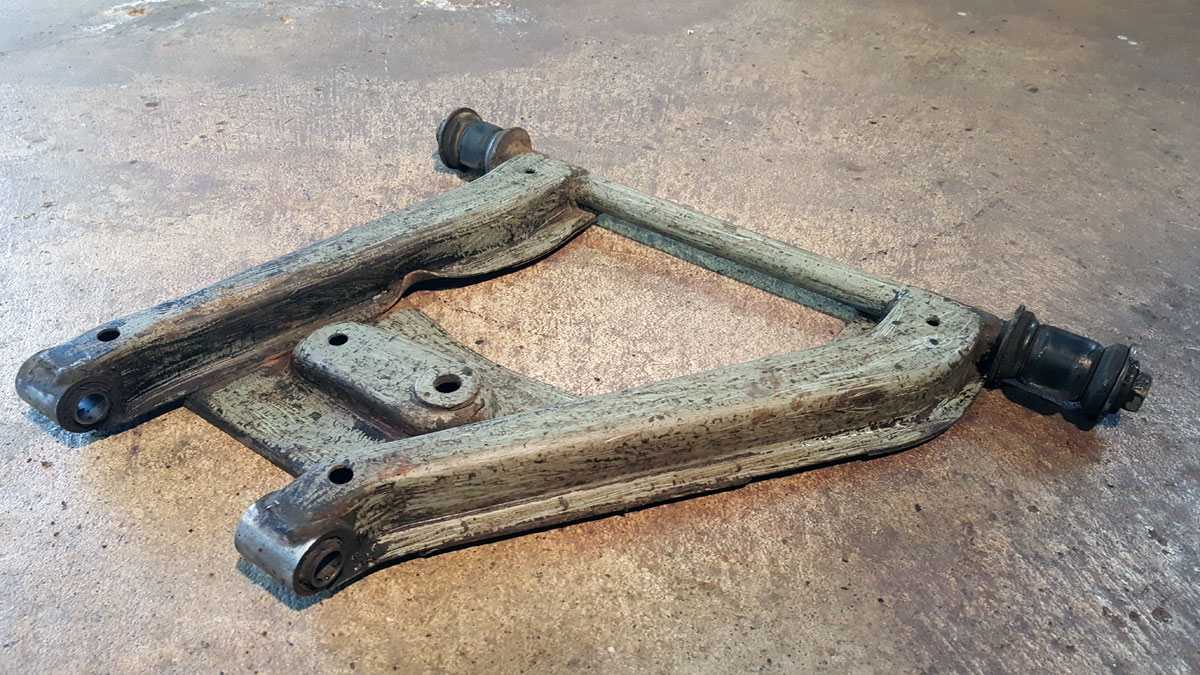
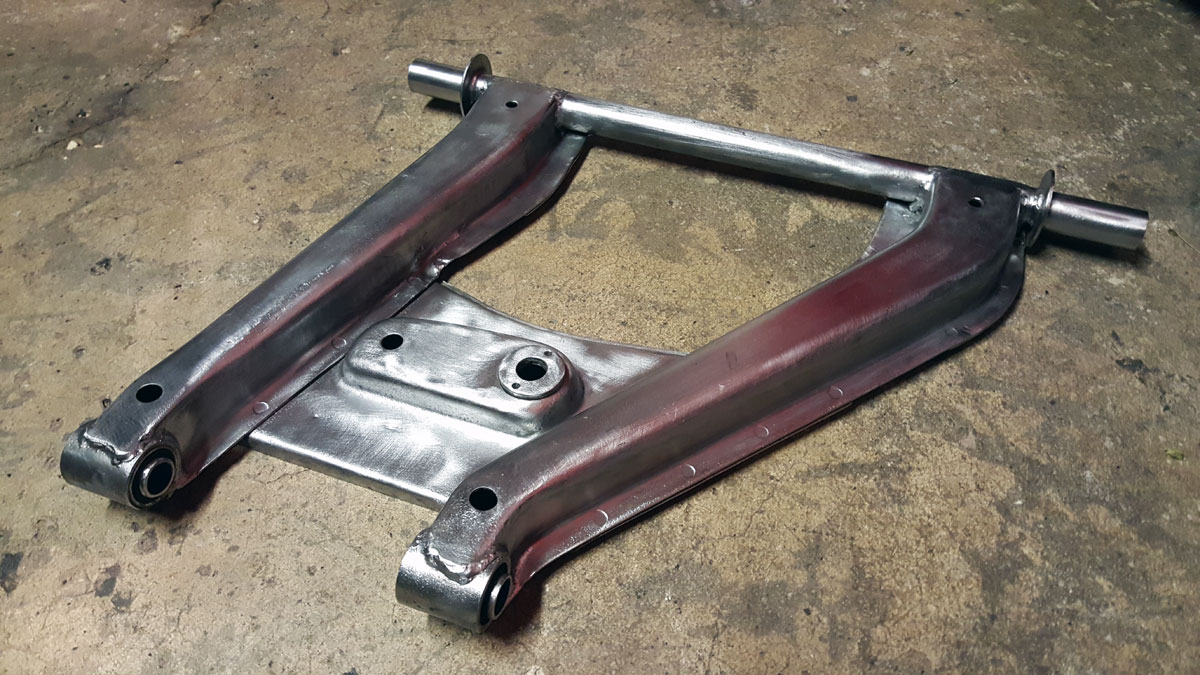
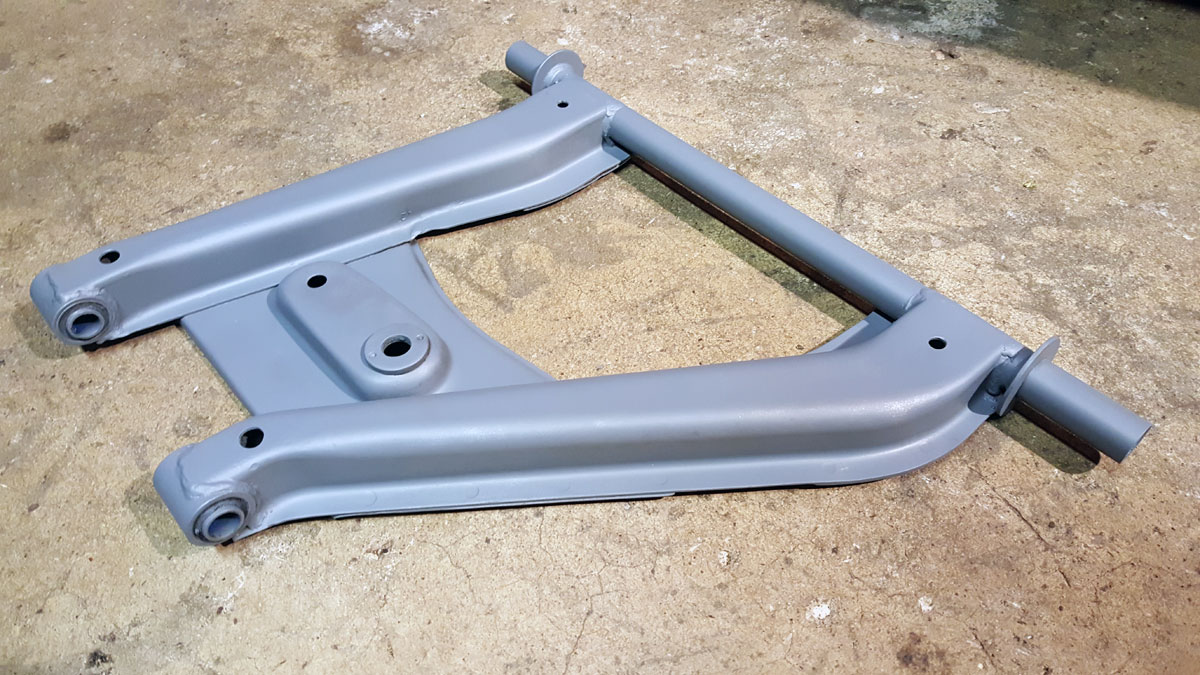
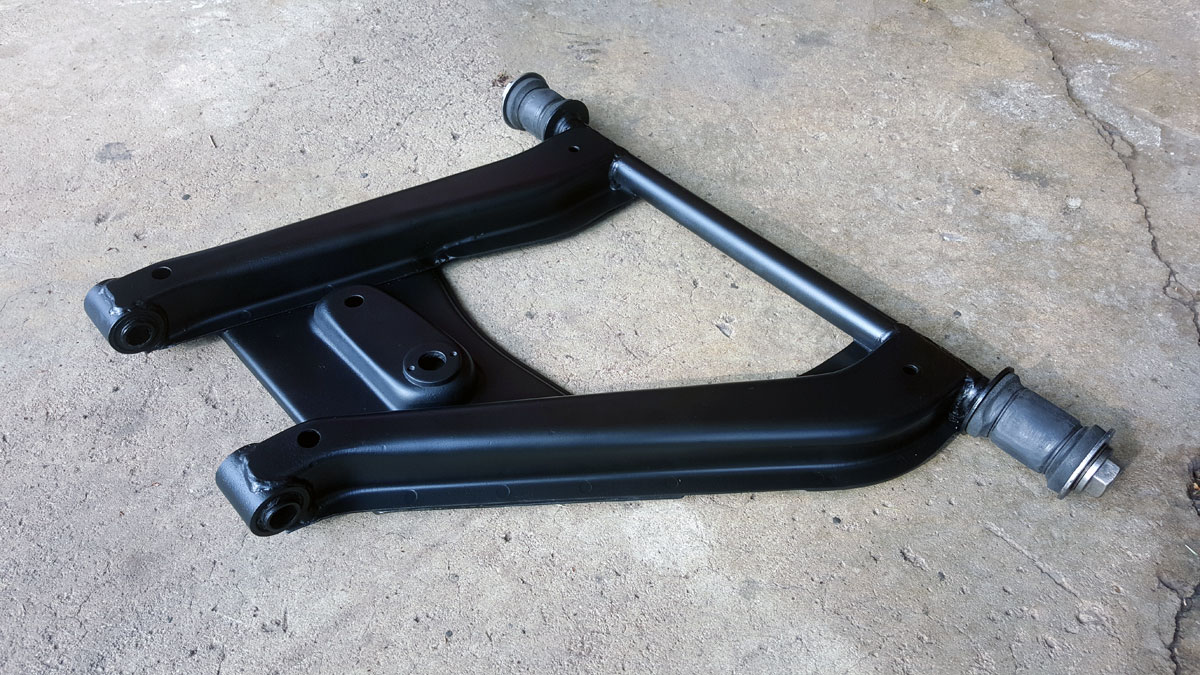
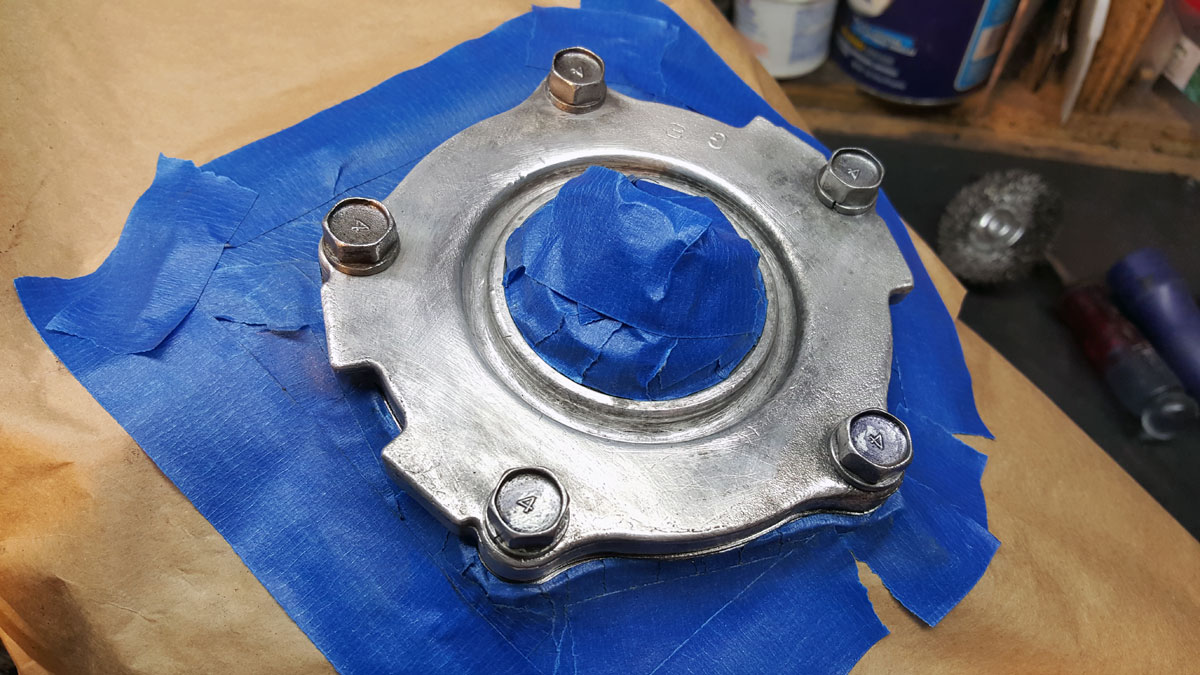
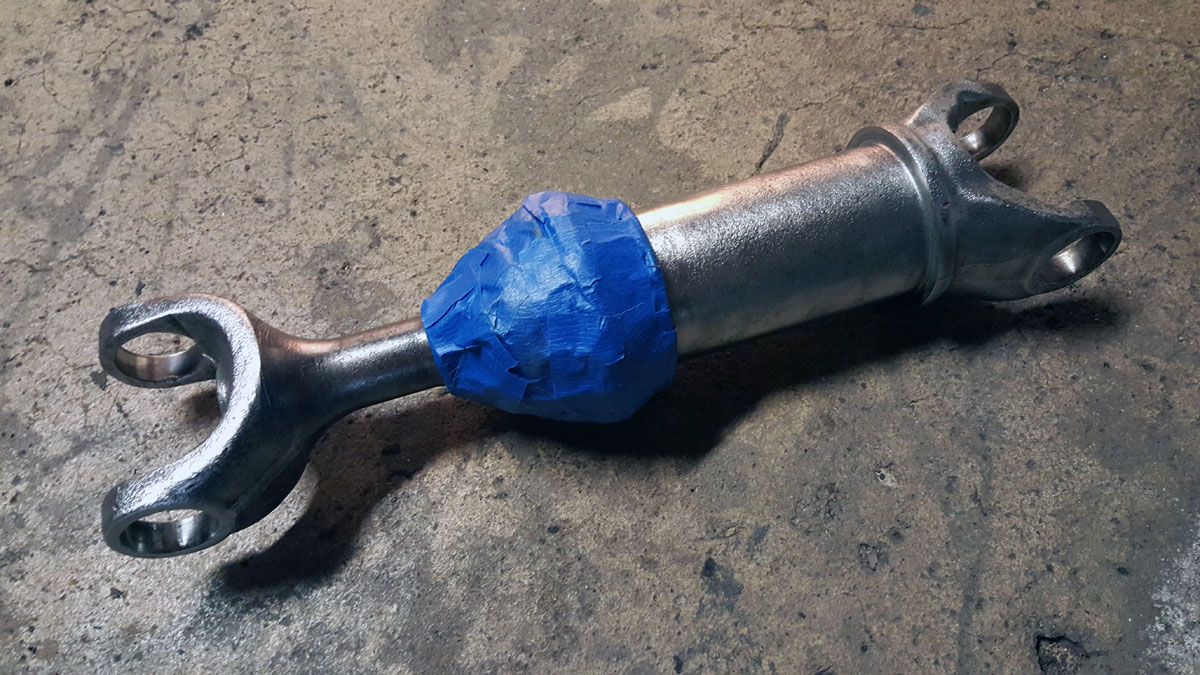
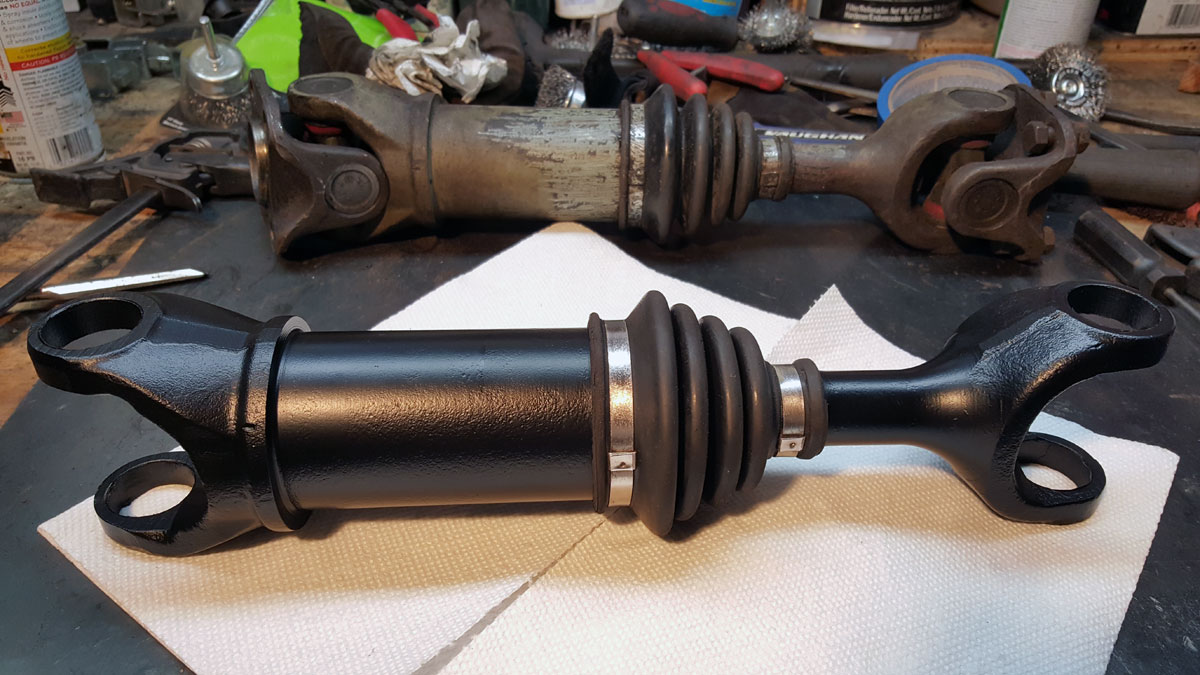
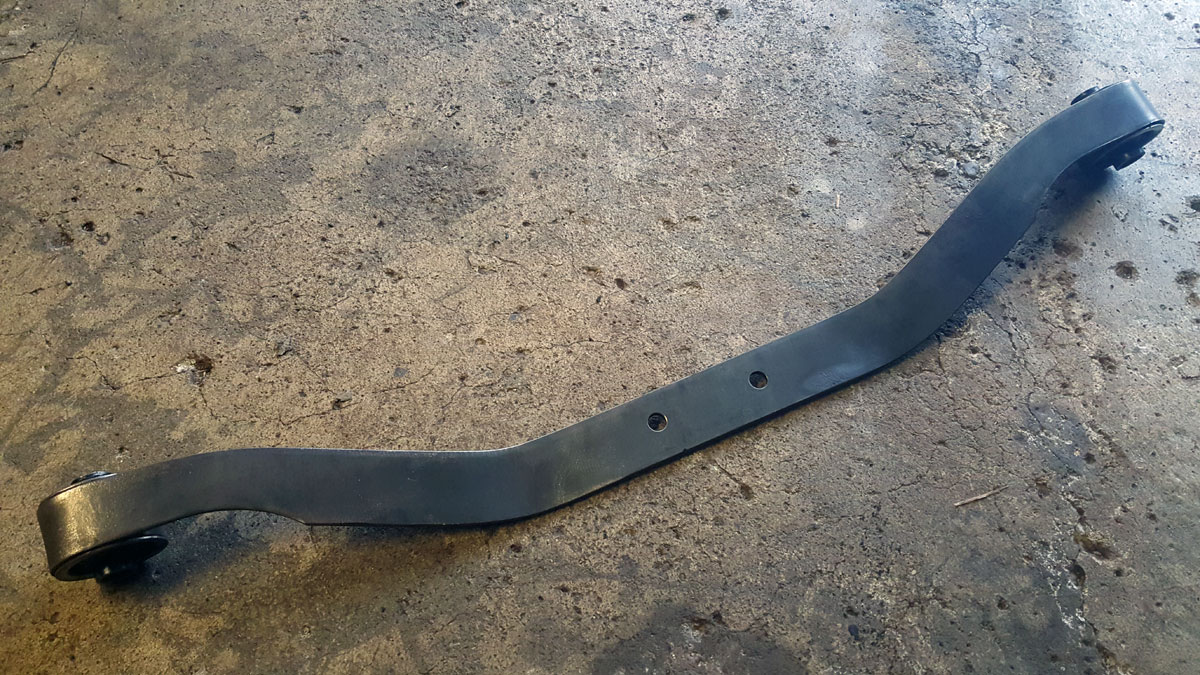
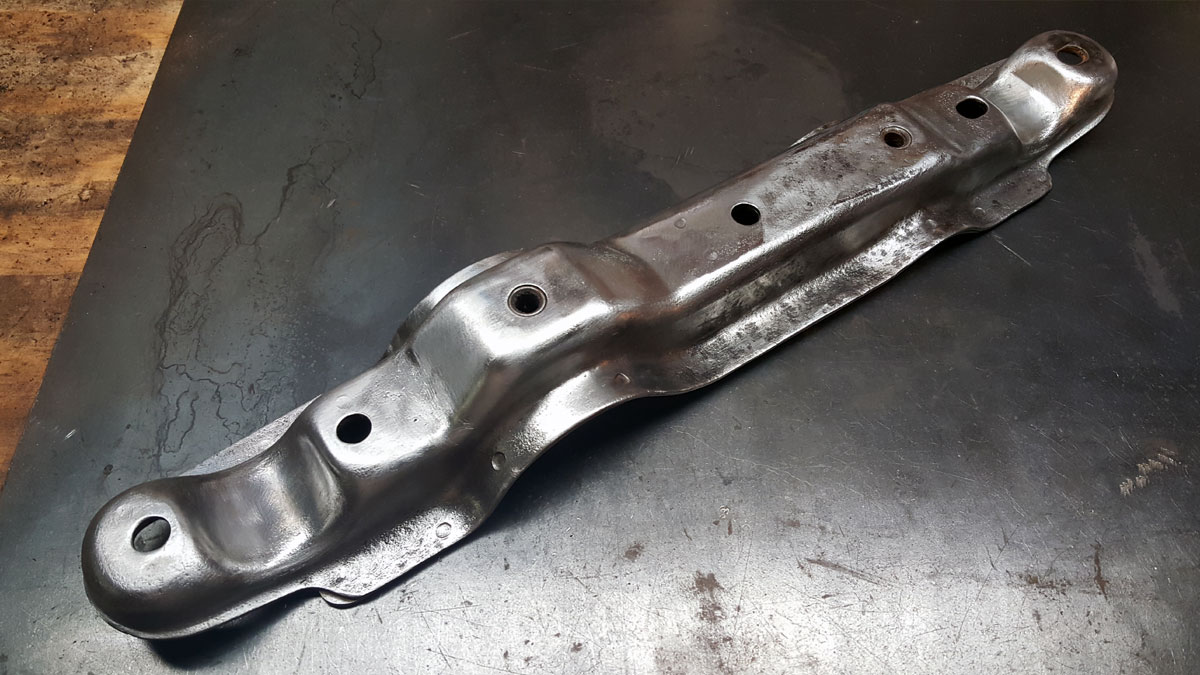
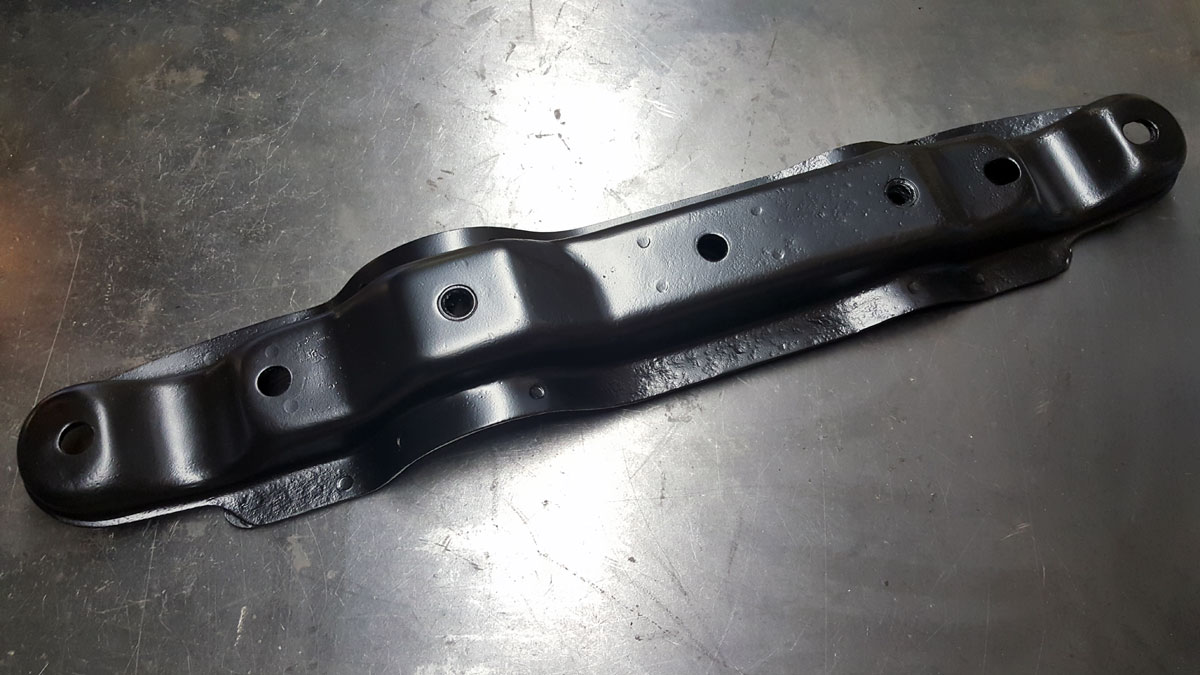
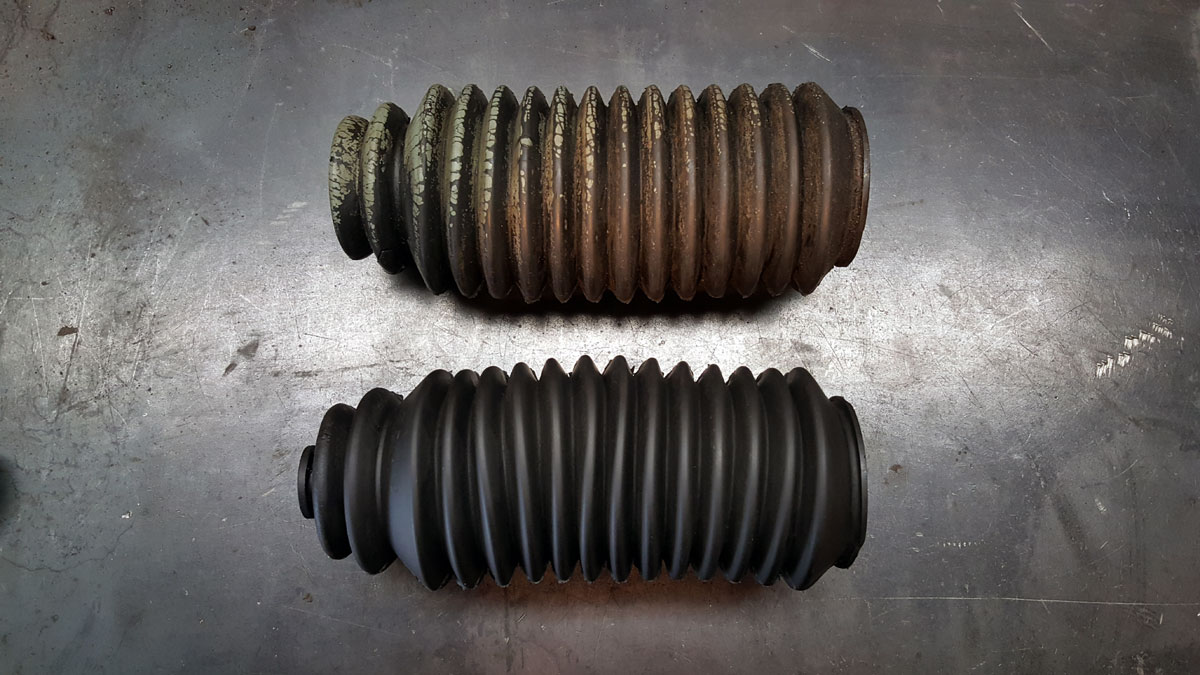
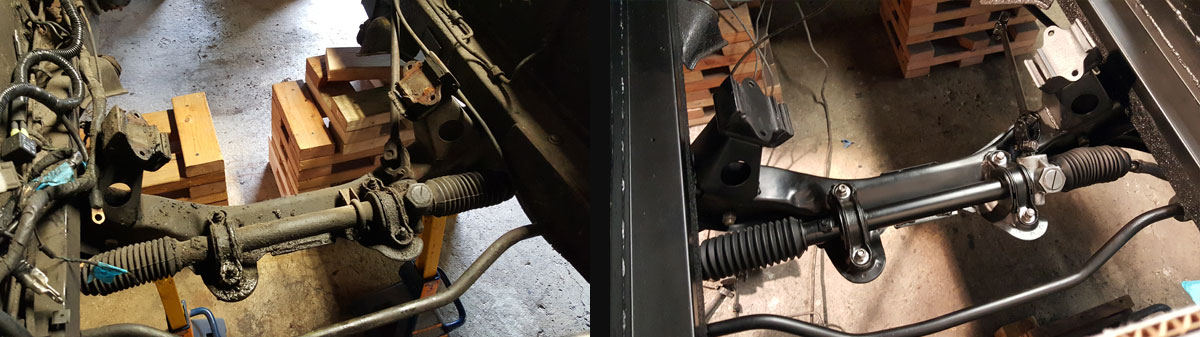
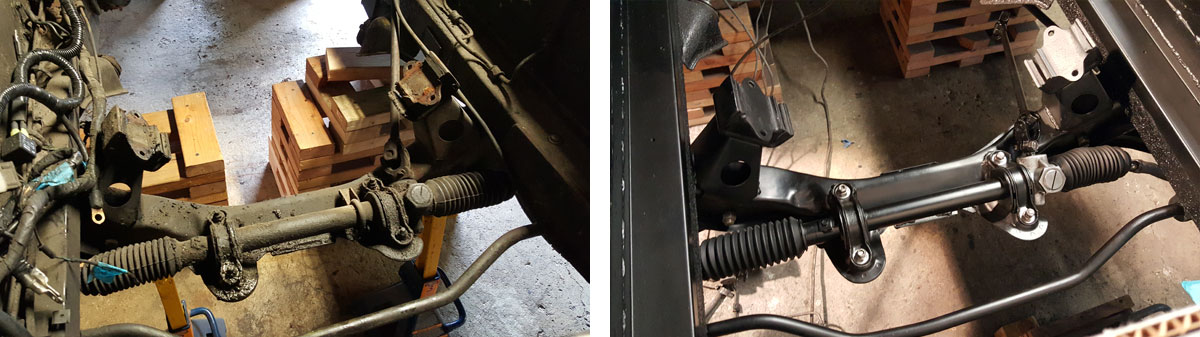
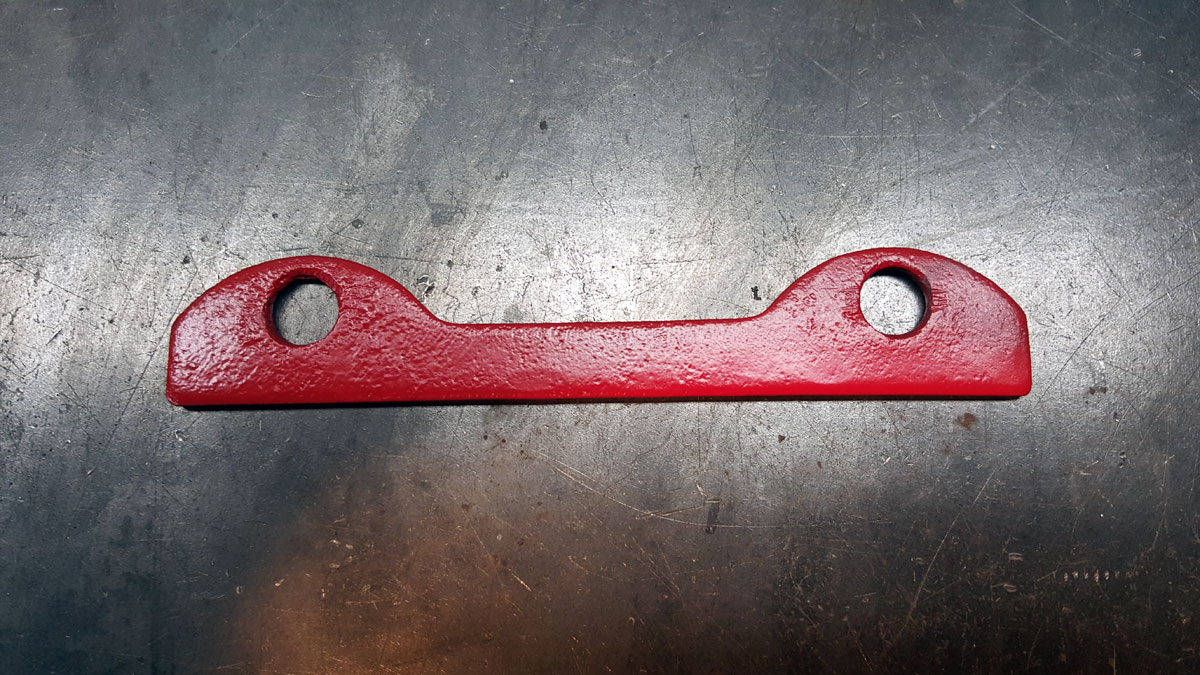
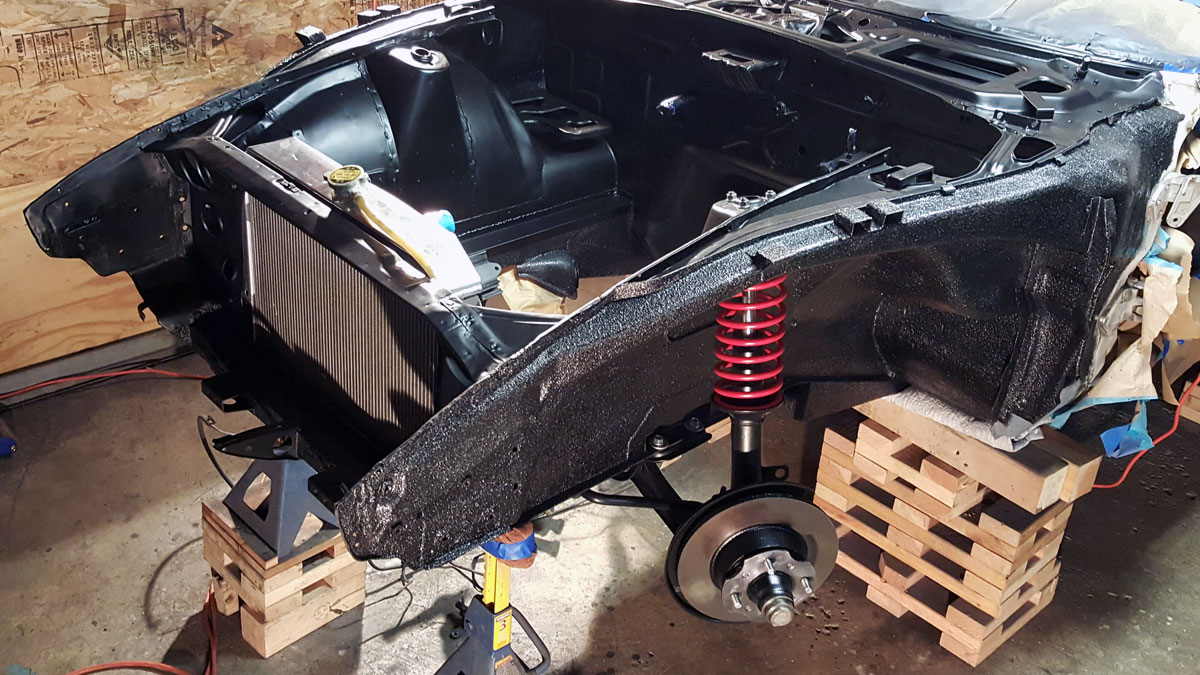
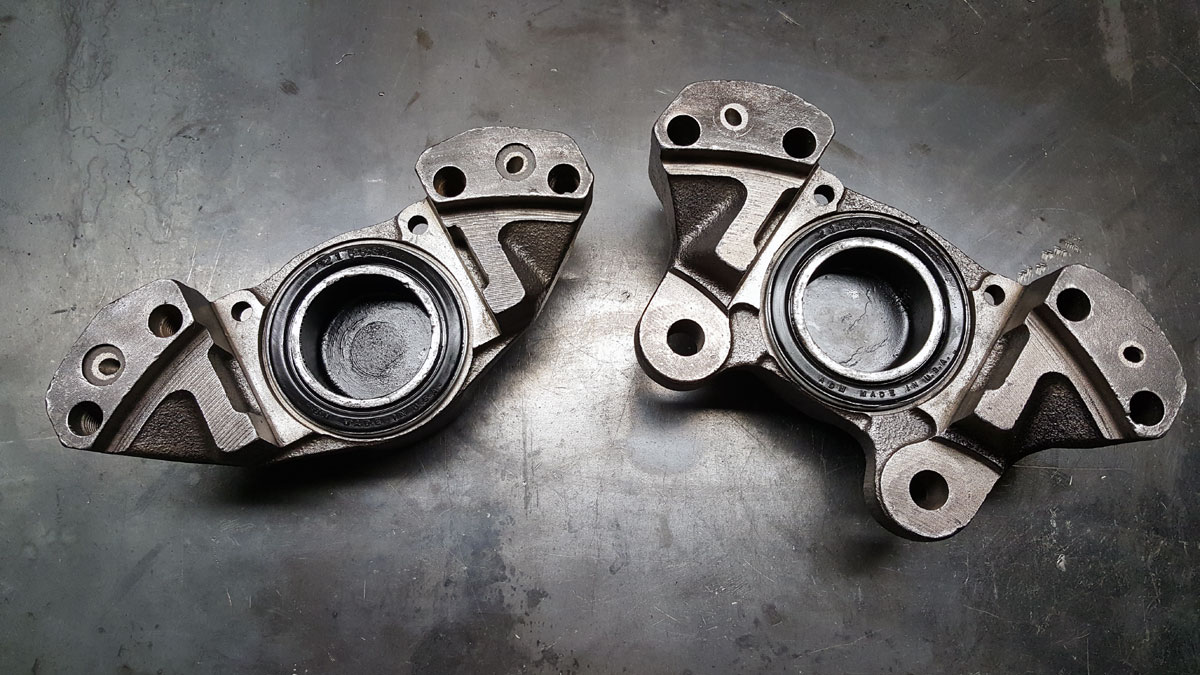
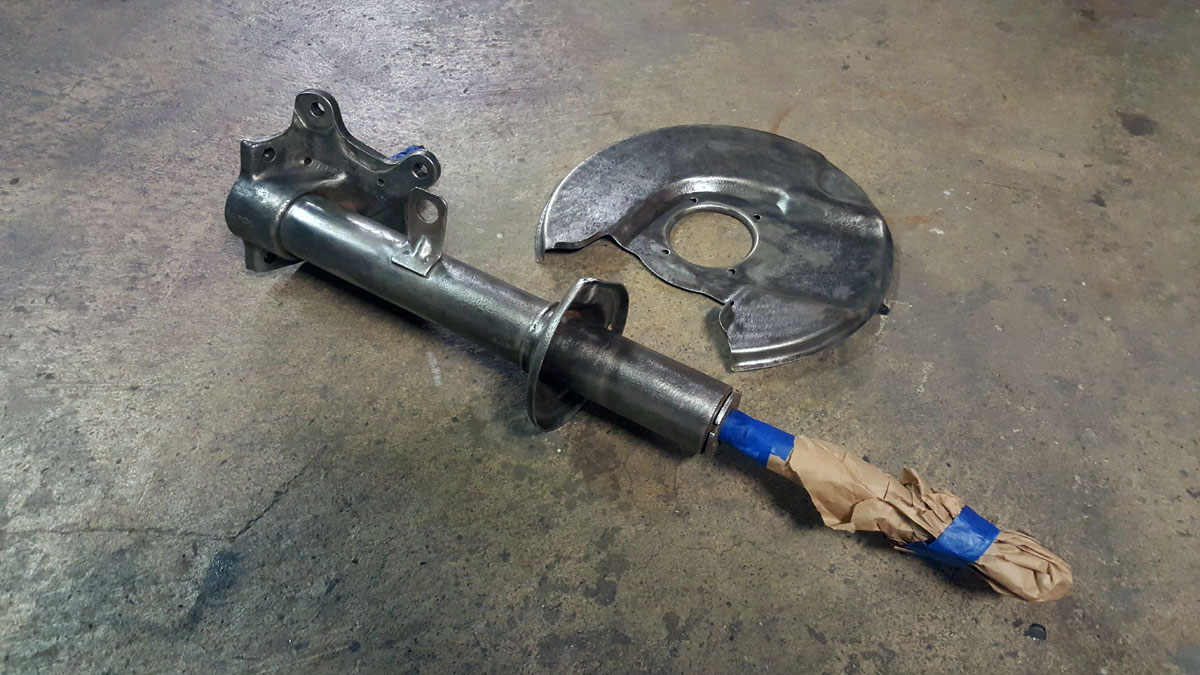
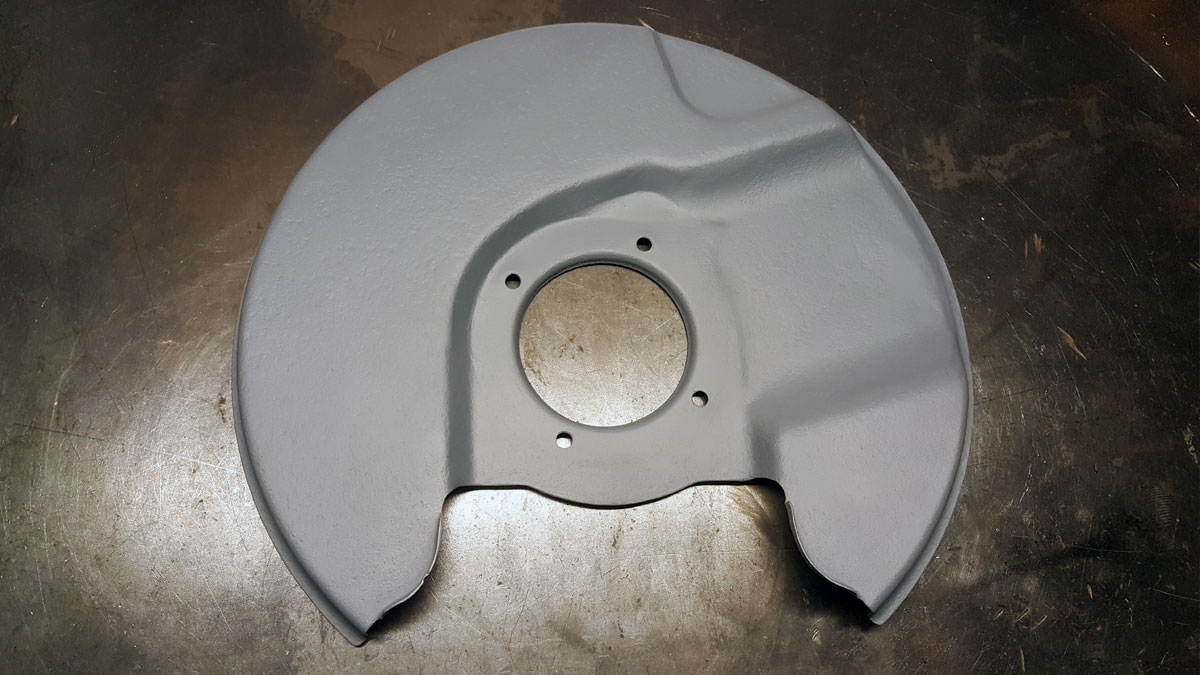
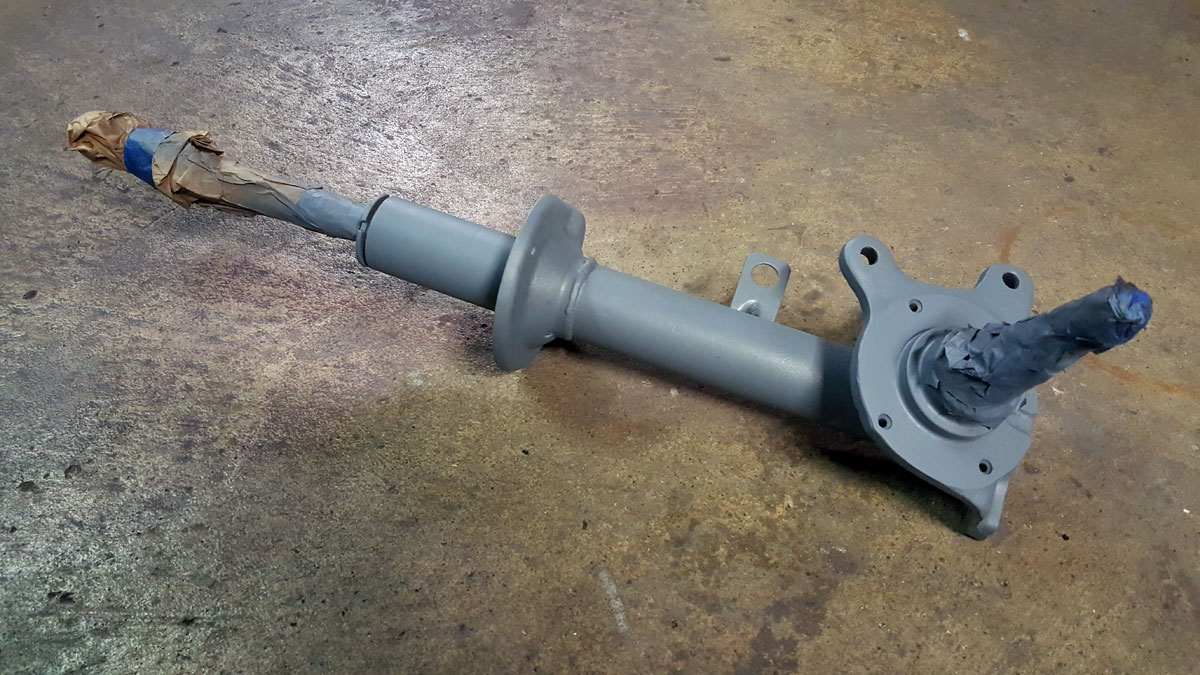
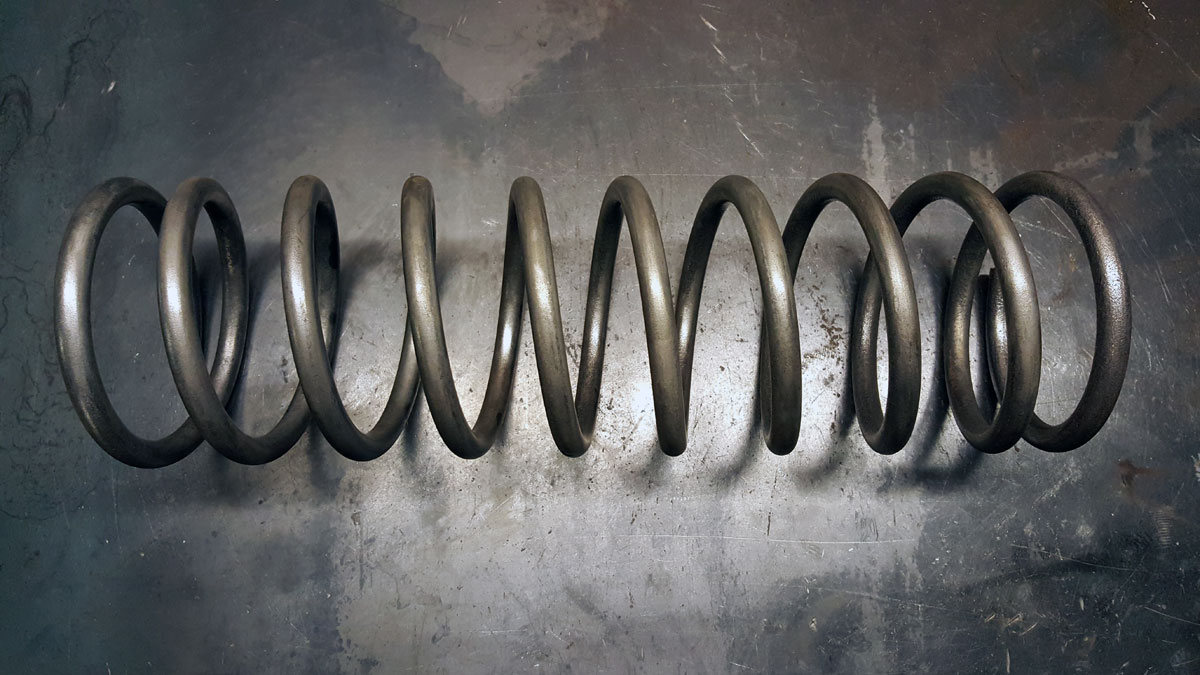
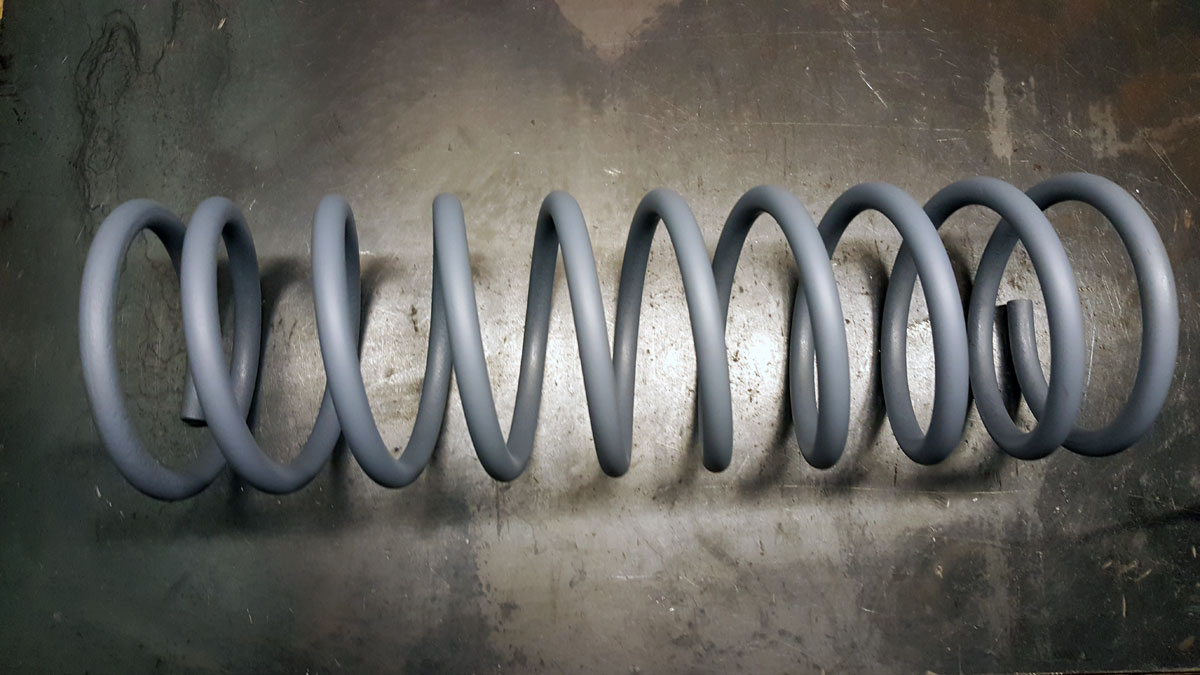
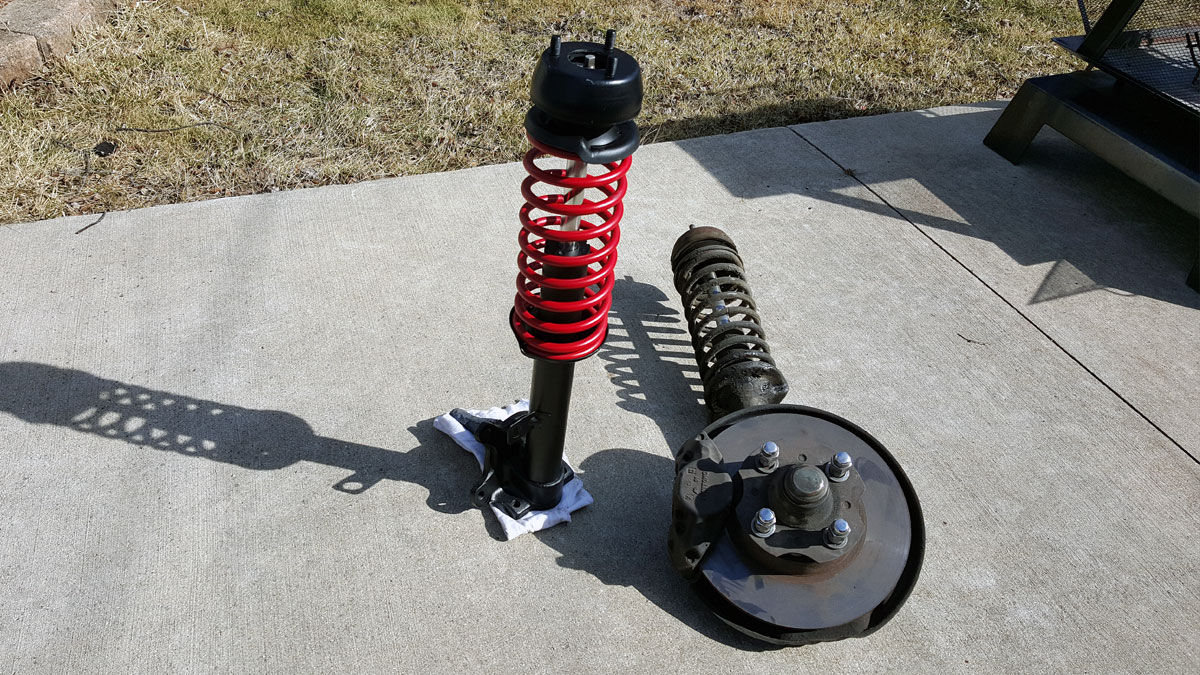
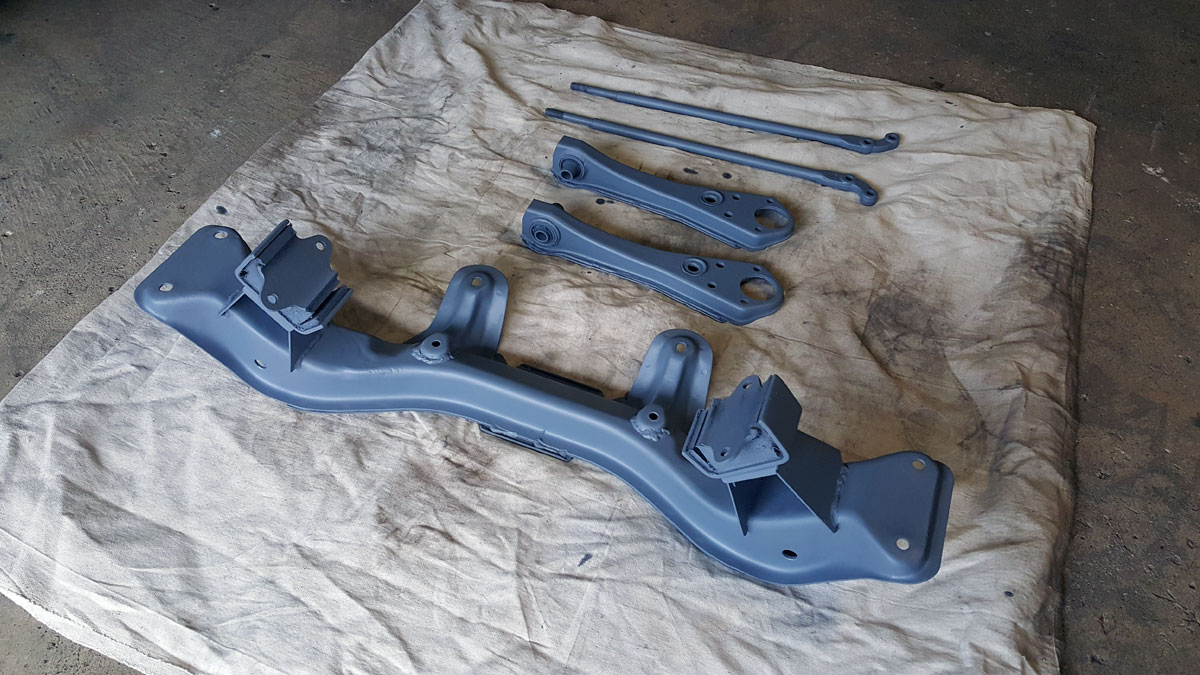
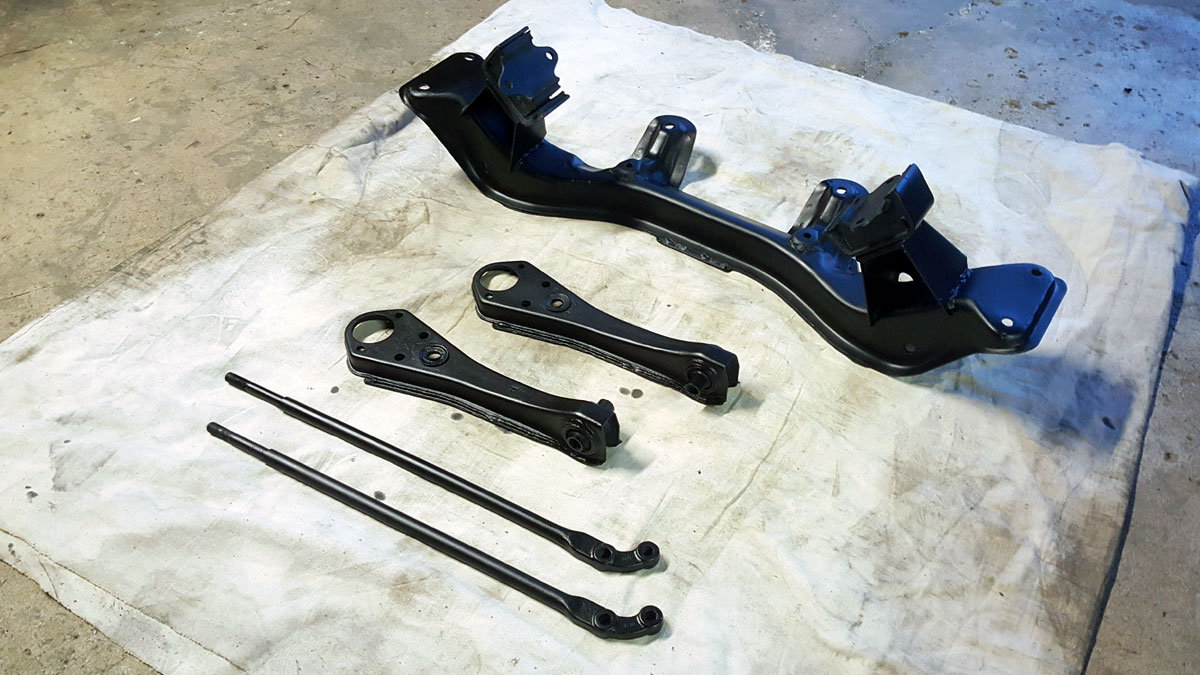
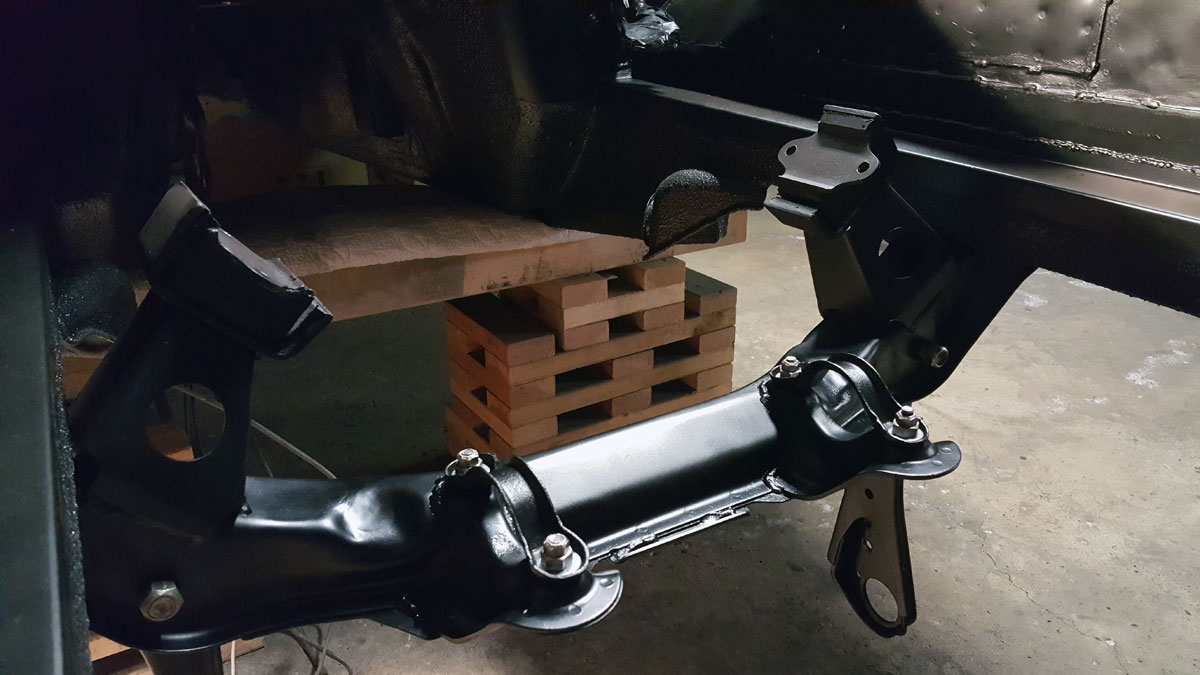
Like usual, I took them down to bare metal, rust proofed, primed and painted. The struts weren’t finished at this point, so I wrapped up the stub axles until the struts were ready.

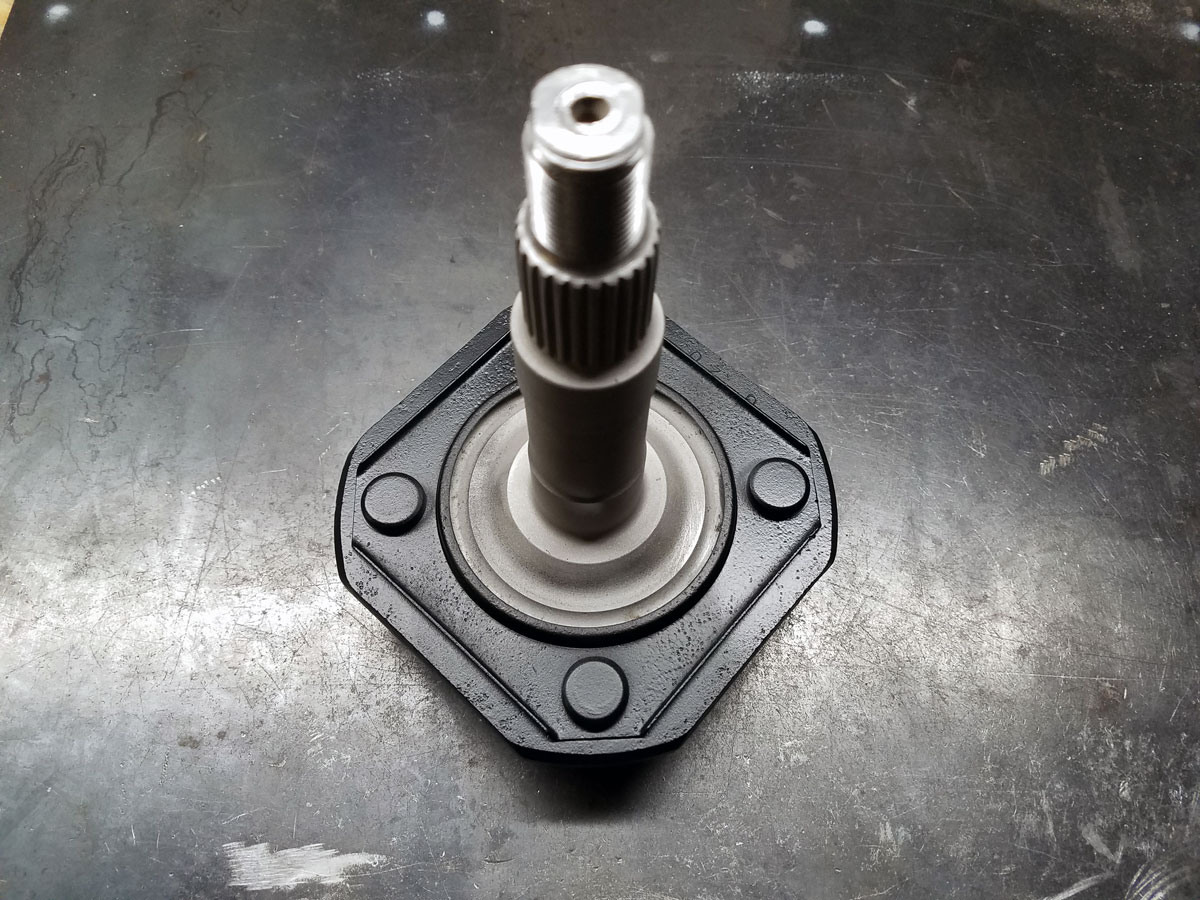
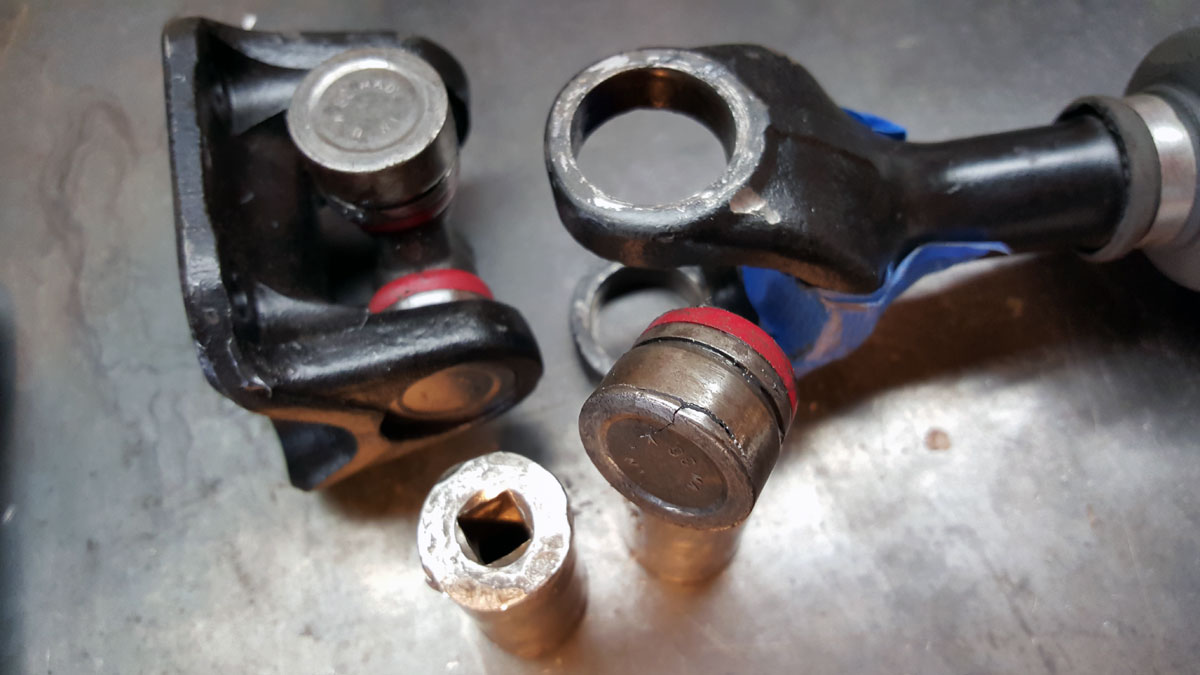
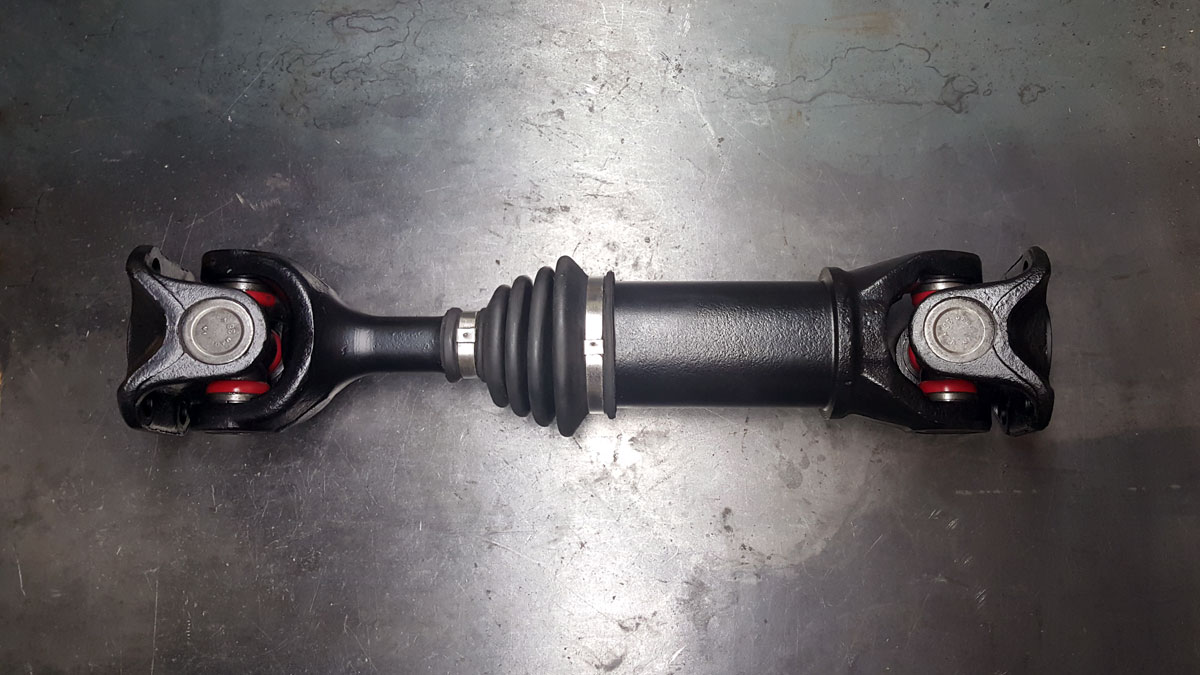
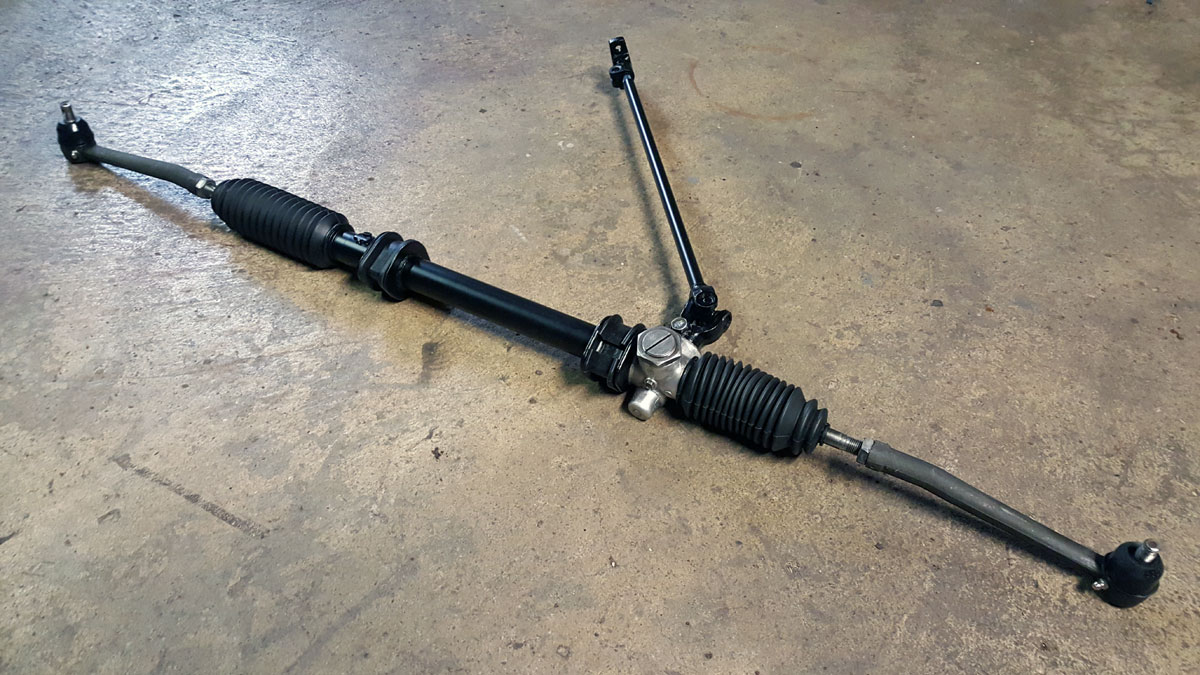
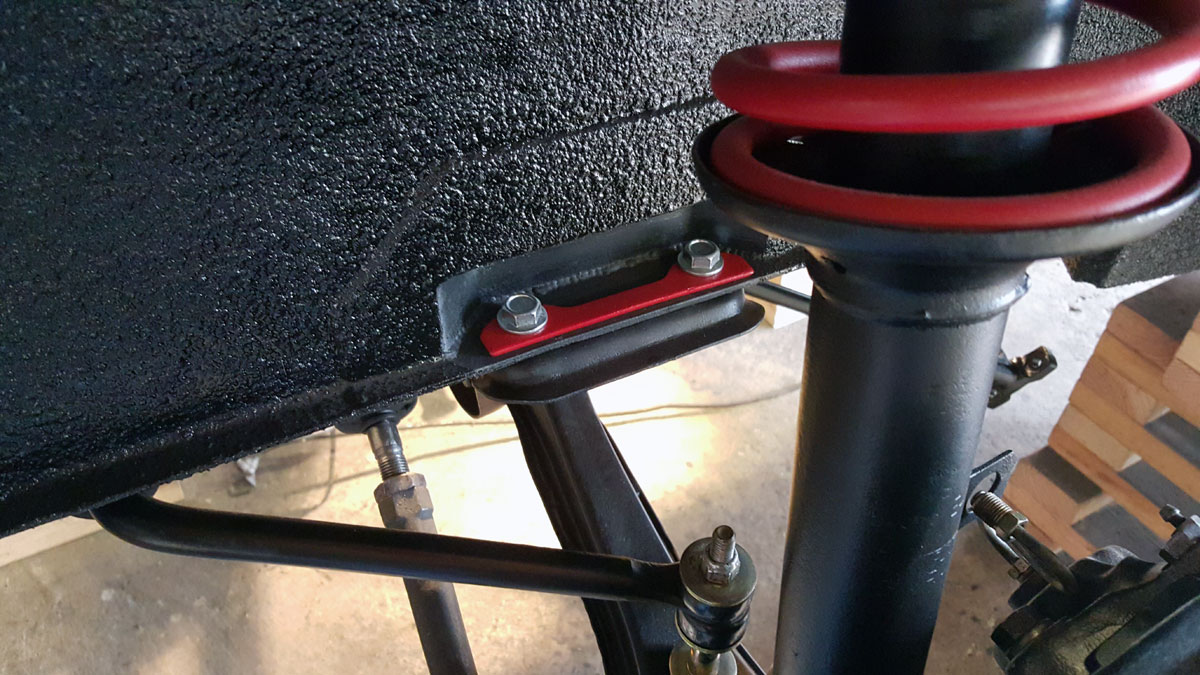
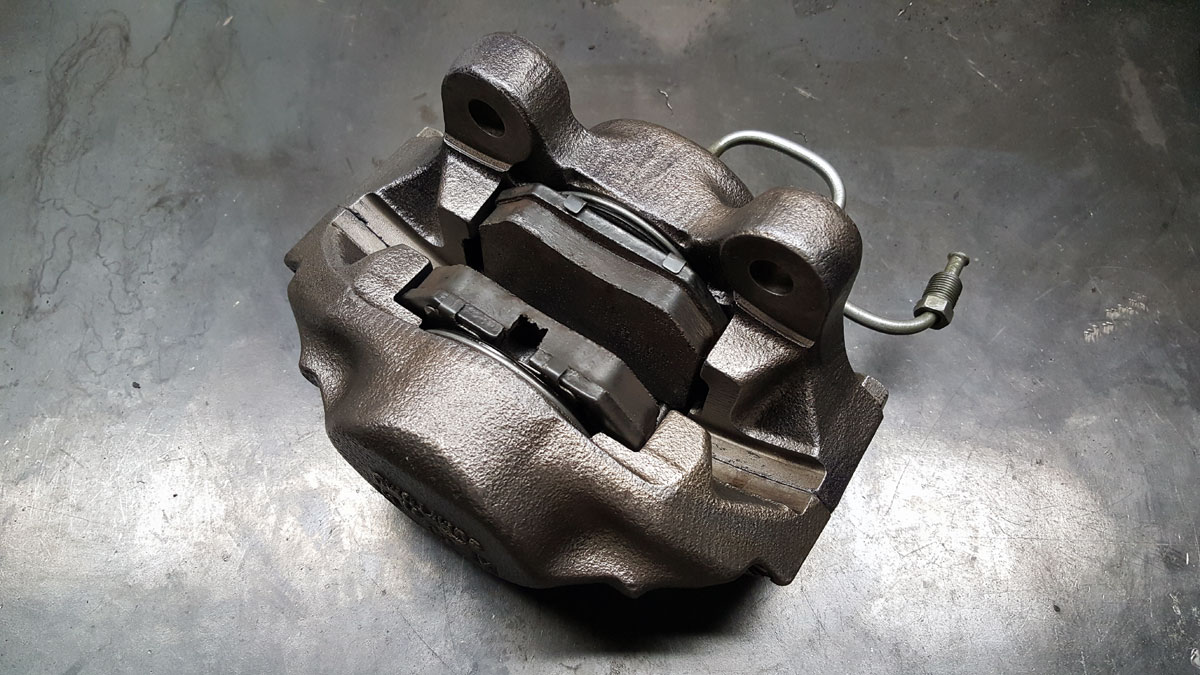
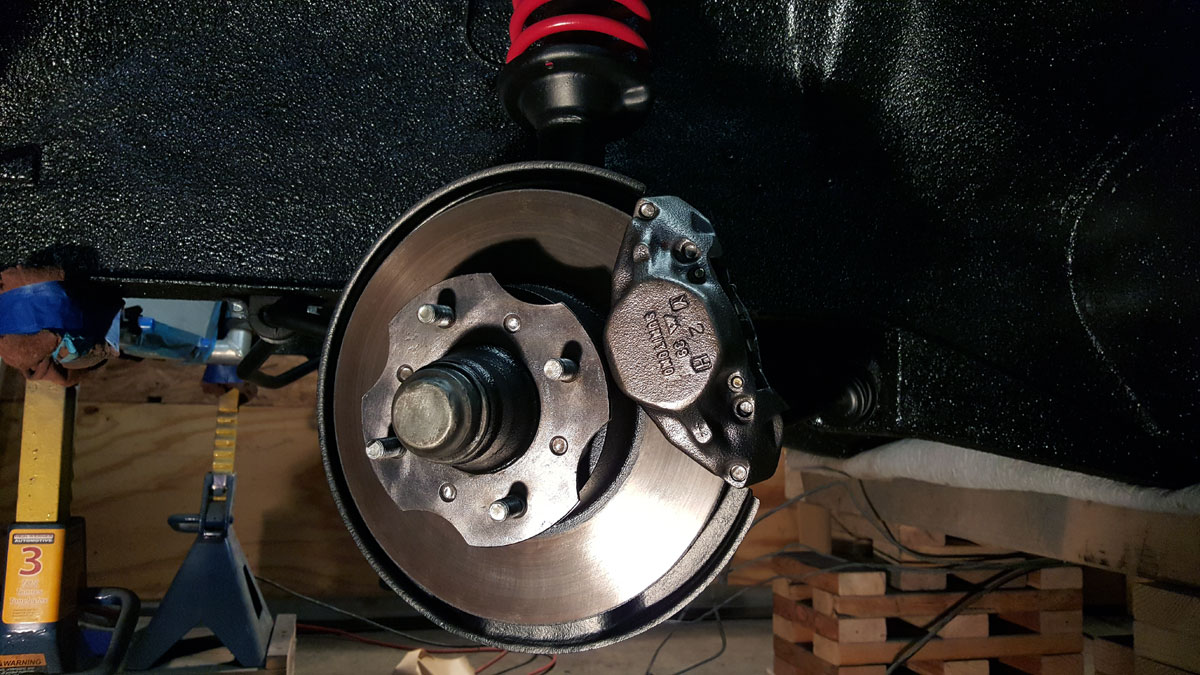
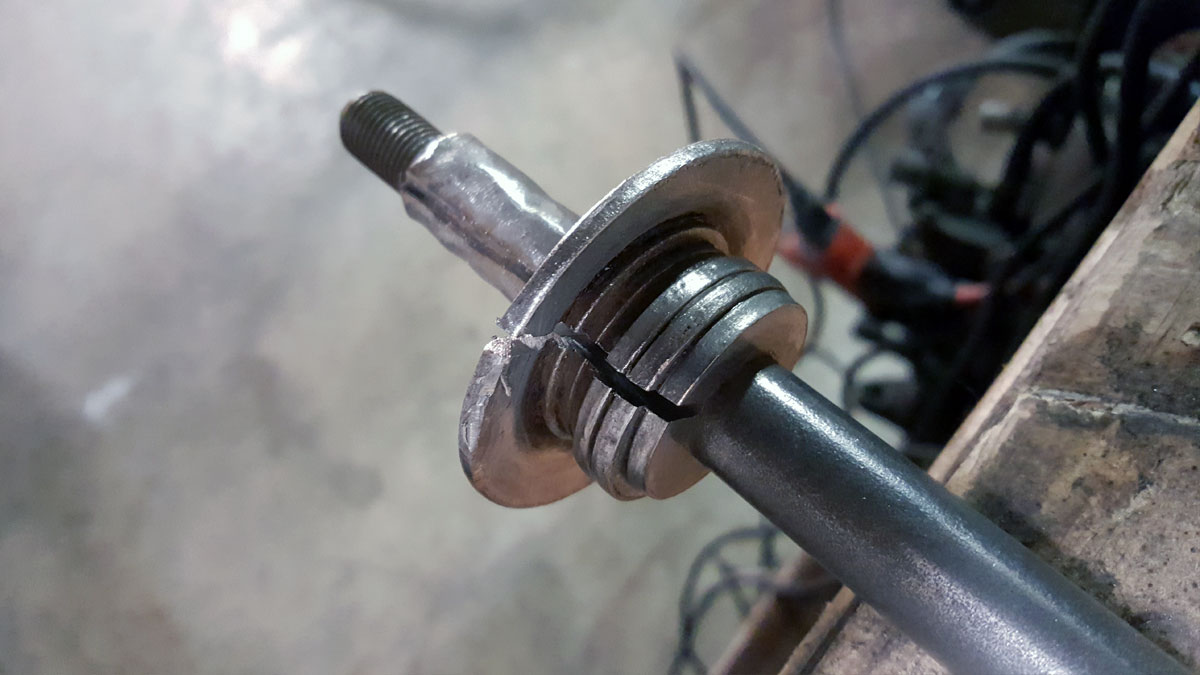
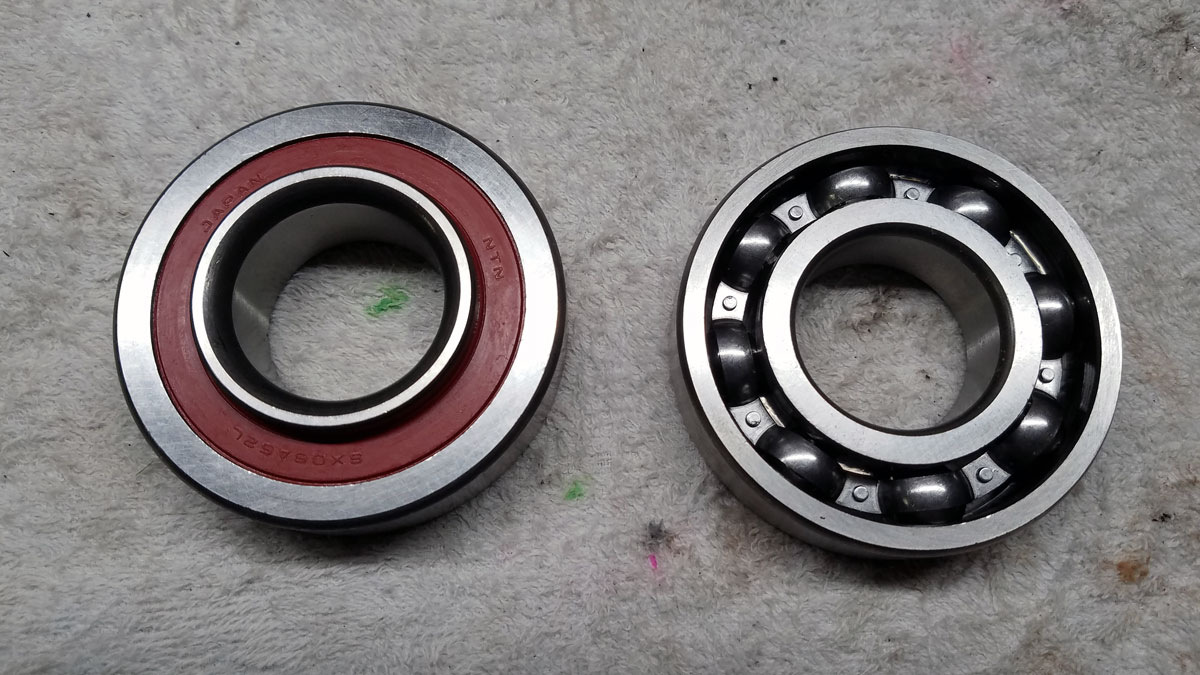
Once the struts were ready, I installed new bearings onto the axles, greased them up and installed them into the newly refinished struts, which you’ll see later.

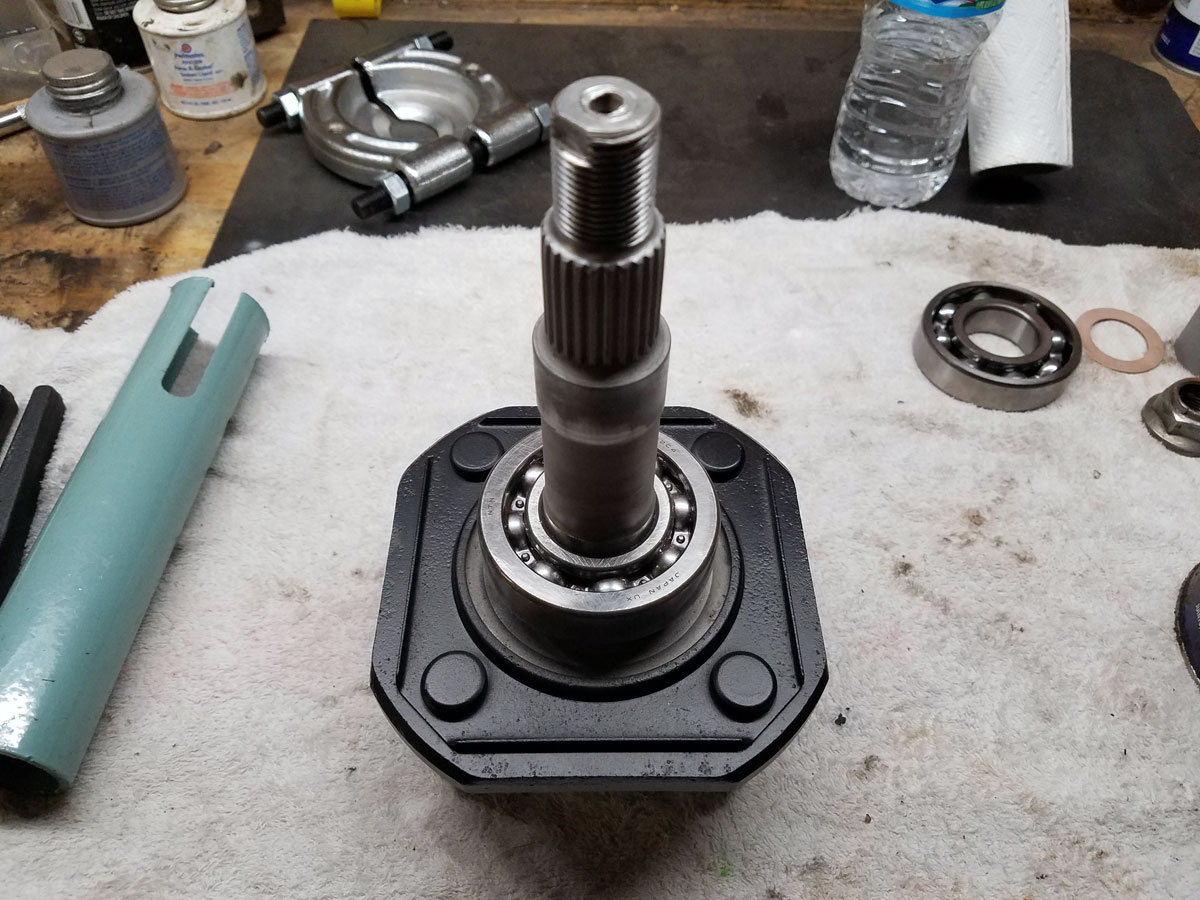
Also, see the piece of greenish grey pipe in the middle picture above? It was a perfect fit to the inner race of the bearing and was used to drive it into place.


To find a particular page, use the search feature or index.


30). Withdraw the spindle

Want to hear a good joke?

Withdraw the spindle, and separate the transverse link from the strut assembly.

What can I say about removing the spindle from a 240z that hasn’t already been said before? Well, for one, the drivers side spindle came out with very little effort and I thought folks were just over exaggerating about how difficult they were to remove.

 I was wrong.

This fucker had officially become my nemesis. I started out using a dead blow hammer and when that didn’t make it budge, I threaded on an NPT fitting so I could get some serious blows in without damaging the threads.

No dice. I went through a few of those fittings actually. Nothing would work… heat, penetrating fluid, voodoo dances, nothing. So I finally gave in and decided I would sacrifice the spindle and just beat the living shit out of it until it came out.

To my surprise, that didn’t even work. I just ended up mushrooming one end to the point where I had to chop it off with an angle grinder, and began to wail on the spindle with a hammer and a piece of threaded rod that was about the same size. Progress was so slow I truly couldn’t even tell if it was moving.

No joke, this took forever.

After I finally removed the damn spindle, it was business as usual.

With the transverse links, springs and shock caps done, it was time to tackle removing the stub axle from the wheel hub.


To find a particular page, use the search feature or index.


29). Drivers transverse link

By now I’d gotten everything from the rear end rebuilt and refurbished with the exception of the strut assemblies. So I started with the drivers side.

Which was a little worse for wear as you can see here. The parking brake cable had rusted through and snapped when I was removing the suspension.

But as John Lee Hooker once said, that don’t confront me, so on to disassembly I went.

Contrary to what I’d read regarding removal of the spindle pin from the transverse link, it came out easily with a few good whacks from a dead blow hammer.

So all that was left to do now was… wash, rinse and repeat.

Since these are just formed sheet metal pieces, there was some damage that I needed to hammer out, but aside from that, things were going well.

I hadn’t replaced the bushing on these yet either because I’m still up in the air as to whether I’m going to buy replacement rubber bushings or make my own polyurethane bushings tailored to the kind of driving I’ll be doing with this car.

After I finished the transverse link, I attempted to remove the axle shaft but it was being stubborn. So I moved on to the shock cap and spring. I omitted pictures of rust proofing and primer, but I assure you I did them.

And yes, that is the spring hanging from my washer and dryer inside my house. It was like 40 degrees that day and the paint I was using didn’t like to dry in cold weather. So I brought it inside.

Now this is where the project took a bit of a detour. I struggled to remove the drivers side rear stub axle from the wheel hub and became sort of burnt out on restoring the car in general. That combined with the fact that I got properly sick around this time, I just didn’t feel like working on the z. Once I began to feel better, I started working at a new job and that had most of my attention for nearly a year.

I hadn’t forgotten about the 240 though. I tinkered with a couple things here and there, but I just wasn’t feeling as motivated and didn’t really get back to it until about February of 2017.


To find a particular page, use the search feature or index.


28). Differential

With the half shafts completed, I moved on to the differential. It was about what you’d expect a four decade old differential to look like.

So I cleaned the entire thing then removed one part at a time, refinishing each before I moved onto the next. The splines and gears still looked pretty good, so I’d clean and re-grease as I went.

Then I’d tape off other areas and give the aluminum a coat of flat clear then reinstall the parts I removed.

Considering how this looked when I began, I was very proud of how it turned out when I was done painting and reassembling.

Along with the other parts I’ve refurbished, this will end up getting a coat of automotive flat clear to fully protect it from the elements and scratching.

And with all the tar and dirt removed from this diff and all the other parts from the car (the underside especially) I probably saved as much, if not more weight than I’ve put back on in undercoating and sound deadening.


To find a particular page, use the search feature or index.


27). Drive shafts (half shafts) I

Still working on the rear components of the car, and I needed to scrape off all the old road grime and tar off of the half shafts, or drive shafts as Datsun calls them.

More interestingly, Datsun refers to their drive shafts as propeller shafts. Apparently this is common, but I’ve always thought of drive shafts as, well, drive shafts.

So I disassembled the half shaft and began refinishing each part starting with the flange yoke, taping off areas I didn’t want paint on after I wire wheeled it clean. Again with the overkill, I know.

Now the manual says to open up the half shaft and re-grease the ball spline every 30,000 miles.

I did not do that. In hindsight, I should have… especially knowing that it’s most likely never been done on my car, which has at least 50 thousand miles and probably more like 150 thousands miles.

Although the engine looks pretty good for however many miles it has on it.

But I’m getting off the subject.

Back to the half shaft. It had no play in it, compressed smoothly and I didn’t want to have to buy another boot with clamps to replace the ones I’d have to remove (only about $30 each). So I just cleaned the boot and clamps and painted around it.

I’m kind of cringing even writing this now because I’m thinking why didn’t I just fully disassemble it and do it right. Well, It’s still out of the car to this day as I haven’t reassembled the rear suspension yet, so I can, and should… but it did come out alright for what it was.

Fast forward to May 2018 when I did rebuild them before reinstalling them.

The universal joints appeared to be fairly new, although the seller didn’t mention if this was something that he had replaced recently or not. So I just cleaned and re-greased them all except for one, because I broke it putting the thing back together. Pricey little bastards too at about $25 each.

Once I did get the half shafts reassembled I think they looked good.


To find a particular page, use the search feature or index.


26). Rear end disassembly

With the front end mostly done, I removed the rear wheels and began working on disassembling the rear of the car.

All the blue tape you see in the engine bay was from when I was assembling the suspension and steering rack. With me climbing in and out to gain access to the bolts I couldn’t reach, I taped up the areas I thought might be prone to scratching.

I told you I get a little carried away with tape sometimes.

Removing the rear suspension was pretty straightforward and nothing fought me too bad at this point. I was also able to finally remove the brake and fuel lines that had been so stubbornly stuck to the car too.

With the suspension components out of the car, I began restoring them.

The number on this mustache bar is probably a part number, and I think there was more to it than the “5545” I could see, but I thought it’d be a nice touch to add it back to the bar, even if it would probably never be seen again.

I remember this differential mount was a pain. With so much grease, dirt and rust I didn’t think it would clean up very well.

But with enough wire wheeling (which there was plenty of) and some paint, I think it came out just fine.


To find a particular page, use the search feature or index page.


25). Steering rack

I couldn’t find any good before pictures of the steering rack, but I did find a picture of the suspension assembly with the steering rack in it when I originally took it out of the car.

I guess I must have lost some pictures from around this time, because I also can’t find the disassembly and reassembly of the steering rack.

But what I did was, took it apart, cleaned and re-greased all the parts, followed the same process to refinish the outside and put the entire assembly back together. I installed all new bushings and tie rod ends as well.

The boots on either end however, were just refurbished since they were in good physical shape.

Once done, I attached the steering rack to the cross member in the car. Here’a before and after shot for comparison.

I also found these uni-washers or whatever they’re called, bent them flat, repainted them and put them on the car.

Then I put the tires back on and called the front end complete for the time being.

I did take a break from refurbishing parts and installed sound deadening on the floor boards for a change of pace though.

And as usual, I didn’t think to paint the seat supports until after.


To find a particular page, use the search feature or index page.


24). Brake calipers & hub

When I bought the 240, the guy I bought it from mentioned that he’d replaced a couple items on the car not too long ago. One of those items were the front wheel bearings. Which true to his word, looked to have been recently replaced.

So I went about refurbishing the hub without replacing these bearings. As usual, I cleaned up the part with a wire wheel, then taped off the areas I didn’t want paint on. Next came rust proofing then primer making it ready for paint.

Have I mentioned that I get a little carried away at times? Well this time, as with most times, it was with tape.

After I had given it a coat of primer, I applied a coat of matte black and attached it to the strut assembly already on the car. I also added the radiator to the engine bay, which would eventually have to come back out. I just wanted to see if it still fit properly and what it looked like against the new paint.

Next on the menu were the brake calipers. Like all the other parts so far, I wanted to keep the original and rebuild to the best of my ability. This meant taking the caliper all the way apart, including separating the halves.

While this may be the easiest way to completely rebuild these brake calipers and refinish them to a like new appearance, it may have not been the best idea to do so.

The reason I say that is, although I feel that they look great and will undoubtedly function much better now that they’ve had new seals and pads installed, I’ve had a few bad experiences with brakes on other projects recently that leads me to believe that these will be a nightmare.

Even the most basic of braking systems can be a pain in the ass with as little as a fluid change and with this car I will have rebuilt the entire braking system and ran all new lines once it’s all said and done.

Fingers crossed, but when the times comes, I’ll most likely be able to look back at this and say I told you so, to myself.


To find a particular page, use the search feature or index page.


23). Front strut assembly

With the cross member and control arms done, I moved on to the front strut assemblies. I started with the drivers side. Which, as you can see, probably hadn’t been removed from the shock tower in quite a few years.

After I got it disassembled, I took the strut and brake sheild down to bare metal, rust proofed, then gave the individual pieces a coat of primer.

Next up was the spring…

Which, you guessed it, down to bare metal, rust proofed then a coat of primer and paint.

Here’s the completed assembly next to the unfinished passenger side. What a difference a little elbow grease and paint make. Although money was a little tight at this time so I didn’t replace the shocks when I reassembled the struts. I’ll have to go back and replace those in the future.

I did however replace the ball joints because the old ones were pretty far past it and not as large of an expense.

They were actually one of the first new items I bought for the car. Which I inadvertently placed on the bottom instead of the top of the control arm before I took this picture.

Once I completed the drivers side strut assembly, I moved on to the passengers side. Same process as before, so I’ll spare you the details.

Next up, wheel hubs and brakes.


To find a particular page, use the search feature or index page.


22). Control arms & TC bars

The idea is, that if I rebuild and refinish most of the original parts for the car, I’ll be able to drive it close to how it left the factory (without a severely rusted out frame) and save some money on not buying a ton of new parts right now.

And I know I’ll want to upgrade many things on the car eventually, but thought it would be nice to upgrade those things in the future starting from a clean slate so to speak.

So here I am, looking at a 43 year old control arm that I’ve removed from the cross member that looks like a hell of a lot of work to bring it back to its former glory.

And they were a lot of work. Using an assortment of wire wheels and a lot of patience, I was able to get the control arms down to bare metal.

Next up were the torsion bars. One just needed a good cleaning, while the other had some hackery going on in the form of washers for spacers. Which had rusted themselves to the torsion bar, but with a little persuasion, and an angle grinder, I got it where it needed to be.

Then came the cross member itself. After I cleaned most of the dirt and grease off, it wasn’t in nearly as bad of shape as the other bits.

Just like the control arms and torsion control bars, I took it down to bare metal with a wire wheel as well. Here’s the whole lot after they’ve been cleaned up. The factory welds on some of these components made me feel better about my welding prowess.

At this point you may be asking yourself…

But Jason, why aren’t you using the sand blast cabinet we’ve seen in the background of some of your pictures?

Well studious reader, this would have been a whole lot easier and taken considerably less time. However my sand blast cabinet was shit. It’s a Harbor Freight model I picked up for around a hundred bucks on sale and it performs like a hundred dollar Harbor Freight sand blast cabinet. That is, not very well at all.

On a side note, about a year later I got tired of all this wire wheeling and invested nearly $500 into that $100 sand blast cabinet to make it what it is today… a friggin’ beast. More on that later.

Back to the car, I applied a zinc rust proofing to all the parts I’d just taken down to bare metal, then gave them a couple coats of primer.

Once dry, I applied the same matte black I used for the engine bay, then bolted the whole assembly to the car.

As with the engine bay, I’ll have to remove these parts and give them a couple coats of automotive flat clear at some point.

Things were coming along though. Next up was the front strut assembly.


To find a particular page, use the search feature or index page.