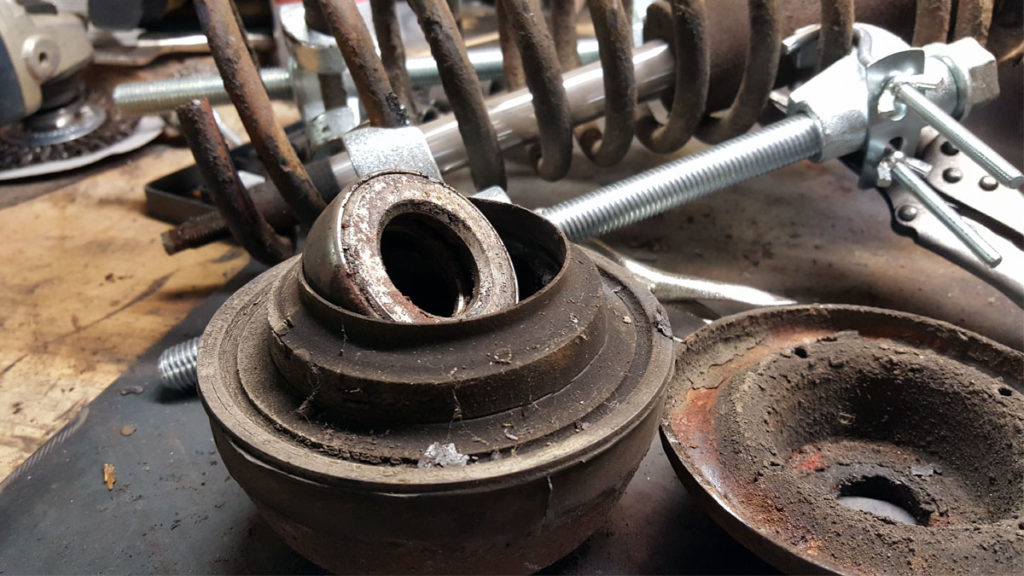
With the cross member and control arms done, I moved on to the front strut assemblies. I started with the drivers side. Which, as you can see, probably hadn’t been removed from the shock tower in quite a few years.
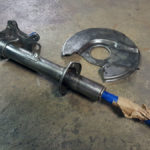
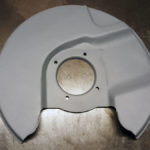
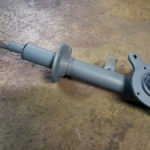
After I got it disassembled, I took the strut and brake sheild down to bare metal, rust proofed, then gave the individual pieces a coat of primer.
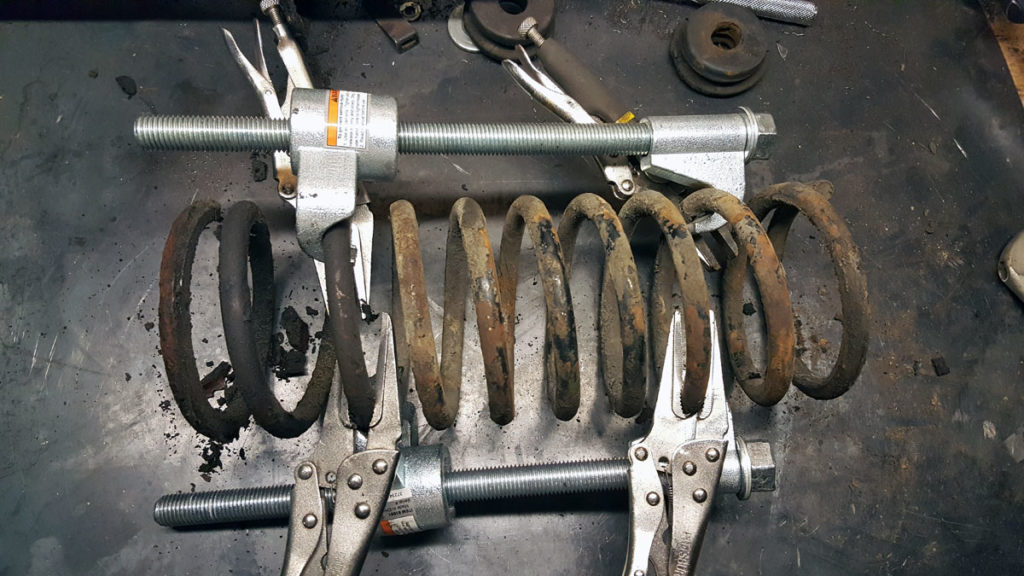
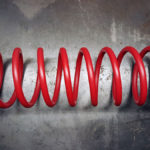
Next up was the spring…
Which, you guessed it, down to bare metal, rust proofed then a coat of primer and paint.
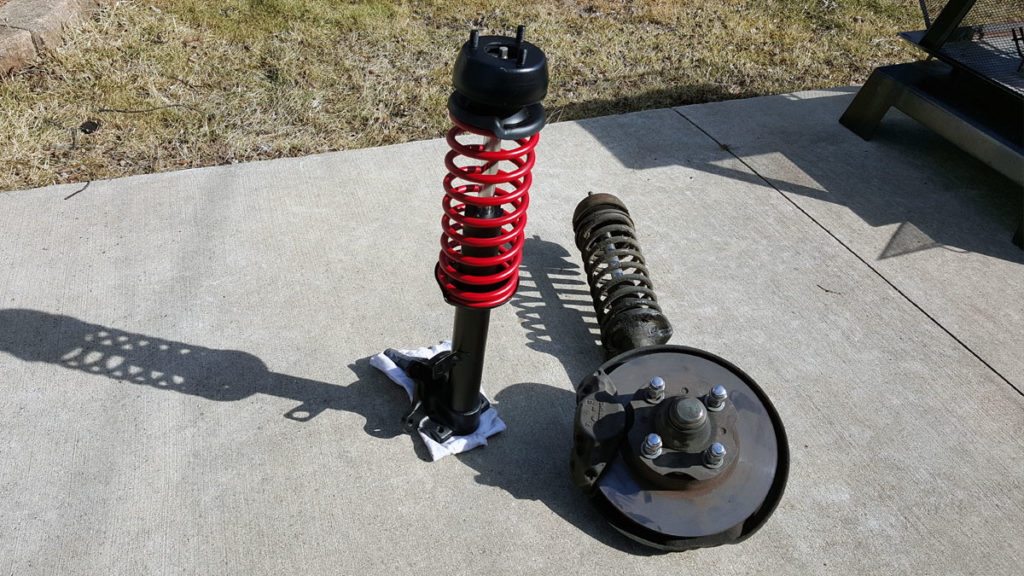
Here’s the completed assembly next to the unfinished passenger side. What a difference a little elbow grease and paint make. Although money was a little tight at this time so I didn’t replace the shocks when I reassembled the struts. I’ll have to go back and replace those in the future.
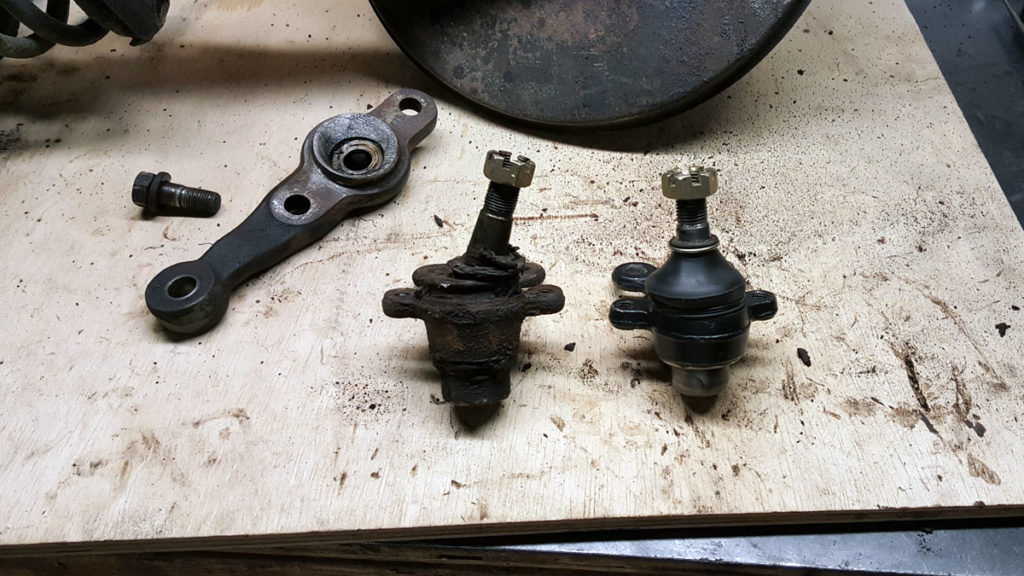
I did however replace the ball joints because the old ones were pretty far past it and not as large of an expense.
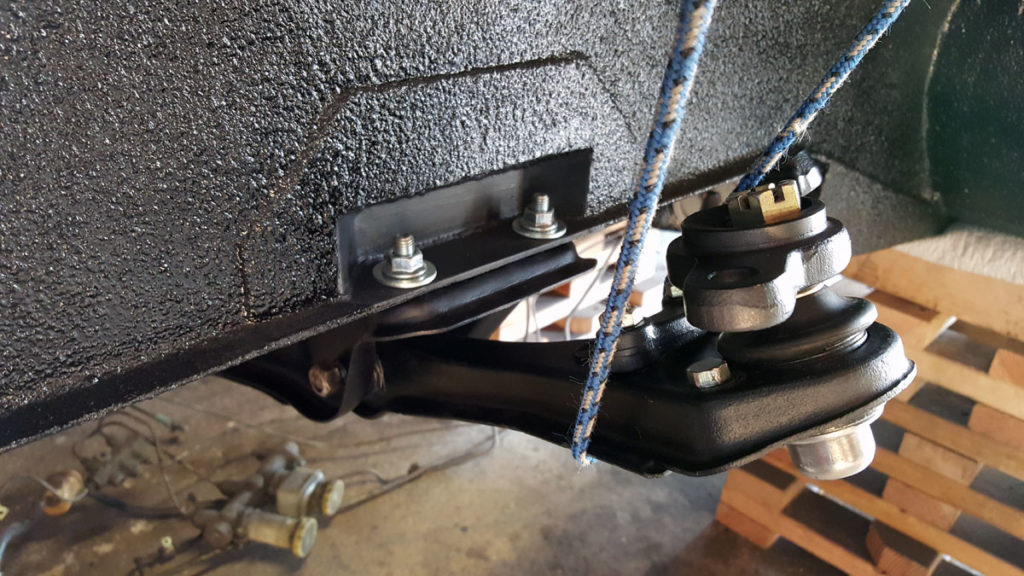
They were actually one of the first new items I bought for the car. Which I inadvertently placed on the bottom instead of the top of the control arm before I took this picture.
Once I completed the drivers side strut assembly, I moved on to the passengers side. Same process as before, so I’ll spare you the details.
Next up, wheel hubs and brakes.
To find a particular page, use the search feature or index page.
