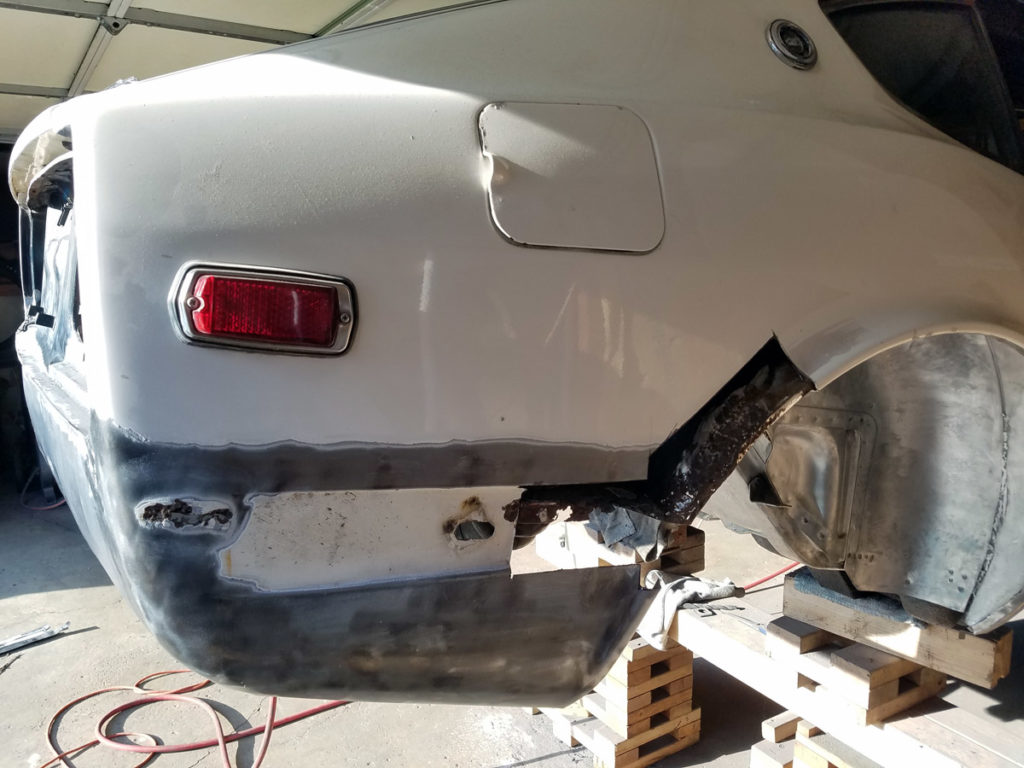
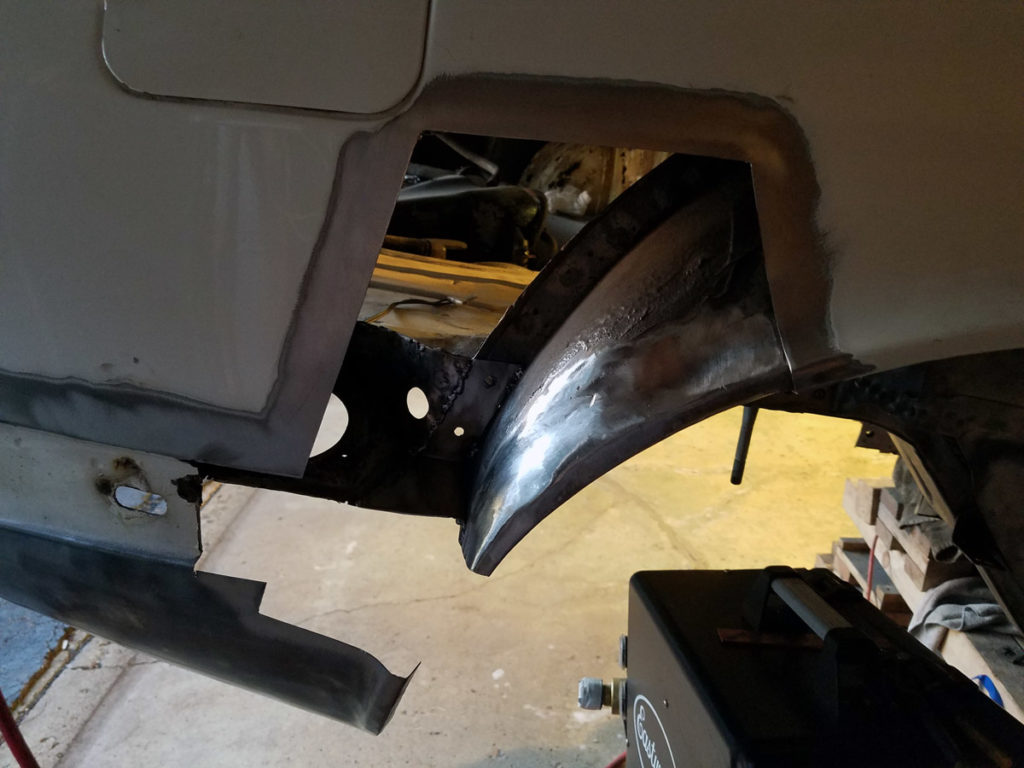
As with the drivers side quarter, I began by cutting out a small portion to see how bad the inner wheel well was. Which would determine how large of a portion I needed to cut from the replacement panel.
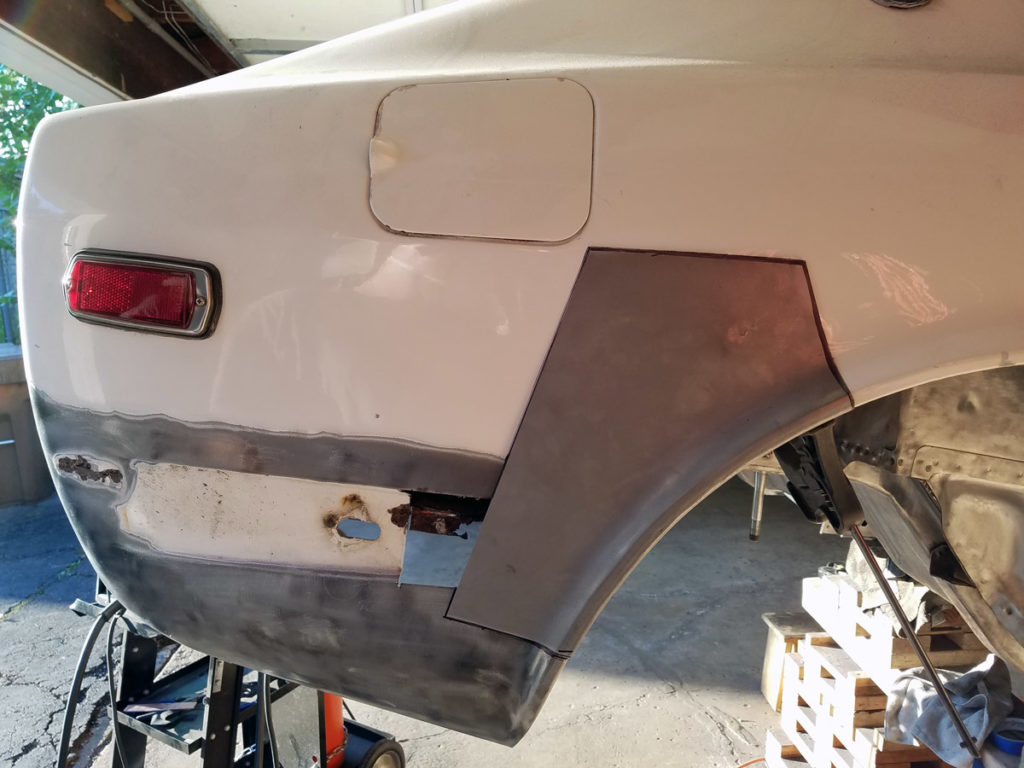
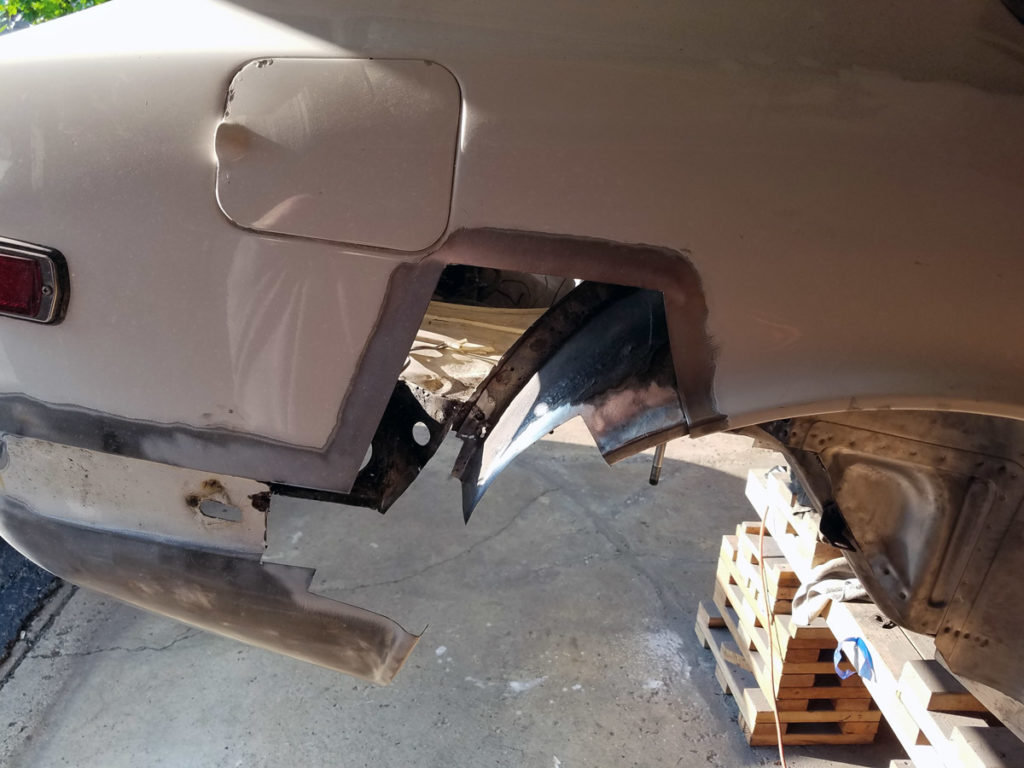
The replacement panel itself had a spot, where it looked like something got smashed between the panel and the mold. Making an indentation that you may be able to see below. I was able to hammer it out for the most part, but don’t feel like you should have to fix a new replacement panel.
Either way, I clamped it to the quarter and traced where I needed to cut.
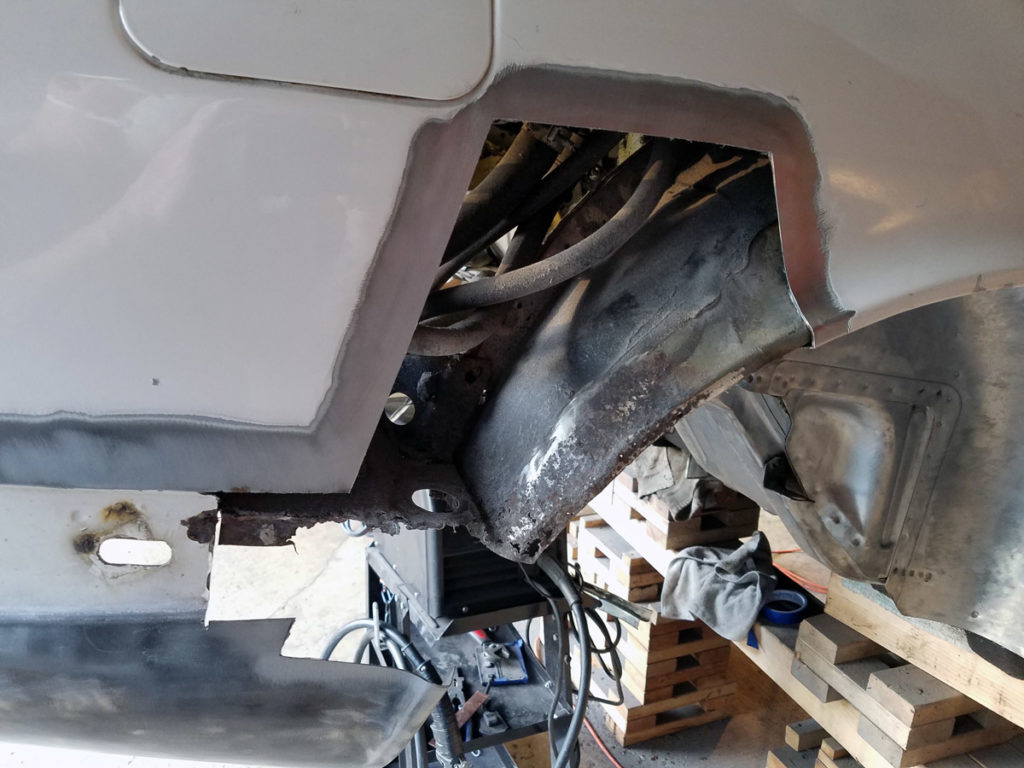
Once I had it cut, the rust on the inner wheel well was about what I’d expected and no worse than the drivers side.
Every time I remove this much steel from the car at once I get this sinking feeling of, am I really going to be able to recreate this?
But just like the other side, I replaced one piece at a time until the wheel well resembled what it once did.
This included creating the bump on the bottom portion which keeps the quarter from resting flush against the inner wheel well. I want to say this was originally done to keep them from rusting? But that clearly didn’t work, so I don’t know. I do know that even though I recreated it on both sides, I’m going to seam seal the heck out of where the panels meet to make sure it keeps them from rusting again.
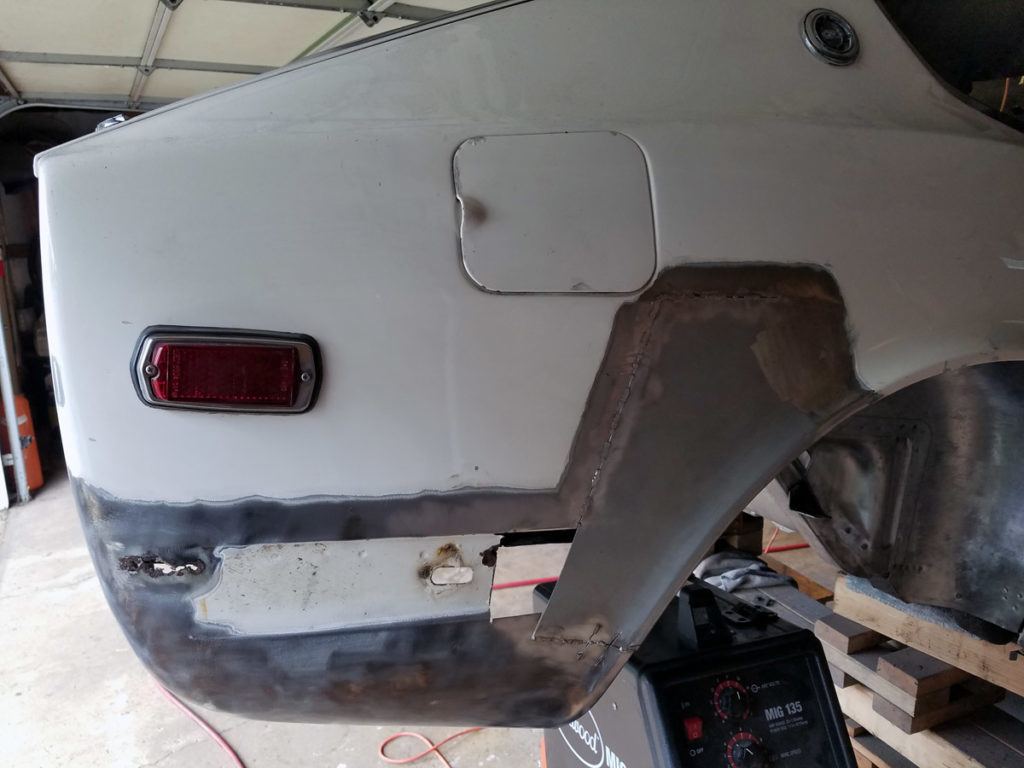
After I had that rebuilt, I welded in the replacement panel, which can be seen mid process below. I had a rough time getting it and the original quarter to line up at the wheel arch line, so I made some relief cuts to stretch and shrink the panels. I don’t think it made much of a difference.
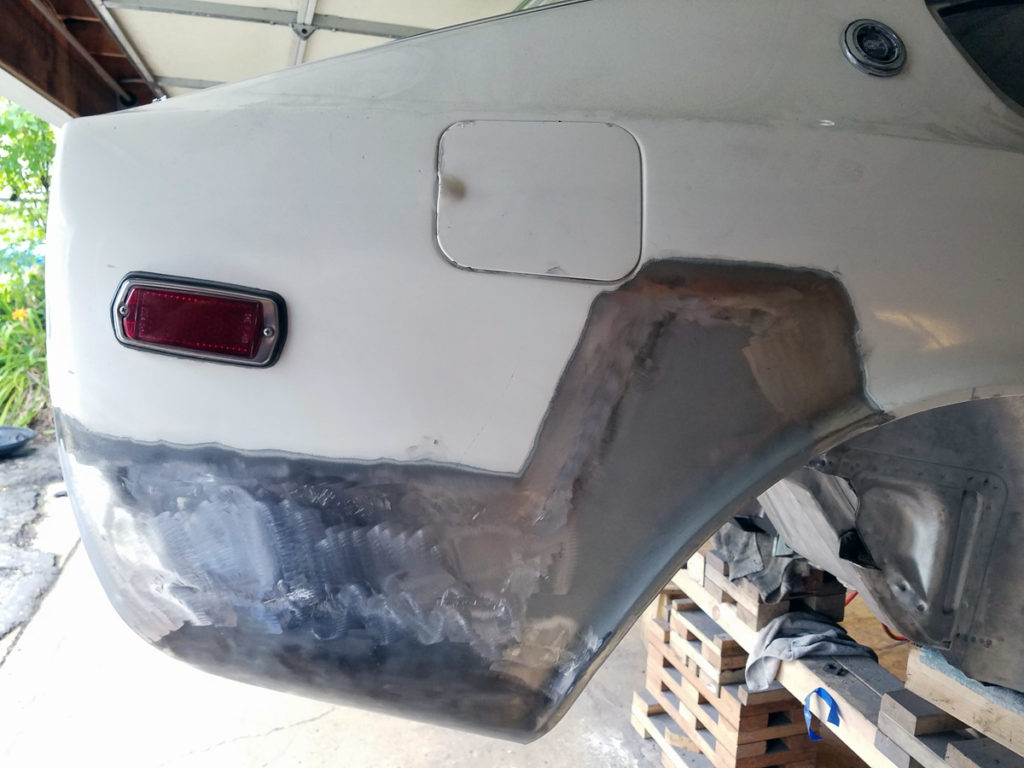
Like the other side, I cut out the bumper indentation and replaced it with a flat piece of steel.
This side was a bit more trouble than the drivers side and although it looks like it turned out pretty good in the end, I did get a small warp or shrinking of the panel below the gas filler door that I’ll need to do some panel beating to fix.
To find a particular page, use the search feature or index.
